
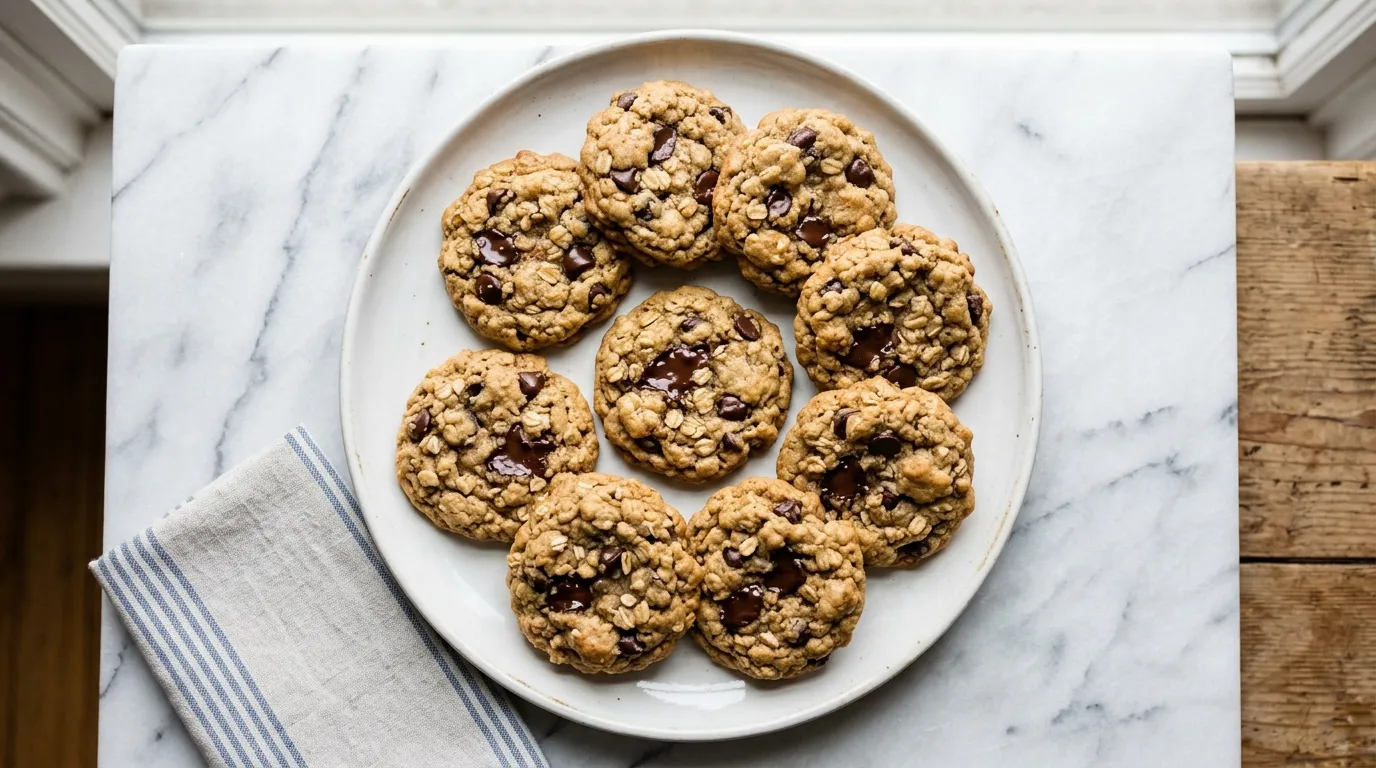
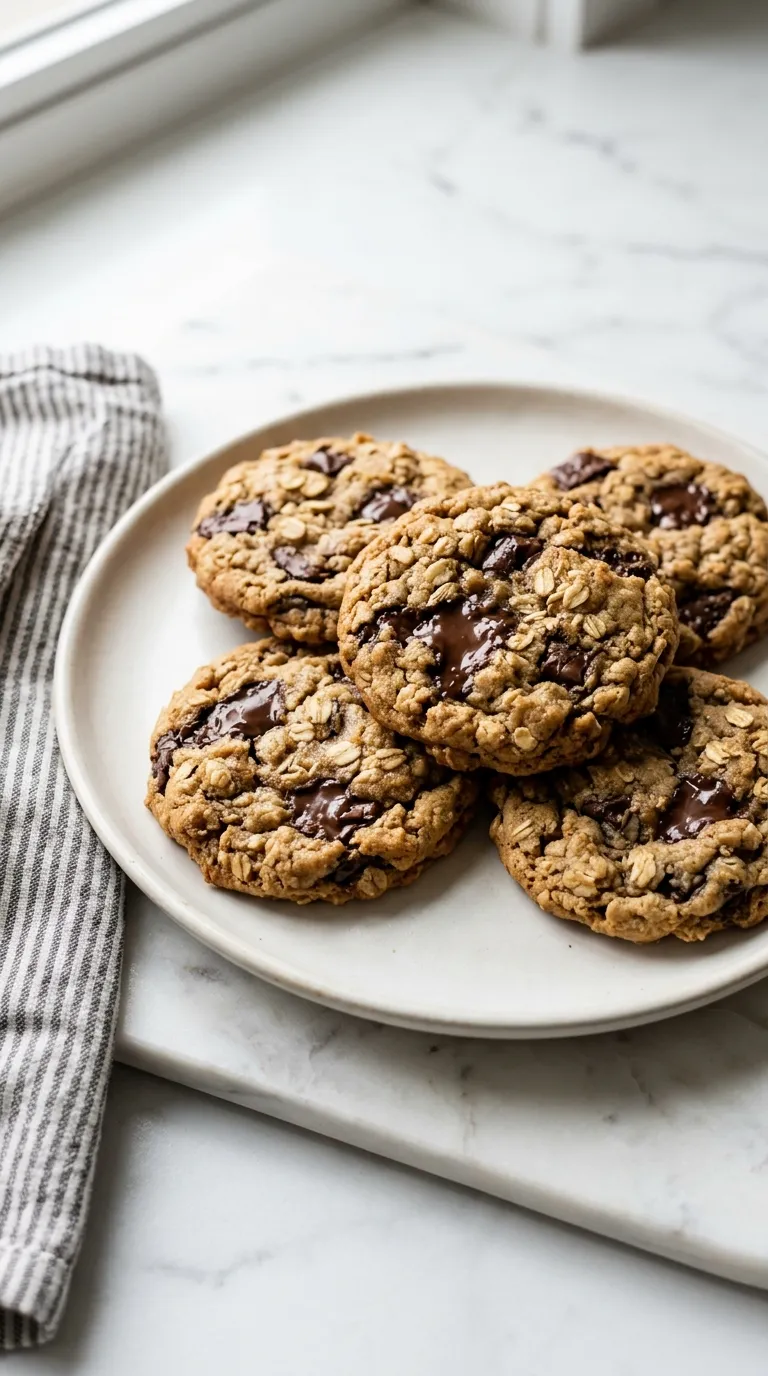
Chewy Oatmeal Chocolate Chip Cookies for Snack Time — Chewy Oatmeal Chocolate Chip Cookies are made with just 10 ingredients. They come together in one bowl and are perfect for snack time. This version has a delightful chewiness from the oats and rich chocolate from the chips.
My Latest Video
Delightfully chewy with rich chocolate flavor.
- These cookies use rolled oats, which add a chewy texture and heartiness not found in standard chocolate chip cookies.
- Melted butter gives the cookies a rich flavor and helps them spread nicely, creating a soft and chewy bite.
- The combination of brown and granulated sugars enhances the sweetness and depth of flavor, making each cookie satisfying.
Pull These Out First.
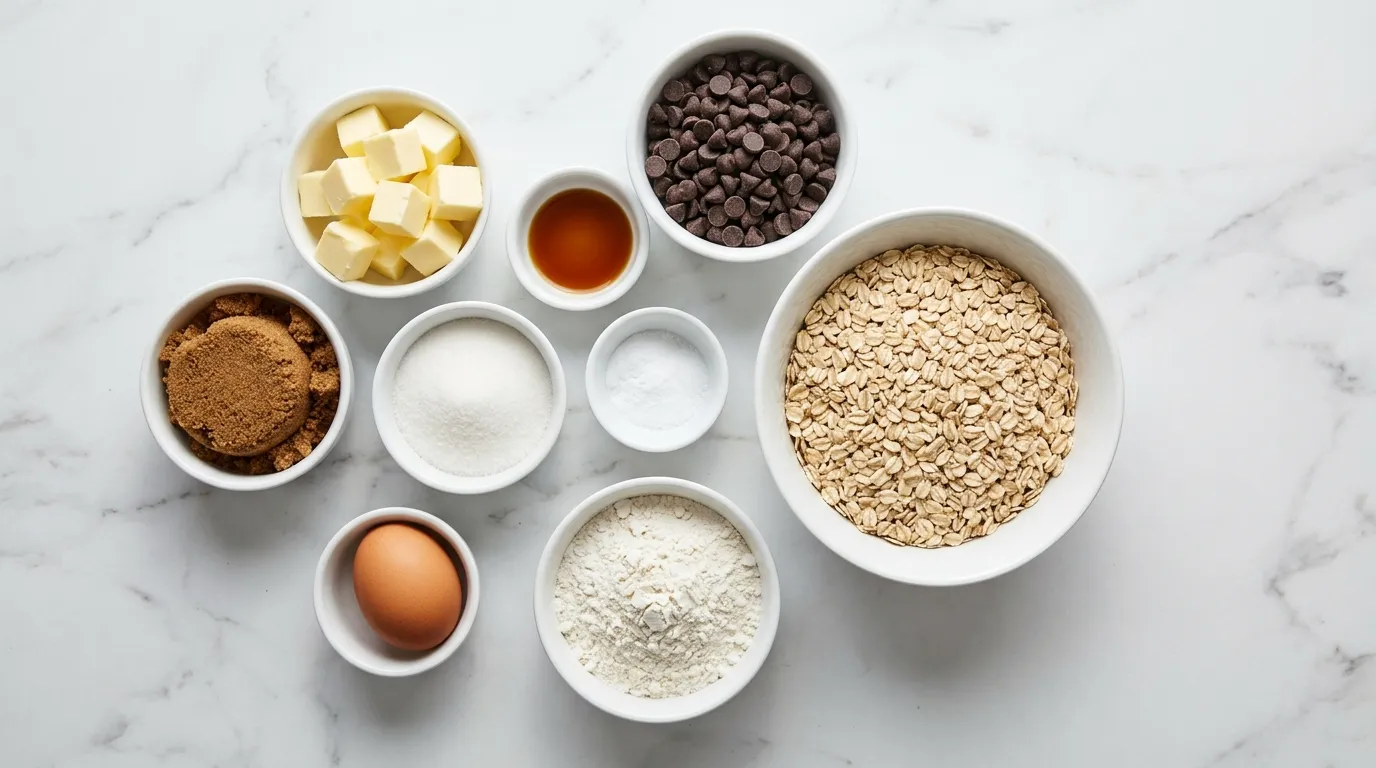
- 1 cup unsalted butter, melted
- 1 cup brown sugar, packed
- 1/2 cup granulated sugar
- 1 large egg
- 1 teaspoon vanilla extract
- 1 cup all-purpose flour
- 1 teaspoon baking soda
- 1/2 teaspoon salt
- 2 1/2 cups rolled oats
- 1 cup chocolate chips
The Ingredients That Actually Matter Here.
- Unsalted butter Unsalted butter gives a rich flavor without adding extra salt. If you use salted butter, reduce the added salt to 1/4 teaspoon. This helps maintain the right balance of flavors in your cookies.
- Brown sugar Brown sugar adds moisture and depth to the cookies. If you substitute with white sugar, the cookies may be drier and less chewy. Use the same amount, but consider adding a teaspoon of molasses to mimic the flavor.
- Rolled oats Rolled oats give the cookies their chewy texture. Instant oats can be used, but they absorb less moisture, resulting in a less chewy cookie. If using instant oats, reduce the amount to 2 cups.
- Chocolate chips Chocolate chips provide sweetness and richness. Substituting with cocoa nibs will create a less sweet and more bitter flavor. Use the same amount, but expect a different taste and texture.
Here's How It All Comes Together.
MELT THE BUTTER. I start by melting the butter in a bowl. The butter should be fully liquefied, without any solid bits remaining. I can tell it's ready when it's warm to the touch and shiny.
Pouring melted butter into the mix creates a rich base for the cookies. If I leave it too long, it can get too hot or even start to bubble. That can affect how it combines with the sugars later on.
I make sure to keep an eye on it, stirring occasionally for even melting. If I skip this step, the cookies will not have the chewy texture they need.
COMBINE THE DRY INGREDIENTS. Next, I combine the dry ingredients in another bowl. This includes the flour, baking soda, and salt. I whisk them together thoroughly.
The mixture should be uniform in color and texture, with no clumps. This step is crucial because it ensures that the leavening agent is evenly distributed. If I don't mix properly, some cookies may rise too much while others stay flat.
I take my time here to get it just right.
MIX WET INGREDIENTS TOGETHER. In a separate bowl, I mix the melted butter with the sugars. I add the egg and vanilla extract. I use a whisk to blend everything until it's smooth and creamy.
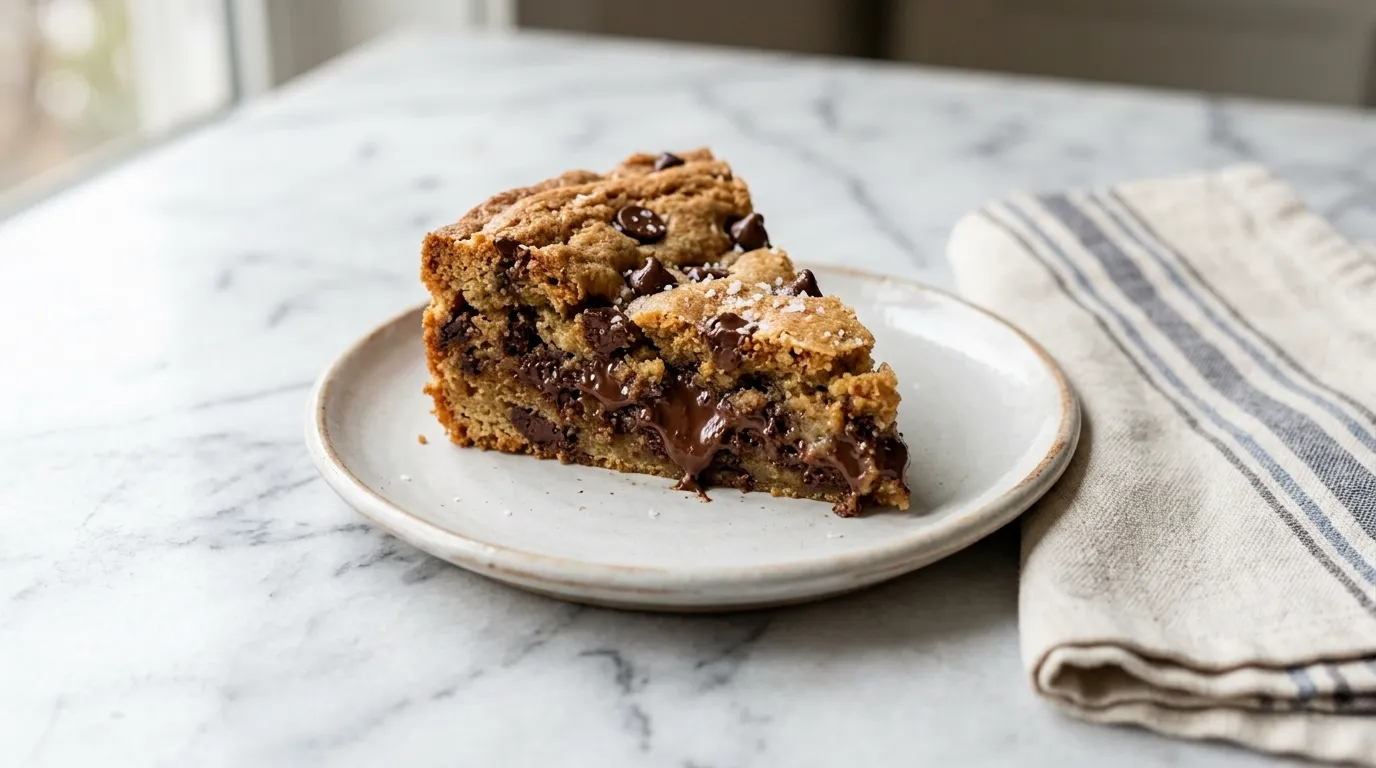
The mixture should look glossy and slightly thick when done. I know it's ready when I can see a consistent texture without lumps. This step is important for achieving the right consistency.
If I don't mix enough, the sugar won't dissolve properly, leading to grainy cookies.
STIR IN THE OATS. I stir in the oats next. I use a sturdy spatula for this part. The oats should be evenly coated with the wet mixture.
The texture becomes thick and chunky, which is perfect for chewy cookies. I can tell it's good when I see the oats evenly distributed throughout. If I skip this step or rush it, the oats may not mix well, leading to uneven bites in the cookies.
I focus on getting a good mix without overworking the dough.
ADD CHOCOLATE CHIPS. Adding chocolate chips is my favorite part. I gently fold them into the dough. I want to see the chips evenly spread throughout the mixture.
They should be visible and not clumped together. I know it's done when I can't see any empty spots. This step is key for that melty chocolate goodness in each bite.
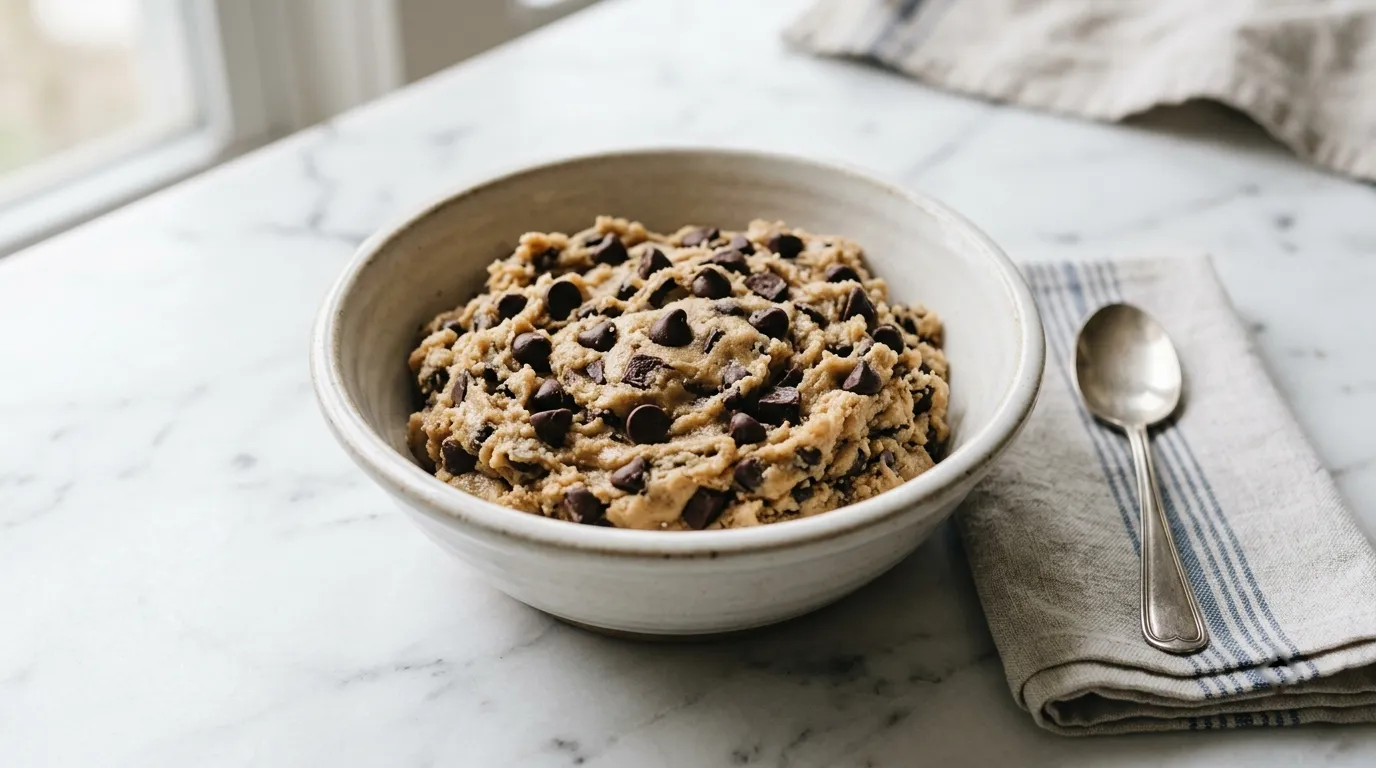
If I don't fold them in gently, I risk breaking the chips or creating a mess. I take care to keep it light and fluffy.
SCOOP AND SHAPE DOUGH. Next, I scoop and shape the dough. I use a spoon to portion out the mixture onto a baking sheet. Each scoop should be rounded and uniform.
I space them apart to allow for spreading during baking. The dough should feel soft yet firm enough to hold its shape. I know it's right when I see nice, round mounds.
If I overcrowd the sheet, the cookies will merge into one another, losing their individual shapes. I maintain space for best results.
BAKE UNTIL GOLDEN. Baking comes next. I place the cookies in the oven and set a timer. I watch closely for the edges to turn golden brown.
The cookies will puff up a bit as they bake. When they are golden and the centers look slightly set, I know they are ready. This step is crucial because underbaking can lead to doughy centers.
If I leave them too long, they can become hard. I find the sweet spot by checking frequently in the last few minutes.
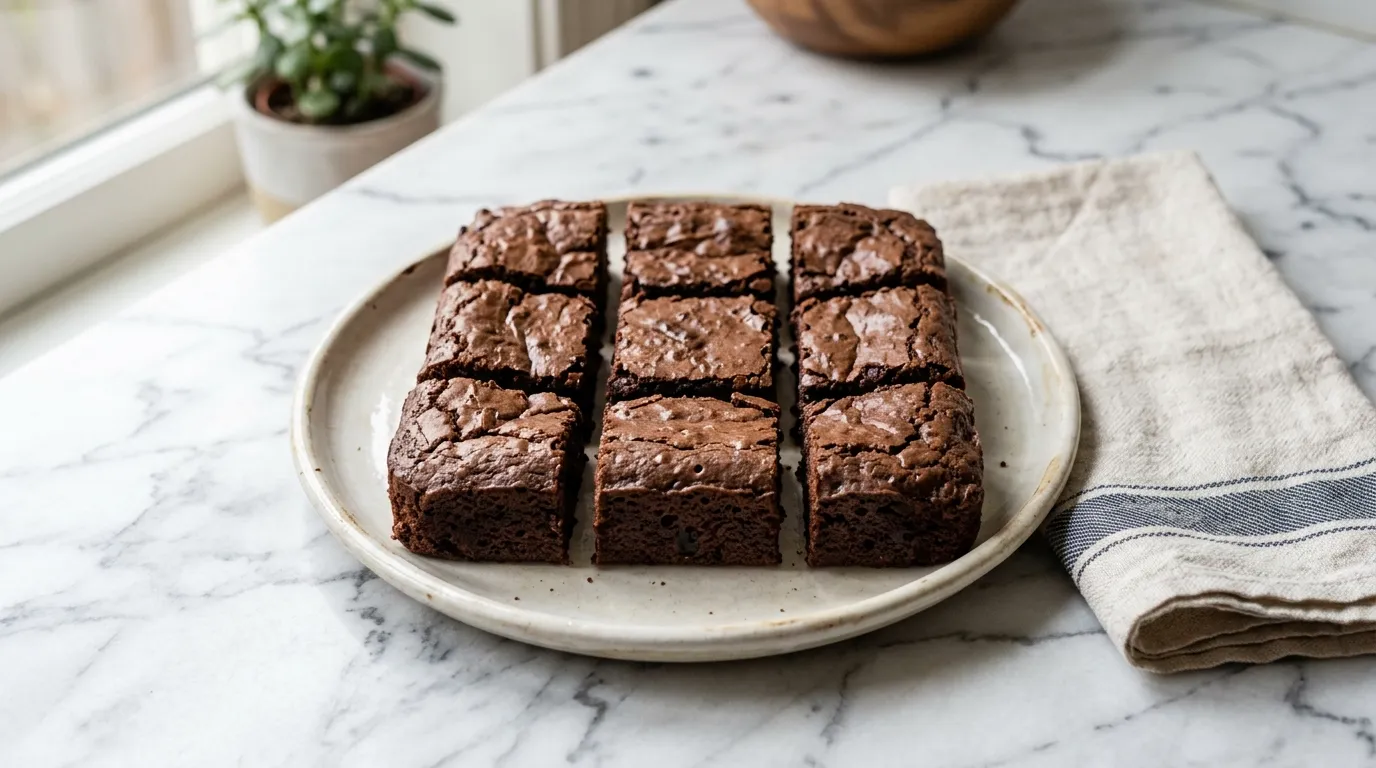
LET COOKIES COOL. Finally, I let the cookies cool on a wire rack. I leave them for a few minutes on the baking sheet before transferring them. The cookies should firm up slightly but remain soft.
I can tell they are cooling properly when they stop steaming. This step is important for holding their shape and texture. If I skip this, the cookies might break apart when I try to move them.
I wait patiently for them to cool completely before indulging.
Small Things That Made a Big Difference.
- Watch the butter temperature. If it gets too hot, it can affect the dough consistency, making the cookies greasy or causing them to spread too much while baking.
- Don't skip the whisking step. If the dry ingredients aren't well mixed, the baking soda may not activate properly, leading to cookies that are unevenly baked and flat.
- Use a sturdy spatula for mixing. If you choose a flimsy one, it may break or bend under pressure, making it difficult to get a good mix and resulting in clumpy dough.
- Space the dough properly. If the cookies are too close together, they will merge during baking, leading to misshapen cookies that lose their individual appeal.
- Check the cookies early. If you wait too long to check for doneness, you risk overbaking, which can lead to hard cookies instead of chewy ones.
Mistakes I Made So You Don't Have To.
- Overmixing the dough Overmixing can lead to tough cookies. It develops gluten, which makes them chewy in a bad way. Mix just until combined to keep them soft and tender.
- Not spacing the cookies If the cookies are too close together, they will merge while baking. This leads to flat, misshapen cookies. Always leave enough space between each scoop on the baking sheet.
- Baking at the wrong temperature Baking at too high a temperature can cause the edges to burn before the centers cook. Always preheat your oven to the correct temperature and check with an oven thermometer if unsure.
- Skipping the cooling step Moving cookies too soon can cause them to break apart. They need time to firm up on the rack. Let them cool completely to maintain their shape and texture.
What I Put Next to It.
- Glass of milk Milk pairs perfectly with cookies. The creamy texture complements the chewy oats and chocolate, enhancing the overall experience.
- Vanilla ice cream Ice cream adds a cold, creamy contrast to the warm cookies. It creates a delightful combination of textures and flavors.
- Fresh fruit salad A fruit salad adds a refreshing touch. The sweetness of the fruit balances the richness of the cookies.
- Coffee Coffee offers a nice bitter contrast to the sweetness of the cookies. The flavors work well together, making it a great snack pairing.
Storing What You Don't Finish.
- STORING Store in an airtight container at room temperature for 3 days. Cookies will soften slightly.
- FREEZING Freeze in a freezer-safe container for up to 2 months. Wrap cookies individually to prevent freezer burn.
- REHEATING Reheat in the oven at 350°F for 5 minutes. This restores some chewiness.
Things People Wonder About.
Can I freeze the cookie dough?
Yes, you can freeze the cookie dough. Scoop it into balls and place them on a baking sheet. Freeze until solid, then transfer to a zip-top bag. They can be frozen for up to three months.
How do I store the cookies?
Store the cookies in an airtight container at room temperature. They will stay fresh for about a week. For longer storage, consider freezing.
What can I add to the recipe for extra flavor?
You can add nuts like walnuts or pecans for crunch. About 1 cup of chopped nuts will enhance the flavor and texture without overwhelming the original recipe.
Can I use a different type of flour?
You can substitute whole wheat flour for all-purpose flour, but it may make the cookies denser. Use the same amount, but expect a slightly nuttier flavor and chewier texture.
- 1 cup unsalted butter, melted
- 1 cup brown sugar, packed
- 1/2 cup granulated sugar
- 1 large egg
- 1 teaspoon vanilla extract
- 1 cup all-purpose flour
- 1 teaspoon baking soda
- 1/2 teaspoon salt
- 2 1/2 cups rolled oats
- 1 cup chocolate chips
- 1PREHEAT THE OVEN. To 350 degrees Fahrenheit.
- 2MELT BUTTER AND SUGAR. MELT ONE CUP UNSALTED BUTTER in a saucepan over low heat. Once melted, remove from heat and stir in ONE CUP PACKED BROWN SUGAR and ONE HALF CUP GRANULATED SUGAR until combined.
- 3ADD EGG AND VANILLA. ADD ONE LARGE EGG and ONE TEASPOON VANILLA EXTRACT to the butter and sugar mixture. Whisk until smooth.
- 4MIX IN OATS AND FLOUR. MIX IN TWO AND A HALF CUPS ROLLED OATS, ONE CUP ALL-PURPOSE FLOUR, ONE TEASPOON BAKING SODA, and ONE HALF TEASPOON SALT until fully combined.
- 5INCORPORATE CHOCOLATE CHIPS. INCORPORATE ONE CUP CHOCOLATE CHIPS into the dough, mixing well with a pastry cutter or by hand.
- 6SCOOP ONTO BAKING SHEET. SCOOP the dough onto a SHEET PAN lined with parchment paper, spacing them about two inches apart.
- 7BAKE FOR 10-12 MINUTES. BAKE in the preheated oven for TEN TO TWELVE MINUTES, until golden brown.
- 8SHARE THE LOVE. By leaving a 5-star rating and review!
Reviews
Community Guidelines
We love hearing how this recipe turned out for you. Please keep reviews about the recipe itself, stay kind and helpful to other cooks, and leave out personal details or links. Every review is checked before it appears.