
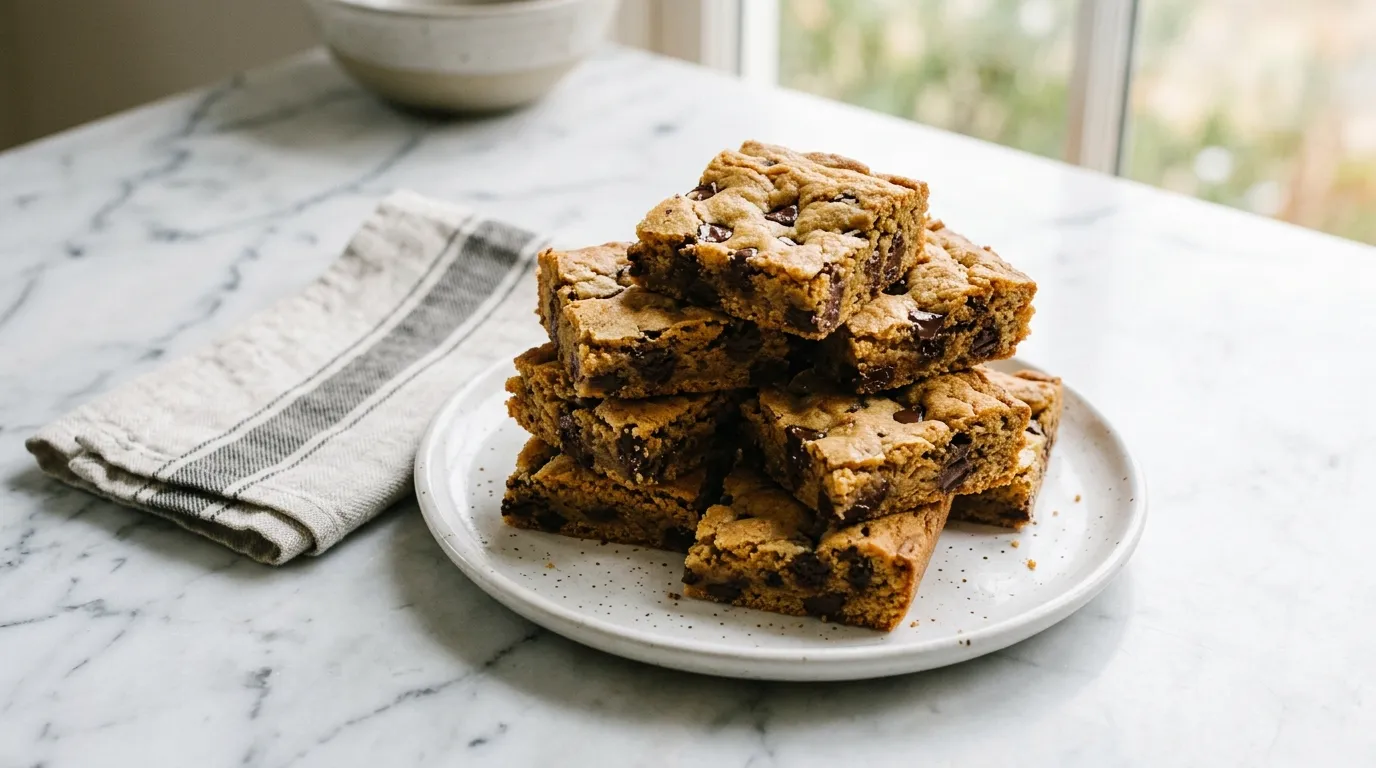
Quick Sheet Pan Cookie for Easy Dessert — This Quick Sheet Pan Cookie recipe has just eight ingredients. It takes about 30 minutes from start to finish. This version is simple and uses one pan for easy cleanup.
My Latest Video
Easy dessert with minimal cleanup.
- This sheet pan cookie allows for a quick bake in one pan. It's a straightforward way to enjoy cookies without the hassle of individual baking sheets.
- Using simple ingredients, this recipe focuses on basic flavors and textures. It's perfect for those who want a warm, sweet treat without complicated steps.
- Cleanup is a breeze with just one pan to wash. This makes it ideal for small kitchens where counter space is limited.
Grab These Before You Start.
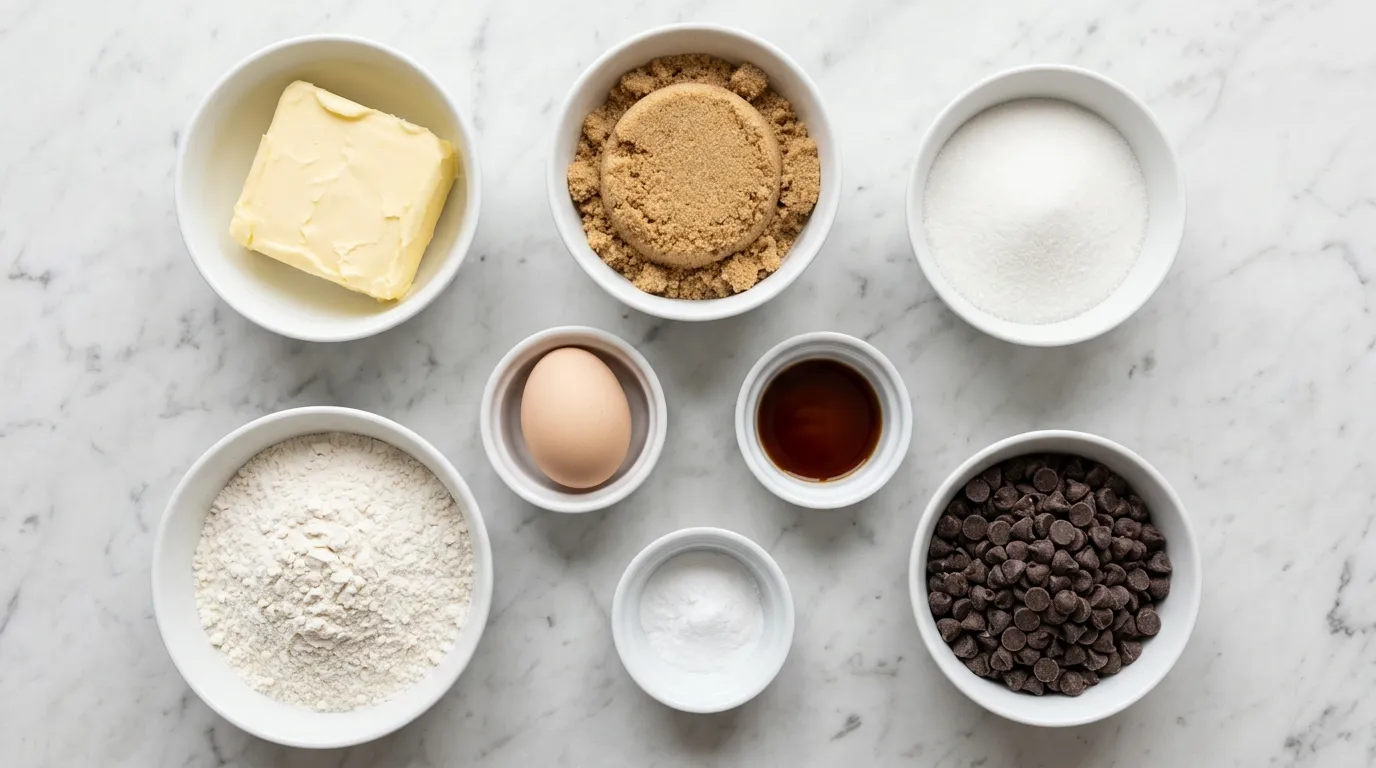
- 1 cup unsalted butter
- 1 cup brown sugar
- 1/2 cup granulated sugar
- 1 large egg
- 1 teaspoon vanilla extract
- 2 cups all-purpose flour
- 1/2 teaspoon baking soda
- 1 cup chocolate chips
The Ones I'm Picky About.
- Unsalted butter Unsalted butter allows for better control of salt levels in the cookie. If using salted butter, reduce added salt by about 1/4 teaspoon. The fat content in butter helps create a rich flavor and contributes to the cookie's chewy texture.
- Brown sugar Brown sugar adds moisture and a deeper flavor due to its molasses content. If substituting with white sugar, the cookies will be less chewy and slightly drier. Use the same amount, but consider adding a teaspoon of molasses to mimic the flavor.
- Granulated sugar Granulated sugar helps with the cookie's spread and creates a crisp edge. Using only brown sugar could make the cookie denser and less crispy. If substituting, stick with a 1:1 ratio but expect a softer result.
- All-purpose flour All-purpose flour provides structure to the cookie. Using cake flour will result in a softer cookie, while bread flour will yield a chewier texture. If substituting, use the same amount but be prepared for a different texture.
Here's How I Put It Together.
MELT THE BUTTER. I start by melting the butter in a saucepan over low heat. It takes a few minutes for the butter to become completely liquid. I stir it occasionally.
A gentle bubbling sound tells me it's melting properly. Once melted, the butter should look smooth and glossy. If it starts to foam, I know to reduce the heat.
If I let it get too hot, it can burn, and that flavor will ruin my cookie. I remove it from the heat and let it cool slightly before moving on to the next step.
COMBINE SUGARS AND BUTTER. Next, I combine the melted butter with the sugar in a large mixing bowl. I mix them together until the sugars are fully incorporated.
The mixture should appear thick and creamy, with a light color. I know I've done it right when I see no granules of sugar left.
If I don't mix it well enough, the sugars won't dissolve properly when baking, leading to a gritty texture. I use a whisk or a spatula for this step, ensuring a smooth blend before adding the egg and vanilla.
ADD EGG AND VANILLA. I then add the egg and vanilla extract to the mixture. I stir it in until everything is well combined.
The batter should look glossy and smooth at this stage. A good sign of success is the batter becoming lighter in color and thicker in texture.
If I skip this step or rush it, the cookie won't have that rich flavor and might not rise as it should. I take my time here, incorporating the egg fully before moving forward.
MIX IN DRY INGREDIENTS. After that, I mix in the dry ingredients. I add the flour and baking soda gradually, folding it in carefully. I want to avoid over-mixing, which can toughen the cookie.
The dough should start to come together and form a ball. If it looks too crumbly, I know I need to mix a bit more. However, if I overwork it, the cookies can turn out dense.
I stop mixing when there are just a few streaks of flour left, as they will incorporate during the next steps.
SPREAD INTO PAN. With the dough ready, I spread it evenly into a sheet pan. I use a spatula to ensure it reaches the corners without leaving any gaps.
It should form a smooth layer. A well-spread dough ensures even baking, which is crucial.
If it's too thick in some areas, those spots may remain undercooked, while others could burn. I keep an eye on the thickness, making sure it's uniform across the pan.
TOP WITH CHOCOLATE CHIPS. Next, I top the dough with chocolate chips. I sprinkle them generously over the surface. This gives the cookie a delightful chocolatey flavor.
I press them in lightly so they stick. The visual cue here is the chocolate chips starting to nestle into the dough. If I forget to press them in, they might just sit on top, and that could lead to uneven melting.
I want every bite to have that rich chocolate goodness, so I make sure they are well-distributed.
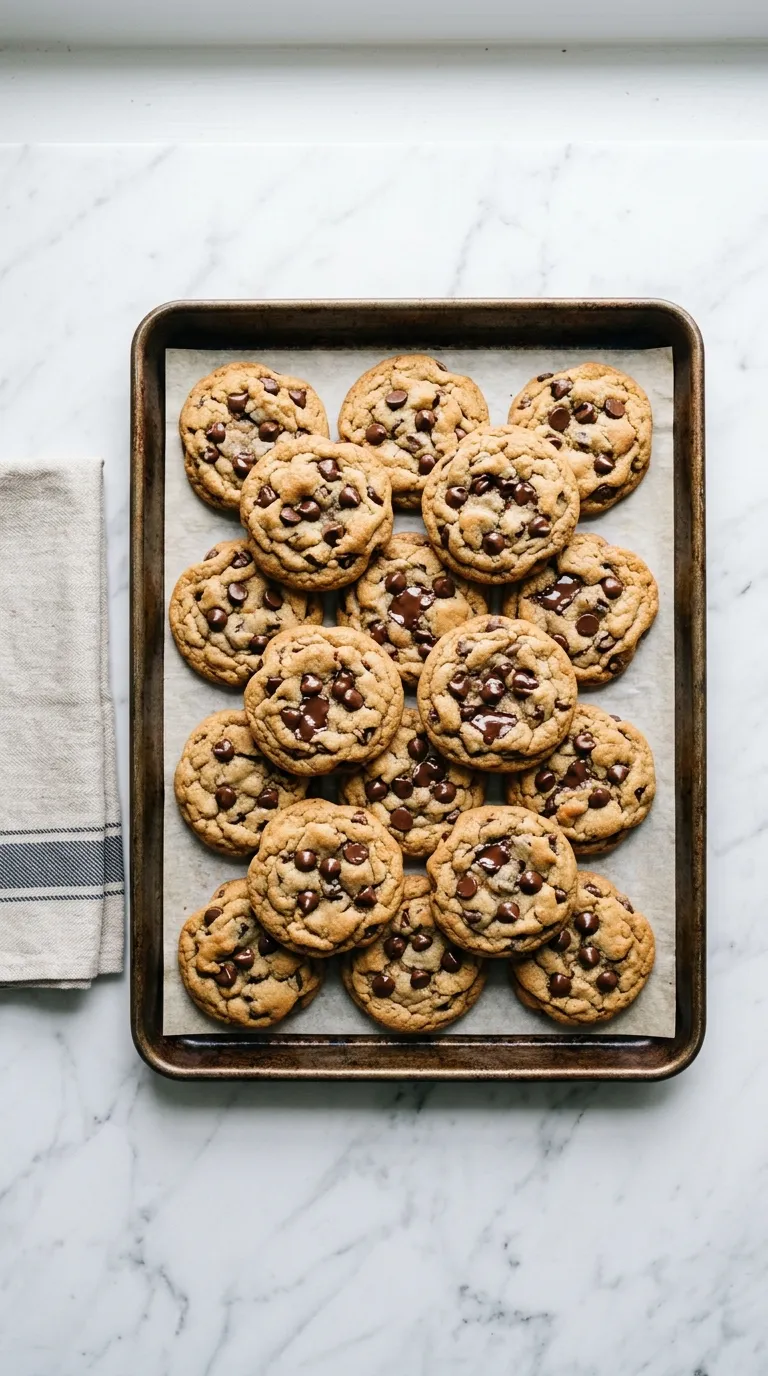
BAKE UNTIL GOLDEN. I place the sheet pan in the oven to bake. The aroma fills the kitchen as it cooks. I keep an eye on it, looking for a golden-brown color on the edges.
I know it's done when the top starts to look set and slightly crackled. If I take it out too early, the center may remain gooey. Timing is key here to achieve the right texture.
I set a timer for about 20 minutes, checking it periodically to avoid overbaking.
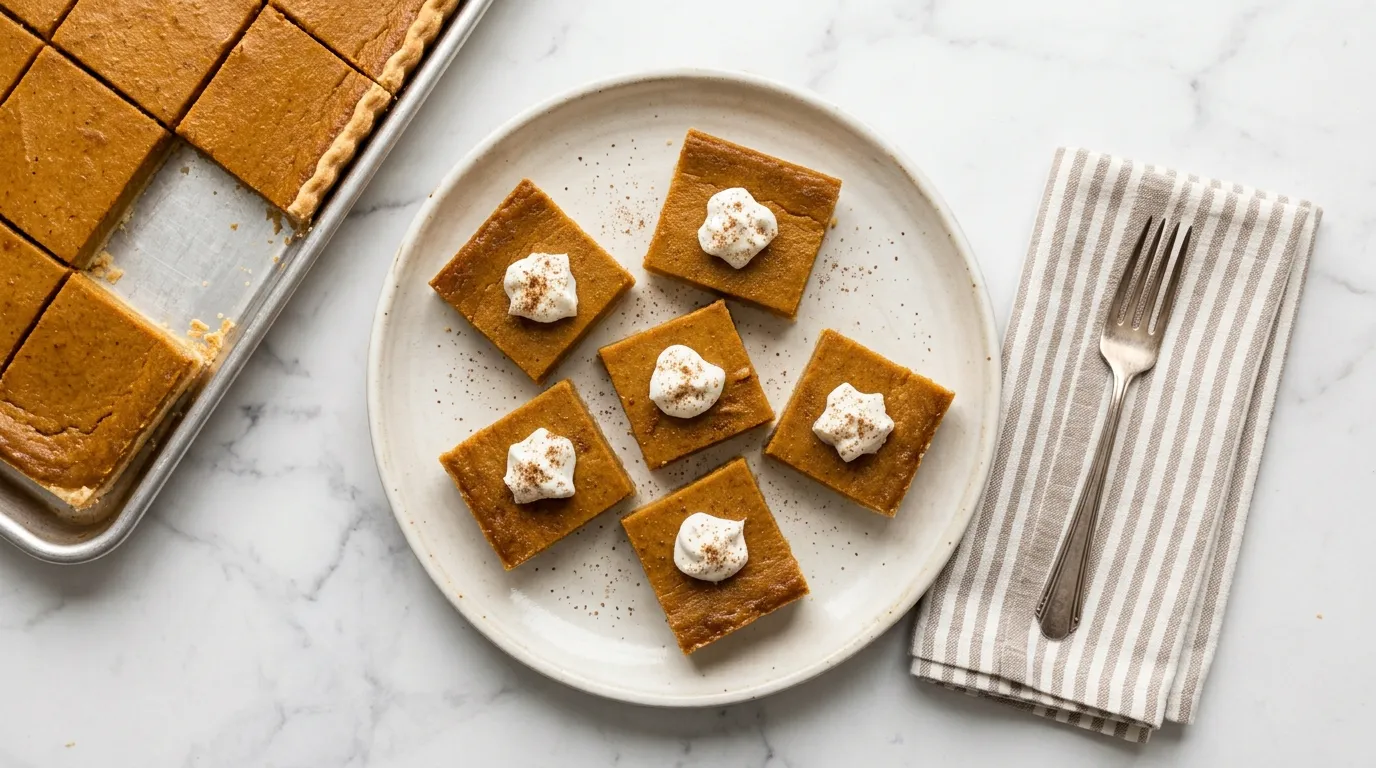
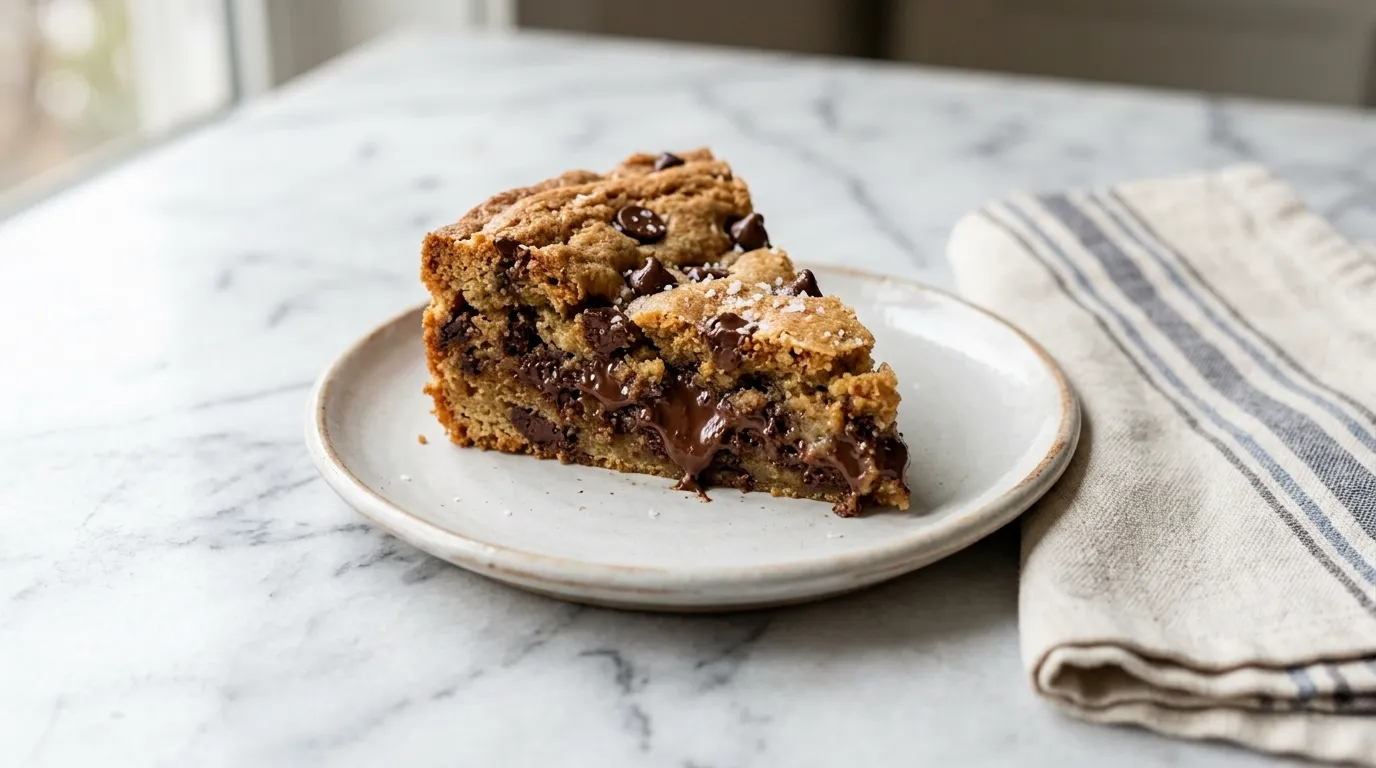
LET COOL AND SLICE. Finally, I let the cookie cool on the pan for a few minutes before slicing it. The edges should feel firm, and the center will still be soft.
I know it's the right time to cut when it's cool enough to handle but warm enough to melt the chocolate slightly. If I skip this cooling step, it might crumble when I try to slice it.
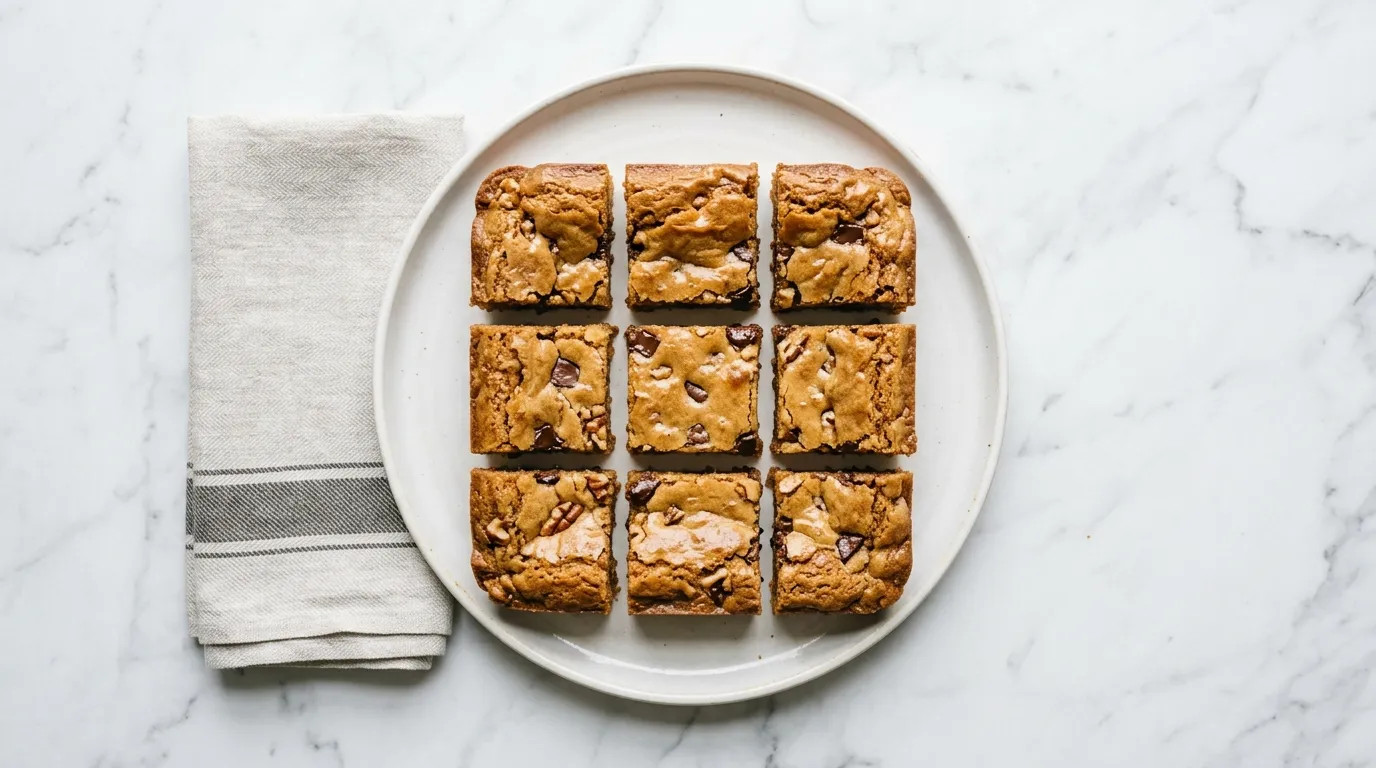
I use a sharp knife for clean cuts, creating perfect squares to serve.
Small Things That Made a Big Difference.
- Keep an eye on the oven temperature. If it's too high, the cookies may brown too quickly on the outside while remaining raw in the center. This can lead to a cookie that looks perfect but has a gooey texture inside.
- Use room temperature ingredients. If the butter or egg is too cold, it can cause the dough to be unevenly mixed, resulting in a dense cookie. This can affect the overall texture and make your cookies less enjoyable.
- Don't skip the cooling time before slicing. Cutting too soon can make the cookie crumble and fall apart. Allowing it to cool lets the structure set, leading to clean slices and a better presentation.
- Be cautious with the thickness of the dough in the pan. If it's too thick in some areas, those spots may remain undercooked while others burn. A uniform layer ensures even baking and a consistent texture throughout the cookie.
- Press the chocolate chips into the dough firmly. If you skip this step, the chips may not melt evenly or could fall off when you slice the cookie. Pressing them in guarantees a rich chocolate flavor in every bite.
Where It's Easy to Slip.
- Not melting the butter correctly If the butter burns, it can create an off-putting flavor in your cookies. Melt it slowly and keep an eye on it. Remove from heat as soon as it's fully melted and let it cool slightly.
- Over-mixing the dough Over-mixing can lead to tough cookies. Mix just until the flour is incorporated, leaving a few streaks. Stop mixing to maintain a tender texture.
- Ignoring dough thickness If the dough is too thick in spots, those areas may remain raw while others burn. Spread it evenly across the pan, checking for uniform thickness to ensure even baking.
- Not pressing in the chocolate chips If chocolate chips aren't pressed into the dough, they may not melt evenly. Press them in lightly to ensure each bite has that delicious chocolate flavor throughout.
What Goes Well with This.
- Vanilla ice cream The cold creaminess of vanilla ice cream complements the warm, gooey cookie perfectly. It creates a delightful contrast in temperature and texture.
- Fresh berries Berries add a fresh, fruity note that balances the sweetness of the cookie. Their acidity cuts through the richness, enhancing the overall flavor.
- Espresso A shot of espresso pairs wonderfully with the cookie's sweetness. The bold coffee flavor enhances the chocolate notes, creating a delightful combination.
- Caramel sauce Drizzling warm caramel over the cookie adds an extra layer of sweetness and richness. It enhances the dessert experience with its gooey texture.
Keeping It for Later.
- STORING Keep in an airtight container for up to 2 days. The crust softens over time.
- REHEATING Reheat in a 350°F oven for 5-10 minutes. The edges become crispy again.
What Readers Write in About.
Can I use whole wheat flour instead?
Yes, you can substitute whole wheat flour for half of the all-purpose flour. This will add a nuttier flavor and a slightly denser texture to the cookies.
How long can I store the leftover cookies?
Store the cookies in an airtight container at room temperature for up to five days. For longer storage, freeze them for up to three months.
What can I add for extra flavor?
Consider adding a teaspoon of cinnamon or a pinch of sea salt to enhance the cookie's flavor. You can also mix in nuts or dried fruit for variety.
Can I make this recipe without an egg?
Yes, you can substitute the egg with 1/4 cup of unsweetened applesauce or a flax egg (1 tablespoon ground flaxseed mixed with 2.5 tablespoons water). This will keep the cookies moist.
- 1 cup unsalted butter
- 1 cup brown sugar
- 1/2 cup granulated sugar
- 1 large egg
- 1 teaspoon vanilla extract
- 2 cups all-purpose flour
- 1/2 teaspoon baking soda
- 1 cup chocolate chips
- 1PREHEAT OVEN TO 350°F.
- 2MELT BUTTER IN SAUCEPAN. MELT 1 cup unsalted butter IN A SAUCEPAN OVER LOW HEAT.
- 3WHISK IN SUGARS. WHISK IN 1 cup brown sugar AND 1/2 cup granulated sugar UNTIL COMBINED.
- 4ADD EGG AND VANILLA. ADD 1 large egg AND 1 teaspoon vanilla extract; MIX UNTIL SMOOTH.
- 5STIR IN FLOUR AND BAKING SODA. STIR IN 2 cups all-purpose flour AND 1/2 teaspoon baking soda UNTIL JUST COMBINED.
- 6SPREAD BATTER IN 9x13 PAN. SPREAD BATTER IN A 9x13 inch baking dish EVENLY.
- 7SPRINKLE WITH CHOCOLATE CHIPS. SPRINKLE WITH 1 cup chocolate chips.
- 8BAKE FOR 20-25 MINUTES. OR UNTIL GOLDEN.
- 9SHARE THE LOVE. PLEASE RATE THIS RECIPE 5 STARS AND LEAVE A REVIEW.
Reviews
Community Guidelines
We love hearing how this recipe turned out for you. Please keep reviews about the recipe itself, stay kind and helpful to other cooks, and leave out personal details or links. Every review is checked before it appears.