
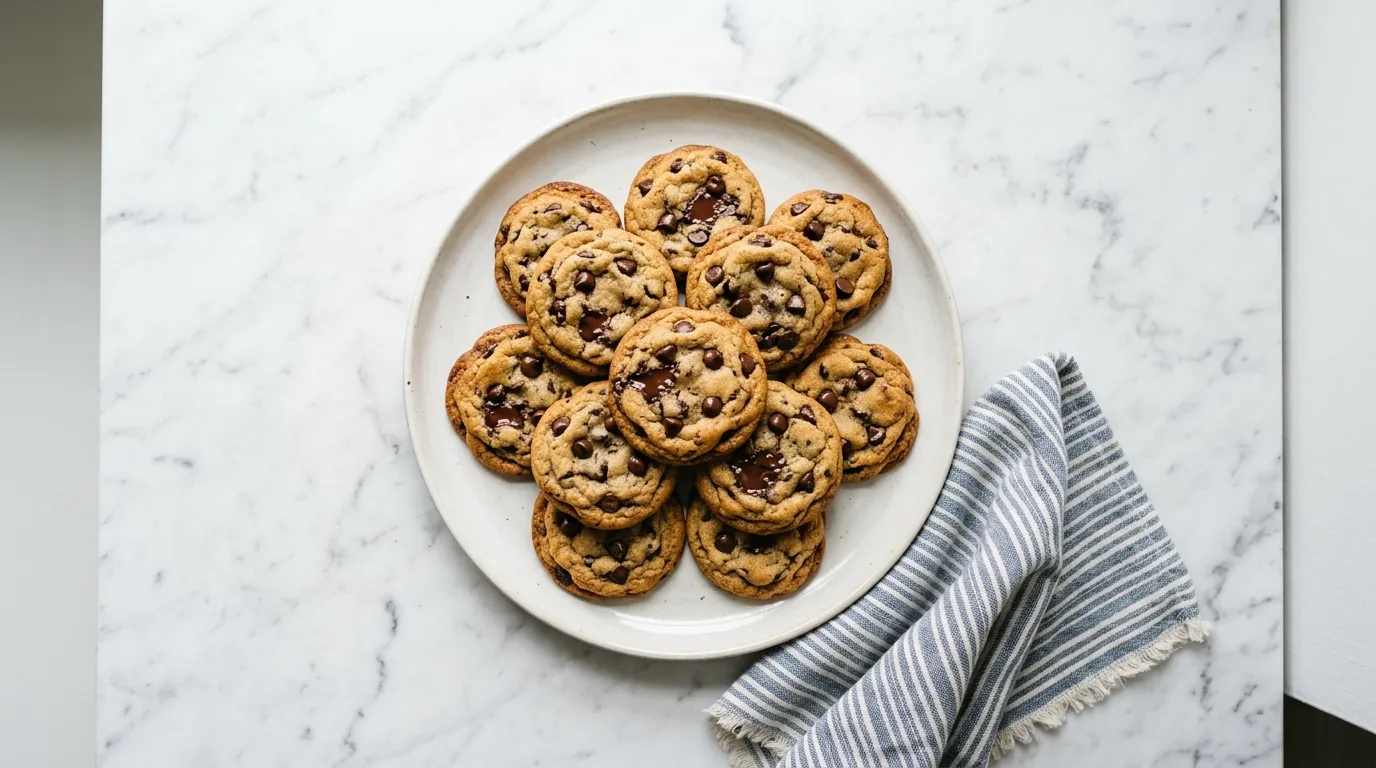
Classic Chocolate Chip Cookies for Every Occasion — Classic chocolate chip cookies are easy to make with just eight ingredients. I whip them up in one bowl and bake them on a single sheet pan. This recipe offers a balanced sweetness and a rich chocolate flavor.
My Latest Video
A comforting treat for any occasion.
- This recipe focuses on the classic chocolate chip cookie, highlighting the rich blend of brown and granulated sugars that enhances the cookie's depth.
- Using melted butter results in a chewy texture, creating a delightful contrast with the chocolate chips in every bite.
- The simplicity of the ingredients makes this recipe approachable, whether for a quick snack or a gathering with friends.
What Goes in the Bowl.
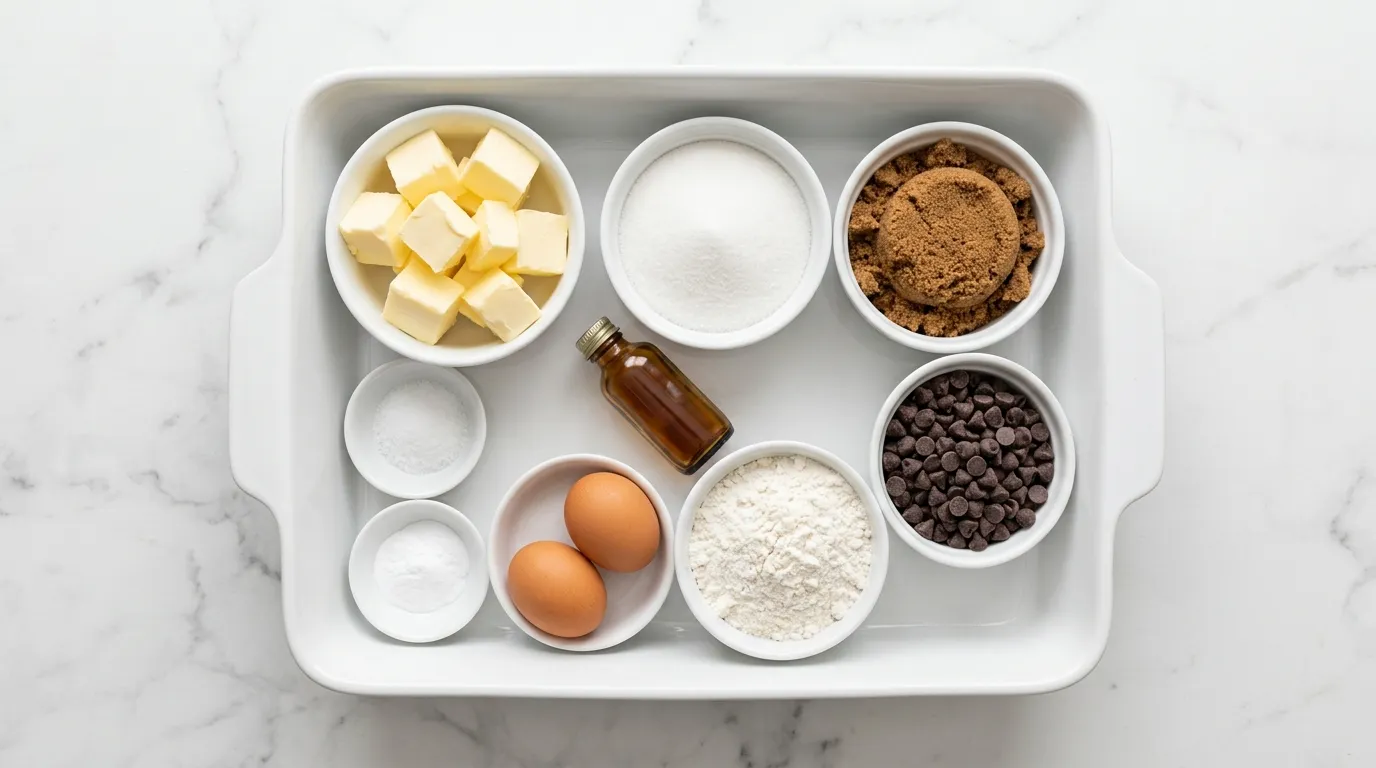
- 1 cup unsalted butter, melted
- 1 cup granulated sugar
- 1 cup brown sugar, packed
- 2 large eggs
- 2 teaspoons vanilla extract
- 2 1/4 cups all purpose flour
- 1 teaspoon baking soda
- 1 teaspoon salt
- 2 cups chocolate chips
Where the Choices Matter.
- Unsalted butter Unsalted butter provides control over the salt level in the cookies. Salted butter may lead to overly salty cookies. If using salted butter, reduce the added salt to 3/4 teaspoon.
- Granulated sugar Granulated sugar contributes to the cookies' crispness. Using brown sugar instead will create a softer texture. If substituting, use the same amount, but be aware that the cookies will be chewier.
- Brown sugar Brown sugar adds moisture and depth of flavor. White sugar does not have the same molasses content, leading to drier cookies. If using white sugar instead, keep the amount the same but expect a different taste and texture.
- Chocolate chips Chocolate chips provide sweetness and richness. Use chunks for a more intense chocolate experience or a mix of both for variety. If using chunks, use the same amount, but they may melt differently.
How It Goes from Bowl to Table.
MELT THE BUTTER. I start by melting the butter in a saucepan over low heat. Watching it transform from solid to liquid is satisfying. The smooth, glossy texture tells me it's ready. I stir it occasionally to prevent it from browning.
If it turns brown, it will change the flavor of the cookies. I want it to be just melted, not cooked. Once it's fully melted, I remove it from the heat and let it cool slightly. This cooling step is important.
If I add hot butter to the sugars, it could melt them too much, resulting in a greasy dough. I want a nice balance in the mixture, so I give it a moment before moving on to the next step.
COMBINE SUGARS. The next step involves combining the sugars in a large mixing bowl. I add the granulated sugar first, then the brown sugar. I mix them together using a whisk.
This part is crucial for breaking up any clumps in the brown sugar. As I whisk, I can see the sugars blend into a uniform mixture. The texture should feel light and fluffy.
If I skip this step, the sugars won't incorporate well into the batter, leading to uneven sweetness. I want that perfect sweetness in every bite, so the whisking is key. Once blended, I can move forward with the recipe.
ADD EGG AND VANILLA. After the sugars are combined, it's time to add in the eggs and vanilla. I crack the eggs directly into the bowl and pour in the vanilla extract. The eggs add moisture and richness to the mix.
I whisk again until everything is well combined. The mixture will become smooth and slightly frothy. If I see any visible egg whites, I know I need to whisk more.
This ensures that the eggs are fully incorporated. Ignoring this could leave pockets of egg in the dough, which wouldn't bake well. The aroma of the vanilla fills the kitchen, adding to the anticipation.
WHISK IN DRY INGREDIENTS. Next, I whisk in the dry ingredients. I take the flour, baking soda, and salt and add them to the wet mixture. The key is to mix slowly to avoid a cloud of flour.
As I combine, I pay attention to the texture. It should start to thicken and become a soft dough. If I overmix at this stage, the cookies can become tough.
I want just enough mixing to see no dry flour left but not so much that it loses its softness. The dough should feel cohesive and slightly sticky, but not overly wet. Once I achieve that, I know it's time to proceed.
FOLD IN CHOCOLATE CHIPS. Now it's time to fold in the chocolate chips. I add them to the dough, ensuring an even distribution. Using a spatula, I gently turn the dough over itself.
This technique keeps the chips intact and prevents them from breaking. I want to see the chips speckled throughout the dough. If I stir too aggressively, the chips might break apart, losing that nice chocolate chunk texture.
The dough should feel thick and slightly sticky from the added chocolate. Once I'm satisfied with the distribution, I know it's ready for the next step.
SCOOP DOUGH ONTO SHEET. I scoop the dough onto a baking sheet lined with parchment paper. Using a cookie scoop makes this part easier, but I can also use two spoons. I leave space between each scoop, allowing them to spread while baking.
I can tell I've done this correctly when the dough mounds look nice and rounded. If they are too close together, they will merge into one big cookie. I want each cookie to have its own space to expand and develop that lovely golden edge.
Once the sheet is filled, I'm ready to bake them.
BAKE UNTIL GOLDEN. The cookies go into the oven for baking. I watch closely as they cook. The edges will start to turn golden brown, while the centers remain soft.
A little puffiness is a good sign too. I can smell the delightful aroma filling the kitchen. This is the moment I know they are close to being done.
If I take them out too early, they will be doughy in the middle, but if I leave them too long, they become hard. The perfect balance is key to achieving that chewy yet firm cookie. Once they reach that golden color and my kitchen smells heavenly, I'm ready to take them out.
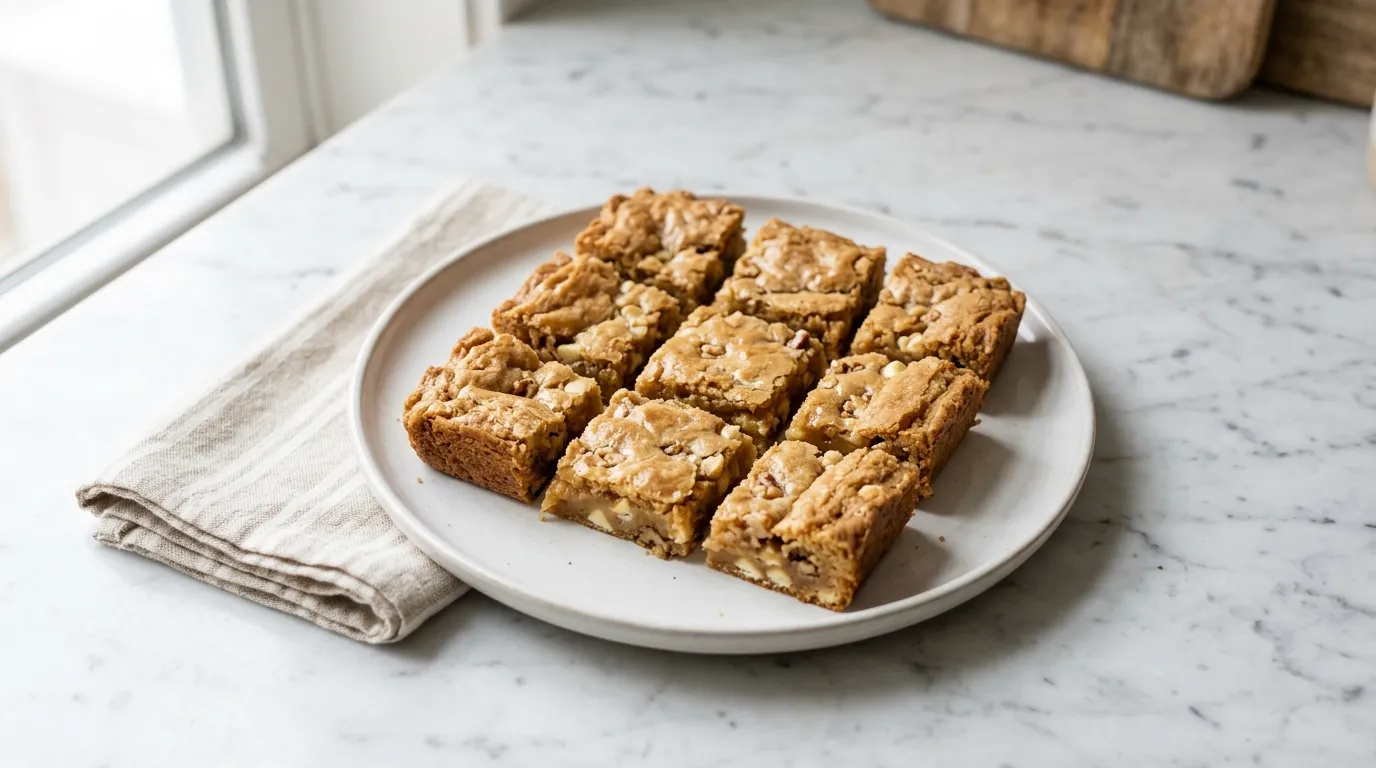
COOL AND ENJOY. After baking, I let the cookies cool on the sheet for a few minutes. This allows them to set before transferring them to a wire rack. I can see the cookies firming up as they cool.
They should be soft to the touch but not fall apart. If I skip this cooling time, they might break when I try to move them. Once they are cool enough to handle, I transfer them and let them cool completely.
Now I can finally enjoy my delicious creation. The texture should be soft and chewy, with gooey chocolate chips throughout.
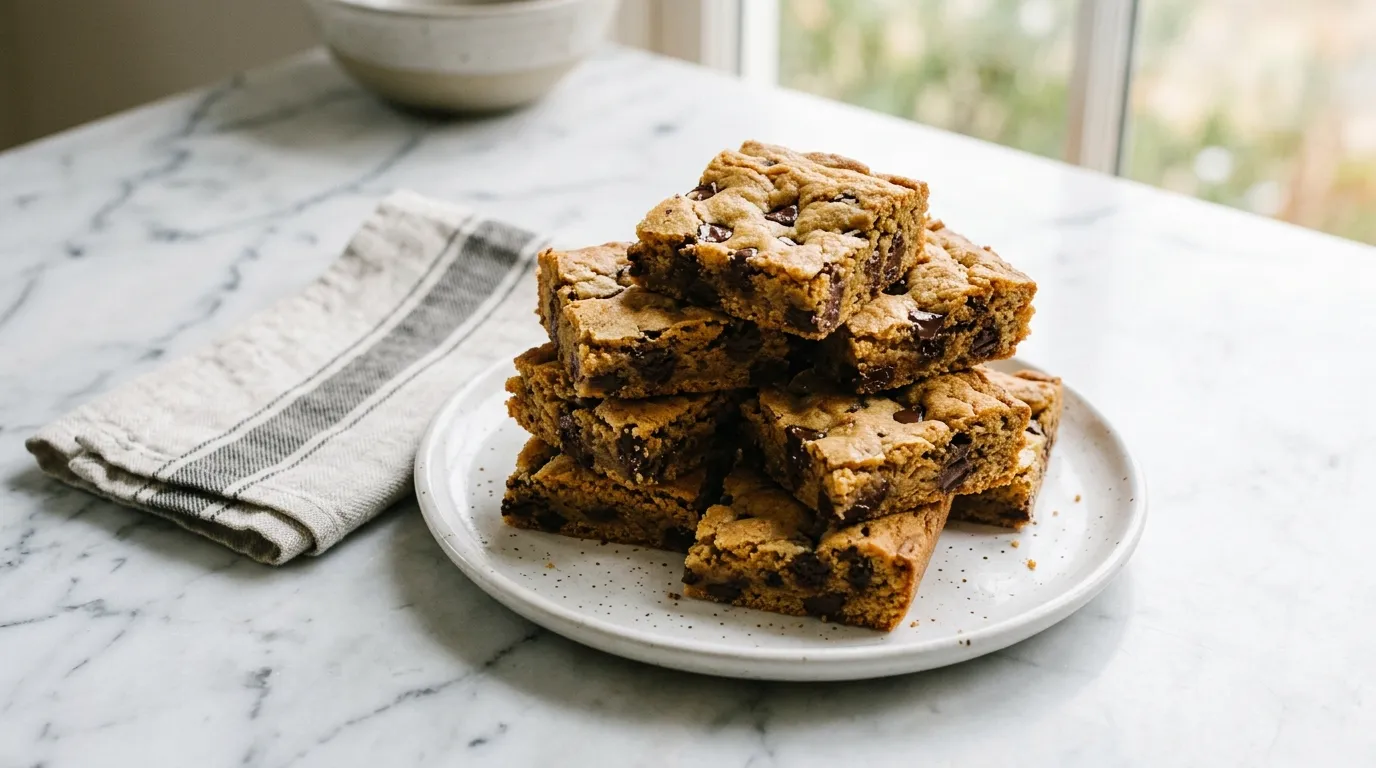
Lessons from Doing This More Than Once.
- Use room temperature eggs. Cold eggs can cause the butter to solidify again, resulting in a lumpy batter that doesn't mix well. This can lead to unevenly baked cookies with pockets of butter and a poor texture.
- Measure flour correctly. Spoon the flour into the measuring cup instead of scooping it. Scooping can compact the flour, leading to too much flour in the dough. This will make your cookies dry and crumbly instead of soft and chewy.
- Chill the dough if necessary. If the dough feels too soft or sticky, chilling it for about 30 minutes can help. Skipping this step can result in cookies that spread too much while baking, leading to flat, irregular shapes.
- Don't skip the cooling time. Letting the cookies cool on the sheet is crucial. If you move them too soon, they may break apart and lose their shape. This cooling helps them firm up, ensuring a better texture.
- Check your oven temperature. An oven that runs hot can lead to cookies that brown too quickly on the outside while staying raw inside. This could ruin the overall baking process and leave you with unevenly baked cookies.
What I Got Wrong the First Time.
- Overmixing the dough Overmixing can create tough cookies due to gluten development. This happens when flour is mixed too vigorously. Instead, mix until just combined to maintain a soft texture.
- Using hot butter Hot butter can melt the sugars too much, leading to greasy dough. This results in cookies that spread too thin. Always let the butter cool slightly before adding it to the sugars.
- Not spacing the dough If the dough scoops are too close together, the cookies will merge while baking. This leads to one large cookie instead of individual ones. Make sure to leave enough space between each scoop.
- Baking too long Baking cookies too long will make them hard instead of chewy. The edges should be golden, while the centers remain soft. Keep an eye on them towards the end of baking.
How I Round Out the Plate.
- Vanilla ice cream Vanilla ice cream pairs perfectly with warm chocolate chip cookies. The cold creaminess complements the warm, gooey chocolate, creating a delightful contrast.
- Cold glass of milk A classic pairing, milk balances the sweetness of the cookies. The richness of the milk enhances the chocolate flavor and adds to the overall enjoyment.
- Coffee Coffee provides a nice contrast to the sweetness of the cookies. The bitterness of the coffee enhances the chocolate flavor and makes for a satisfying treat.
- Fresh strawberries Fresh strawberries add a fruity freshness that cuts through the richness of the cookies. Their sweetness complements the chocolate and adds a vibrant color to the plate.
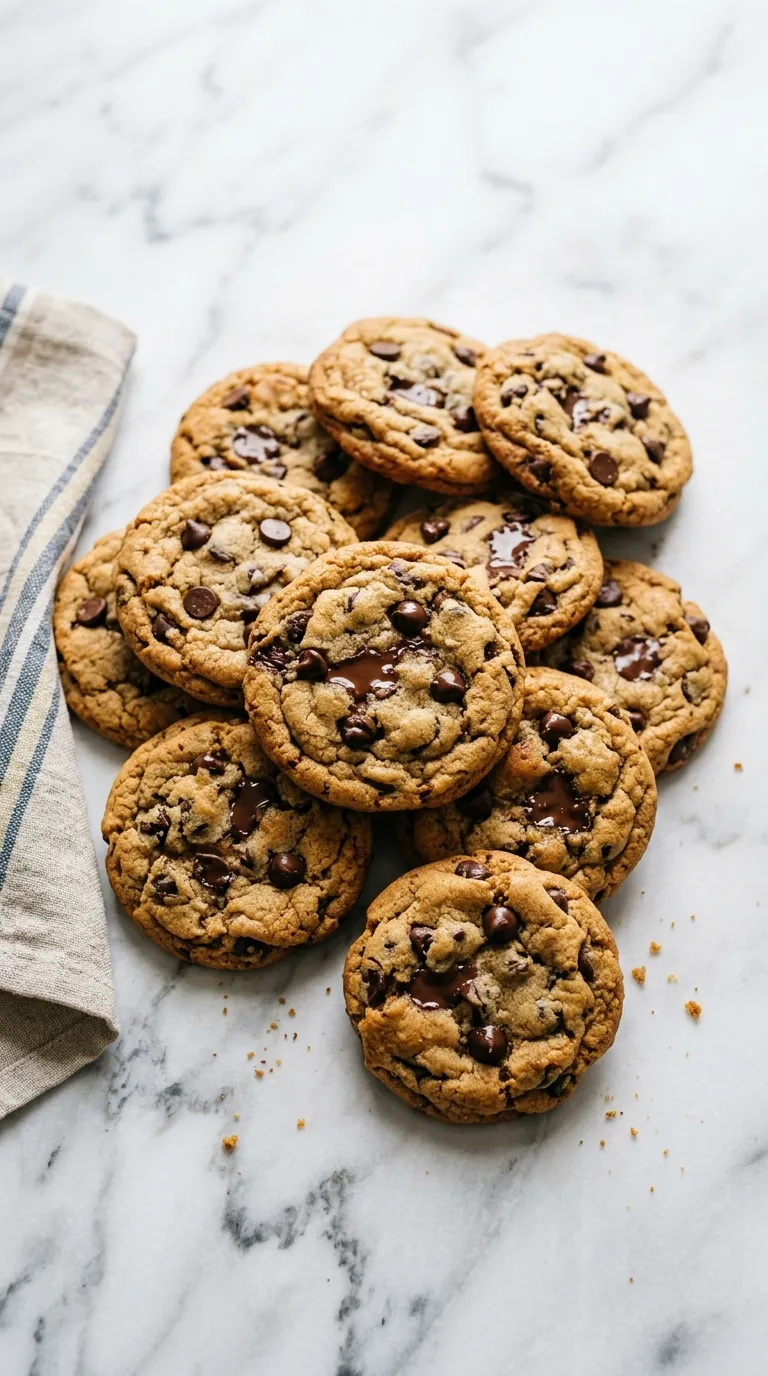
How to Keep It Good.
- STORING Keep in an airtight container for 3 days. Cookies soften as they sit.
- FREEZING Wrap individually in plastic wrap and place in a freezer-safe bag. Freeze for up to 2 months. Texture may become crumbly upon thawing.
- REHEATING Reheat in a 350°F oven for 5-7 minutes. Cookies will regain some crispness.
Answering the Usual Ones.
Can I freeze the cookie dough?
Yes, you can freeze the cookie dough. Scoop it into balls and freeze them on a baking sheet. Once frozen, transfer them to a zip-top bag for up to three months.
How long do the cookies stay fresh?
Stored in an airtight container, the cookies will stay fresh for about a week. If you want them to last longer, consider freezing them.
What can I add to the cookies for extra flavor?
You can add nuts, like walnuts or pecans, for crunch. You can also mix in dried fruit or different types of chocolate for variety. About 1 cup of add-ins will work well.
Can I use gluten-free flour?
Yes, you can substitute all-purpose flour with a gluten-free blend. Use a 1:1 ratio, but check the blend for specific instructions, as some may require additional binding agents.
- 1 cup unsalted butter, melted
- 1 cup granulated sugar
- 1 cup brown sugar, packed
- 2 large eggs
- 2 teaspoons vanilla extract
- 2 1/4 cups all purpose flour
- 1 teaspoon baking soda
- 1 teaspoon salt
- 2 cups chocolate chips
- 1PREHEAT OVEN TO 350°F.
- 2MELT BUTTER IN A SAUCEPAN. MELT ONE CUP UNSALTED BUTTER IN A SAUCEPAN OVER LOW HEAT.
- 3MIX SUGARS WITH BUTTER. MIX ONE CUP GRANULATED SUGAR AND ONE CUP PACKED BROWN SUGAR WITH THE MELTED BUTTER IN A BOWL UNTIL COMBINED.
- 4INCORPORATE EGG AND VANILLA. INCORPORATE TWO LARGE EGGS AND TWO TEASPOONS VANILLA EXTRACT INTO THE SUGAR AND BUTTER MIXTURE, WHISKING UNTIL SMOOTH.
- 5COMBINE DRY INGREDIENTS. COMBINE TWO AND ONE QUARTER CUPS ALL PURPOSE FLOUR, ONE TEASPOON BAKING SODA, AND ONE TEASPOON SALT IN A SEPARATE BOWL.
- 6ADD DRY INGREDIENTS TO WET. ADD THE DRY INGREDIENTS TO THE WET MIXTURE AND STIR UNTIL JUST COMBINED.
- 7MIX IN CHOCOLATE CHIPS. MIX IN TWO CUPS CHOCOLATE CHIPS UNTIL EVENLY DISTRIBUTED.
- 8SCOOP ONTO SHEET PAN. SCOOP THE COOKIE DOUGH ONTO A SHEET PAN, LEAVING SPACE BETWEEN COOKIES.
- 9SHARE THE LOVE. PLEASE CONSIDER GIVING A 5-STAR RATING AND REVIEW.
Reviews
Community Guidelines
We love hearing how this recipe turned out for you. Please keep reviews about the recipe itself, stay kind and helpful to other cooks, and leave out personal details or links. Every review is checked before it appears.