
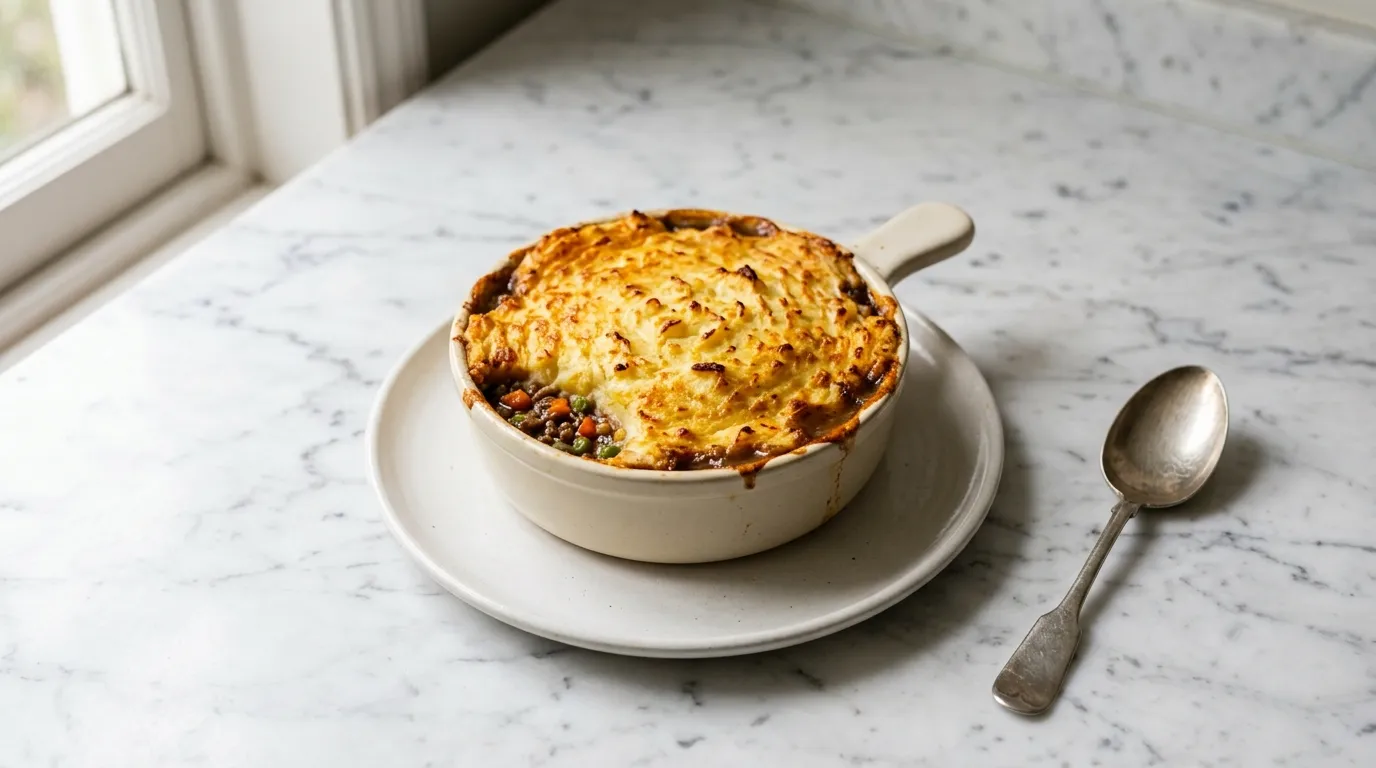
Classic Cottage Pie for a Cozy Meal — Classic Cottage Pie features 10 simple ingredients. I combine ground beef with vegetables and top it with creamy mashed potatoes. This version uses a single pan for easy cooking and cleanup.
My Latest Video
Hearty comfort food for all occasions.
- This Cottage Pie includes ground beef and vegetables, creating a satisfying meal. The creamy mashed potato topping adds a comforting layer.
- It's cooked in one pan, making it easy to prepare and clean up in a small kitchen.
- This dish is perfect for chilly evenings, providing warmth and a fulfilling taste that brings everyone together.
What You'll Be Working With.
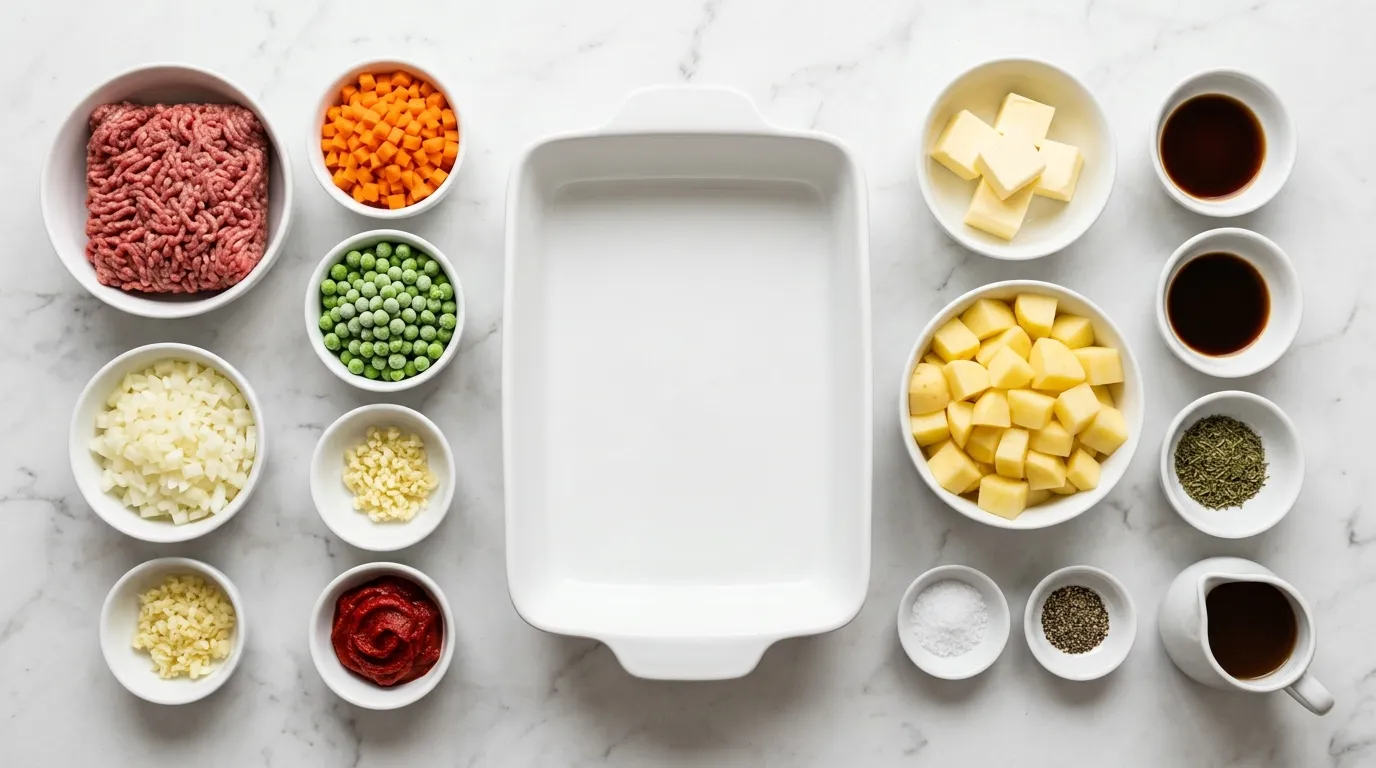
- 1 pound ground beef
- 1 cup carrots, diced
- 1 cup peas, frozen
- 1 cup onion, diced
- 2 cloves garlic, minced
- 2 tablespoons tomato paste
- 1 cup beef broth
- 1 teaspoon Worcestershire sauce
- 1 teaspoon dried thyme
- 2 pounds potatoes, peeled and diced
- 4 tablespoons butter
- 1/2 cup milk
- Salt and pepper to taste
Worth Knowing About a Few of These.
- Ground beef Ground beef adds a rich flavor and hearty texture. If you substitute with ground turkey, the dish will be leaner but may lack the same depth. Use the same amount, but consider adding a bit more seasoning to enhance the flavor.
- Potatoes Potatoes create a creamy topping when mashed. If you use sweet potatoes instead, the pie will have a sweeter flavor and a different texture. Use the same weight, but adjust the cooking time slightly as sweet potatoes may take less time to become tender.
- Tomato paste Tomato paste deepens the flavor and adds a rich color. If you swap it with ketchup, the dish will be sweeter and less concentrated. Use about two tablespoons of ketchup for a similar effect, but expect a different flavor profile.
- Dried thyme Dried thyme adds an earthy flavor that complements the beef. If you use fresh thyme, the flavor will be milder and more aromatic. Use three times the amount of fresh thyme, as it is less potent; about one tablespoon should suffice.
How It Goes from Bowl to Table.
Sauté the vegetables. I start by heating some oil in a large skillet. The moment the oil shimmers, I add the diced carrots, onion, and garlic. I stir them around for several minutes. The vegetables soften and release a sweet aroma. I watch for the onions to turn translucent.
That tells me they are cooking properly. If the garlic browns too much, it will taste bitter. Stirring often prevents that. I want a nice mix of textures and flavors. The sound of sizzling fills the kitchen, hinting that I am on the right track.
The vegetables should be tender but not mushy. This step lays the foundation for the dish, so I make sure not to rush it. If the mix starts to stick, I lower the heat and add a splash of broth. That keeps everything moving smoothly and prevents burning.
Brown the meat. Next, I add the ground beef to the skillet. I break it up with a spatula while it cooks. The meat sizzles as it hits the hot pan. I keep an eye on it, stirring occasionally. The color shifts from pink to brown, which means it is cooking through.
I want to hear a steady crackling sound as it browns. That indicates the meat is searing well. I don't overcrowd the pan. Overcrowding can lead to steaming instead of browning. If that happens, the meat won't get the nice depth of flavor I'm after.
When it is fully cooked, I drain any excess fat. This step is crucial for keeping the pie from becoming greasy. The beef should feel crumbly and have a rich, browned appearance, which adds to the overall flavor profile.
Stir in the seasonings. With the meat browned, I stir in the tomato paste and Worcestershire sauce. I ensure that everything is well coated. The mixture takes on a richer color, deepening to a savory hue. The smell becomes even more inviting as the sauces mingle with the meat.
I sprinkle in the dried thyme and a bit of salt and pepper. The seasoning is important to bring out the flavors. I mix everything thoroughly, letting it simmer for a few minutes. This time allows the flavors to meld.
If I skip this simmering, the dish can taste flat. I want to see a bubbling effect, which shows the ingredients are blending well. The texture should feel cohesive, with the sauce clinging to the meat and vegetables. This step is where I ensure the filling is flavorful and ready for the next stage.
Prepare the mashed potatoes. Now it's time to prepare the mashed potatoes. I place the peeled and diced potatoes in a pot and cover them with water. I bring the water to a boil. The steam rising indicates that they are cooking. I let them simmer until they are fork-tender.
That's how I know they are soft enough to mash. Once they're done, I drain the water carefully. I return the potatoes to the pot and add the butter and milk. I mash until the mixture is creamy and smooth. The texture should be fluffy, not gummy.
If I over-mash, they can become gluey. That's a common mistake. I want to see a nice, consistent texture without lumps. The potatoes should have a bit of shine from the butter. That gives them a rich appearance that will contrast beautifully with the filling.
Assemble the pie. With the filling and mashed potatoes ready, I start assembling the pie. I spoon the meat and vegetable mixture into a baking dish, spreading it evenly. The filling should fill the dish generously, with a nice depth. Next, I dollop the mashed potatoes on top. I use a spatula to spread them out smoothly.
I create some peaks and valleys. Those peaks will brown nicely in the oven. The contrast between the savory filling and the creamy potatoes is important. I make sure to seal the edges where the potatoes meet the dish. This prevents the filling from bubbling over during baking.
The visual appeal matters. I want it to look inviting before it even goes into the oven. If I don't seal the edges, I risk a messy overflow, which can lead to a burnt bottom.
Bake until golden. I pop the assembled pie into the oven now. It needs some time to bake. I keep an eye on it as it cooks. The mashed potatoes begin to brown, turning a lovely golden color.
That's a sign that they are getting crispy on top. I listen for the bubbling sounds from the filling. That indicates everything is heating through. The aroma fills the kitchen, making it hard to wait.
I know it's done when the potatoes are golden and the filling is bubbling at the edges. If I pull it out too early, the filling might be cold in the center. The final texture should be creamy and hearty, with a nice crust on top. This is where all my hard work culminates into one dish.
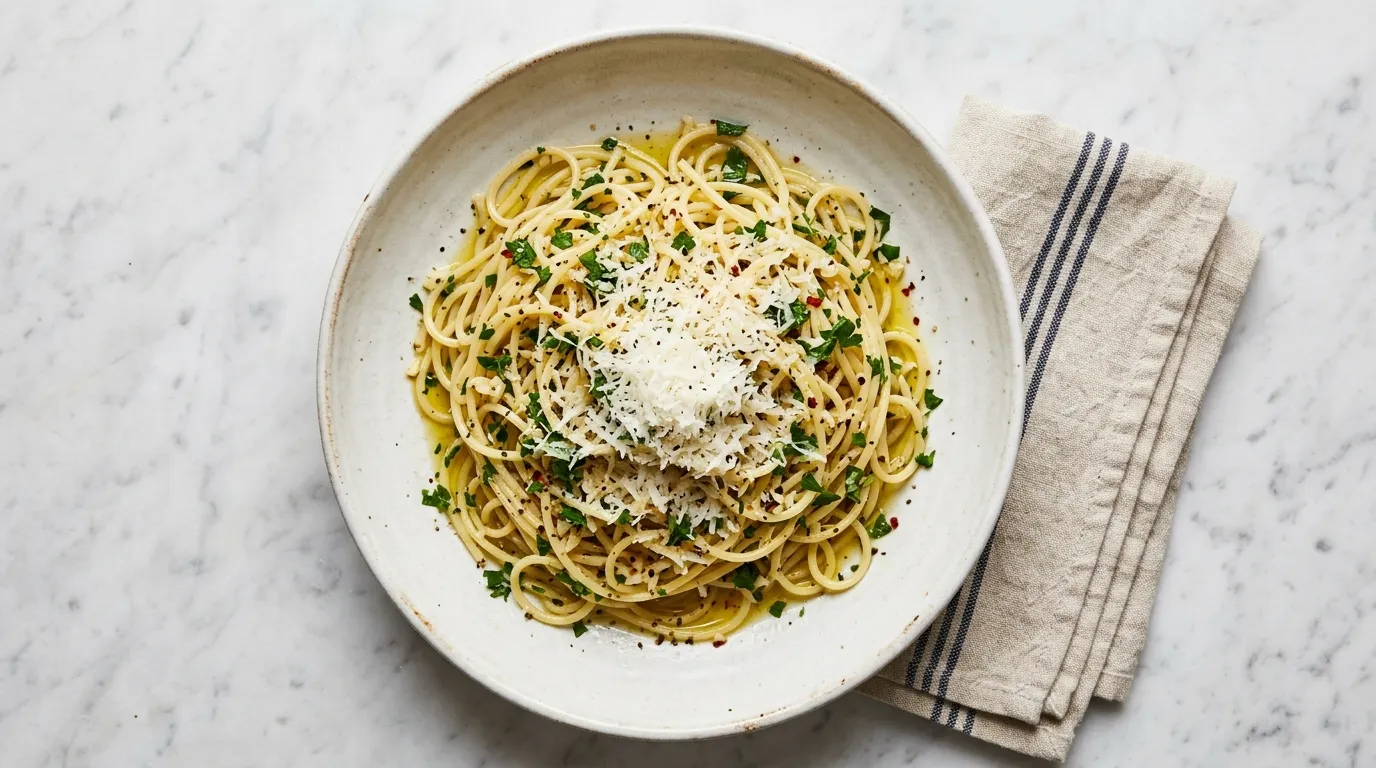
Let it rest before serving. Once out of the oven, I let the pie rest for a few minutes. This step is essential. The cooling time allows the filling to set up a bit. I notice the bubbling slows down, and the top has a slight sheen.
If I skip this resting period, the filling may run when I serve it. I want to see the potatoes holding their shape when I cut into it. The aroma still lingers in the air, hinting at the deliciousness inside. A few minutes is all it takes to make a big difference.
I can use this time to set the table or prepare any sides I want to serve with the pie. This resting period is like a reward for my patience, enhancing the overall experience.
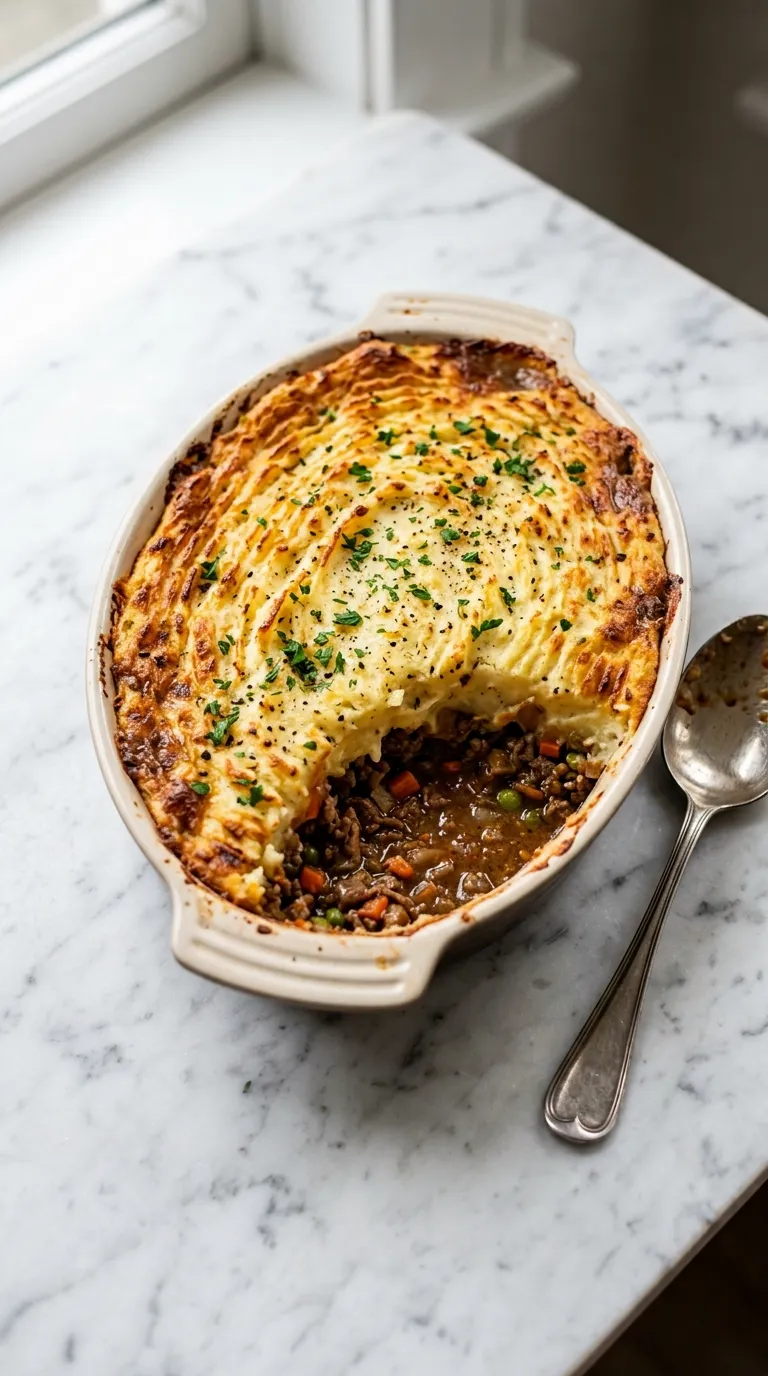
Serve and enjoy. Finally, it's time to serve the cottage pie. I grab a large spoon and cut into the layers. The spoon glides through the creamy potatoes and into the savory filling. I lift a generous portion onto a plate. The contrast in colors looks appetizing.
I can see the golden potatoes on top and the rich filling underneath. I take a moment to appreciate the presentation before serving. Each scoop reveals the depth of flavors within. I want to ensure everyone gets a bit of both layers. The first bite brings warmth and comfort.
The balance of textures and flavors makes it a satisfying meal. I enjoy sharing it with others, and it's even better when accompanied by a simple side salad. This is the moment where all the effort pays off.
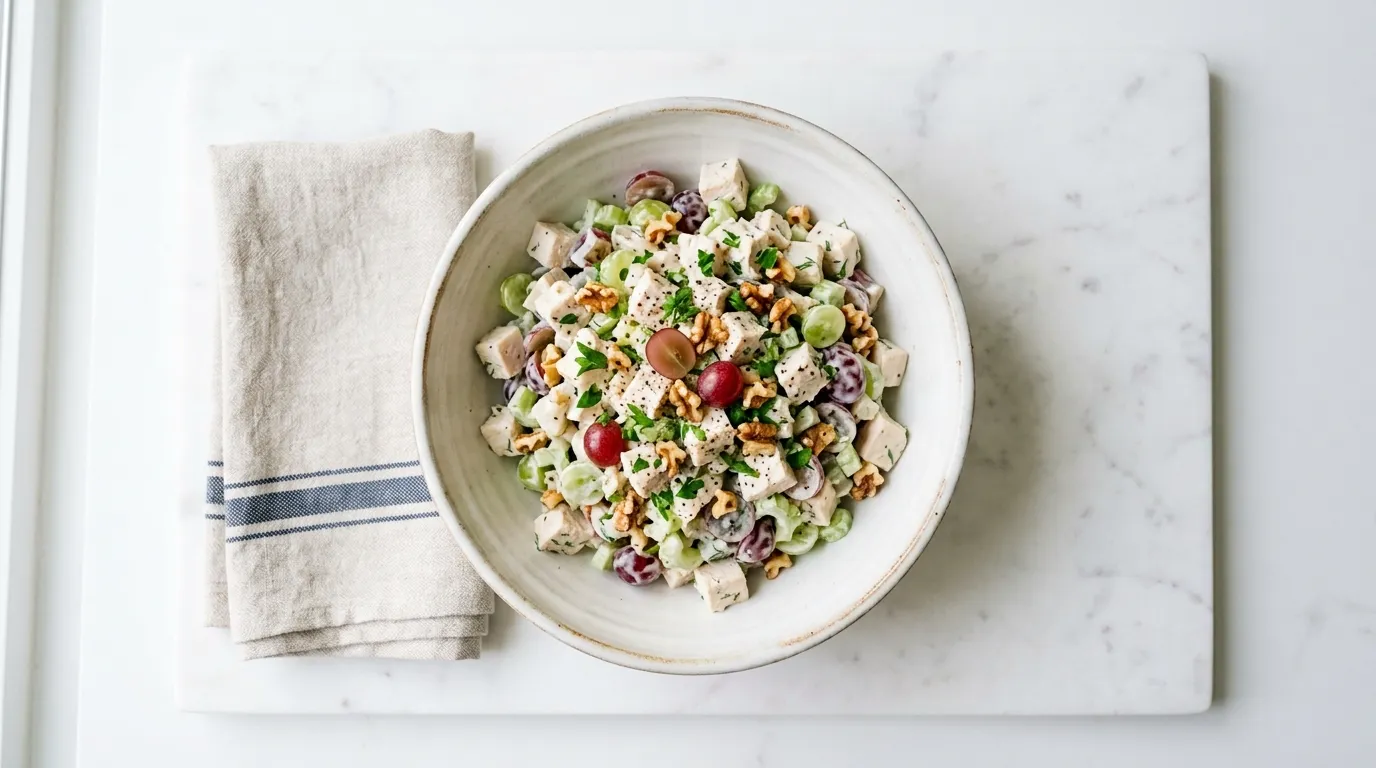
What I Figured Out After a Few Tries.
- Use a heavy skillet for browning meat. A lightweight pan can cause uneven cooking, leading to some meat being undercooked. This affects the flavor and texture of the pie, making it less enjoyable.
- Don't rush the simmering process. Allowing ingredients to meld is crucial. Skipping this step results in a flat taste that lacks depth, making the dish feel incomplete and unsatisfying.
- Keep an eye on the potato texture. Over-mashing can turn potatoes gummy. This ruins the creamy texture you want, leading to a less appealing dish that doesn't contrast well with the filling.
- Seal the edges of the pie. Neglecting to do this can result in a messy overflow during baking. It creates a burnt bottom and makes cleanup difficult, taking away from the overall presentation.
- Let the pie rest before serving. Skipping this step means the filling might run when serving. This can lead to a messy plate and an unappealing presentation, detracting from the dining experience.
What I Got Wrong the First Time.
- Overcooking the vegetables Overcooked vegetables can become mushy and lose their texture. This can lead to a filling that lacks structure. Cook them just until tender, keeping an eye on their appearance and aroma.
- Not draining excess fat Failing to drain fat can make the pie greasy. This can overwhelm the flavors and make the filling unappetizing. Always drain the meat well after browning to keep the dish balanced.
- Skipping the resting period Skipping the resting time causes the filling to run when serving. This can lead to a messy presentation. Always let the pie sit for a few minutes after baking to help it set properly.
- Not sealing the edges Not sealing the edges of the mashed potatoes can cause the filling to bubble over. This creates a messy oven and an unappealing appearance. Make sure to press the potatoes to the dish's sides to avoid this issue.
Turning It Into a Full Meal.
- Simple green salad A simple green salad adds freshness and crunch, balancing the rich flavors of the cottage pie.
- Garlic bread Garlic bread complements the savory filling and adds an additional layer of flavor.
- Steamed broccoli Steamed broccoli provides a healthy contrast to the hearty pie and adds a pop of color to the plate.
- Mashed peas Mashed peas add an extra layer of comfort and enhance the overall rustic feel of the meal.
How It Holds Up the Next Day.
- STORING Store in an airtight container in the fridge for up to 3 days. The topping may soften over time.
- FREEZING Freeze in a freezer-safe container wrapped tightly with plastic wrap for up to 2 months. The topping may become soggy upon thawing.
- REHEATING Reheat in the oven at 350°F for 25 minutes. The topping will regain some crispness, but not as fresh.
Frequently Asked Questions
- 1 pound ground beef
- 1 cup carrots, diced
- 1 cup peas, frozen
- 1 cup onion, diced
- 2 cloves garlic, minced
- 2 tablespoons tomato paste
- 1 cup beef broth
- 1 teaspoon Worcestershire sauce
- 1 teaspoon dried thyme
- 2 pounds potatoes, peeled and diced
- 4 tablespoons butter
- 1/2 cup milk
- Salt and pepper to taste
- 1Prep the oven and pan. Preheat the oven to four hundred degrees Fahrenheit. Grease a 9x13 inch baking dish or a 9x9 inch baking dish (reduce cooking time to thirty minutes).
- 2Cook the filling. In a large saucepan, cook one pound of ground beef over medium heat until browned. Add one cup of diced onion and two cloves of minced garlic; cook until softened. Stir in one cup of diced carrots, one cup of frozen peas, two tablespoons of tomato paste, one cup of beef broth, one teaspoon of Worcestershire sauce, and one teaspoon of dried thyme. Simmer for ten minutes. Season with salt and pepper to taste.
- 3Make the mashed potatoes. In a large pot, boil two pounds of peeled and diced potatoes until tender, about fifteen minutes. Drain and return to the pot. Add four tablespoons of butter and half a cup of milk. Mash until smooth. Season with salt and pepper to taste.
- 4Layer the filling and potatoes. Spread the beef filling evenly in the prepared 9x13 inch or 9x9 inch baking dish. Top with the mashed potatoes, spreading them evenly to cover the filling completely.
- 5Bake until bubbly. Bake in the preheated oven for forty minutes, or thirty minutes if using a 9x9 inch baking dish, until the top is golden and the filling is bubbly.
- 6SHARE THE LOVE. If you enjoyed this Classic Cottage Pie, please leave a 5-star rating and review. SHARE THE LOVE!
Reviews
Community Guidelines
We love hearing how this recipe turned out for you. Please keep reviews about the recipe itself, stay kind and helpful to other cooks, and leave out personal details or links. Every review is checked before it appears.