
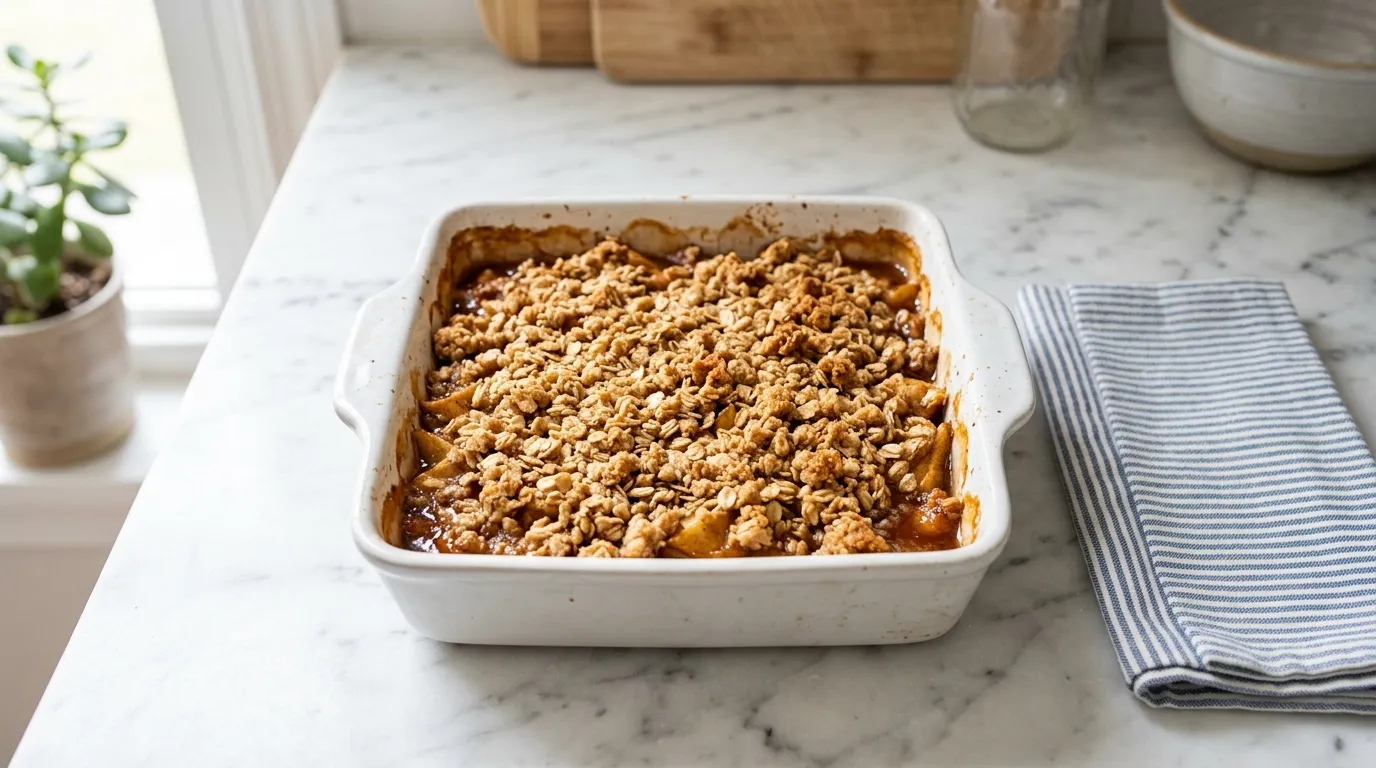
Apple Crisp with Oats for a Comforting Dessert — Apple Crisp with Oats is a comforting dessert made with 6 cups of sliced apples. This recipe uses oats in the topping for added texture and flavor. It's a simple, warm treat that's easy to assemble in a small kitchen.
My Latest Video
Comforting flavors in every bite.
- This version features rolled oats in the topping, giving it a heartier texture and a nutty flavor. It complements the sweetness of the apples well.
- Using just one pan reduces cleanup time. You can bake everything together in a 9x13 pan or a smaller 9x9 version.
- The combination of granulated and brown sugar offers a balanced sweetness, enhancing the natural flavors of the apples without overpowering them.
What Goes in the Bowl.
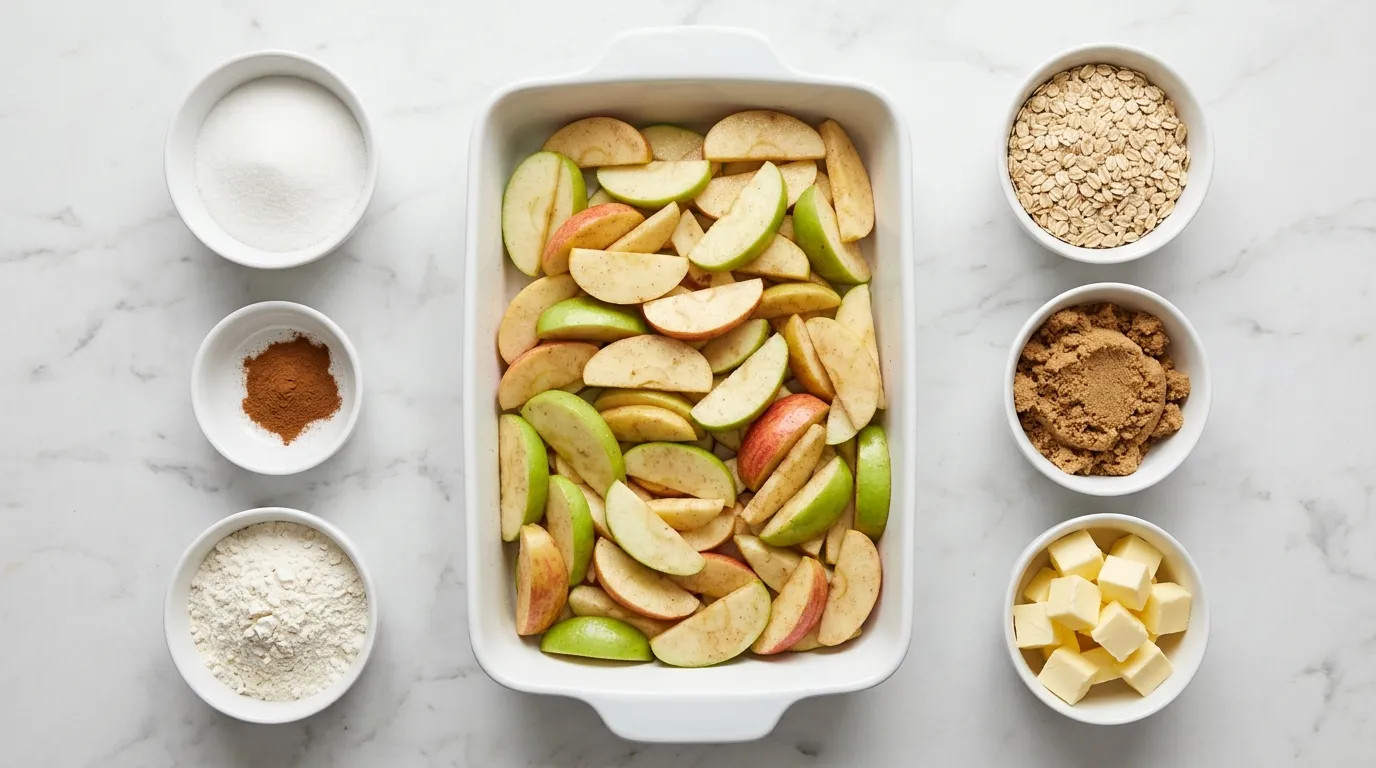
- 6 cups sliced apples (about 6 medium apples)
- 1/2 cup granulated sugar
- 1 teaspoon cinnamon
- 1 cup all purpose flour
- 1 cup rolled oats
- 1/2 cup packed brown sugar
- 1/2 cup unsalted butter, softened
The Ones I'm Picky About.
- Apples Use a mix of tart and sweet apples for depth of flavor. Granny Smith offers tartness that balances the sweetness of Fuji or Honeycrisp. Avoid using only soft apples like McIntosh, as they turn mushy. Stick to about 6 medium apples to maintain the right texture.
- Cinnamon Cinnamon enhances the warmth of the dish. If you use nutmeg instead, it will give a different spicy note that can overpower. Use half the amount of nutmeg, about 1/2 teaspoon, as it is more potent than cinnamon.
- Brown Sugar Brown sugar adds moisture and a rich flavor. If you substitute with white sugar, the crisp may lack that caramel-like depth. Use the same amount, but consider adding a splash of vanilla extract to mimic the flavor profile.
- Rolled Oats Rolled oats provide texture and chewiness. If you use instant oats, the topping will become too mushy. Stick with rolled oats for about 1 cup for the right consistency in the topping.
Here's How I Put It Together.
PREPARE THE APPLES. I start by peeling and slicing the apples. The goal is to get uniform pieces so they cook evenly. I use a sharp knife for clean cuts.
The apples should look fresh and bright. After slicing, I toss them in a bowl with the sugar and cinnamon. This mix brings out the apples' natural sweetness and enhances their flavor.
I can tell it worked when the apples glisten slightly, coated in the sugar. A technique to remember is to avoid using bruised or overly soft apples. They won't hold their shape during baking, and the texture of the crisp will suffer.
MAKE THE OAT TOPPING. Next, I prepare the oat topping. I mix the rolled oats, flour, and brown sugar in a bowl. I break up any clumps of brown sugar with my fingers.
The mixture should have a crumbly texture. Adding softened butter is key. I use a fork to blend it in until it resembles coarse crumbs.
It should feel slightly sticky but not greasy. If I skip this step or don't mix thoroughly, the topping won't bake up nicely. Instead of a crunchy topping, I could end up with a soggy layer.
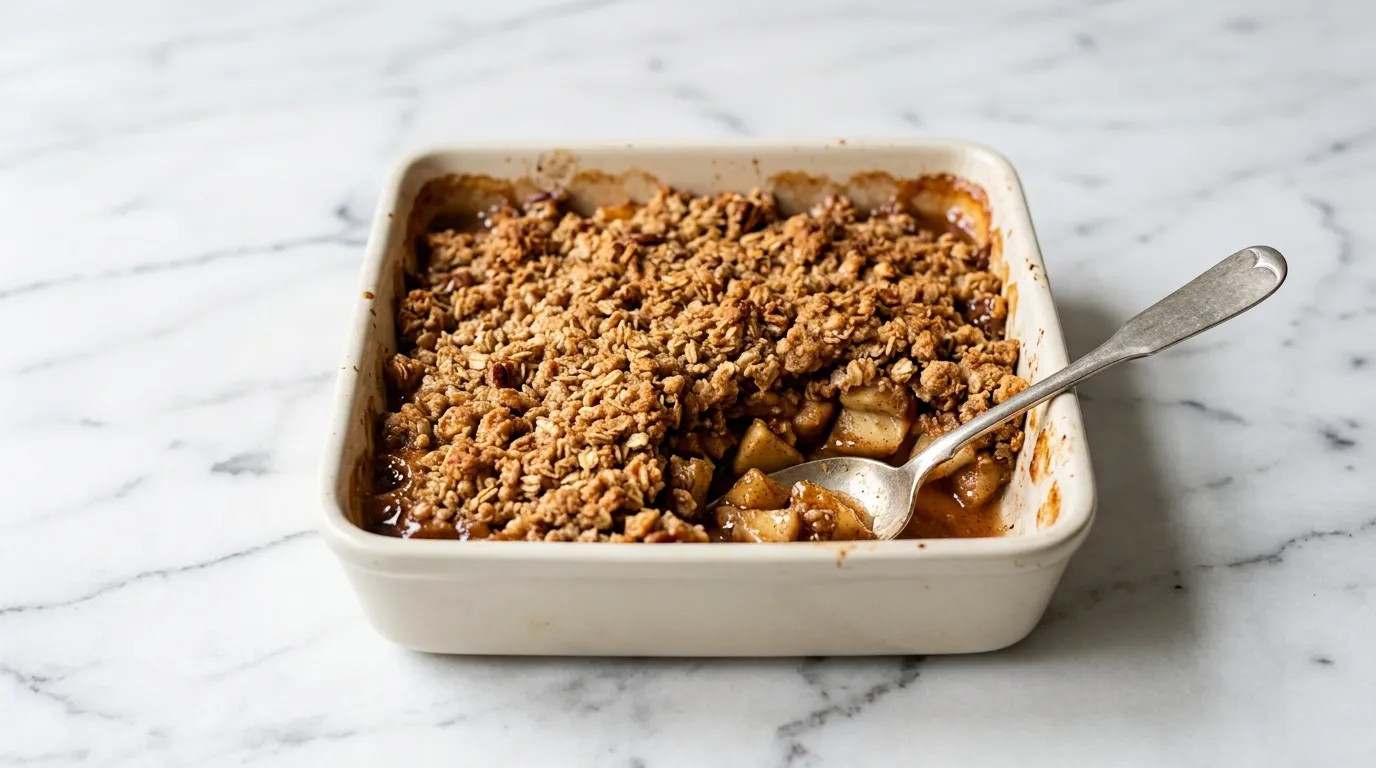
ASSEMBLE THE CRISP. Assembling the crisp is the fun part. I take a baking dish and layer the apple mixture evenly at the bottom. After that, I sprinkle the oat topping generously over the apples.
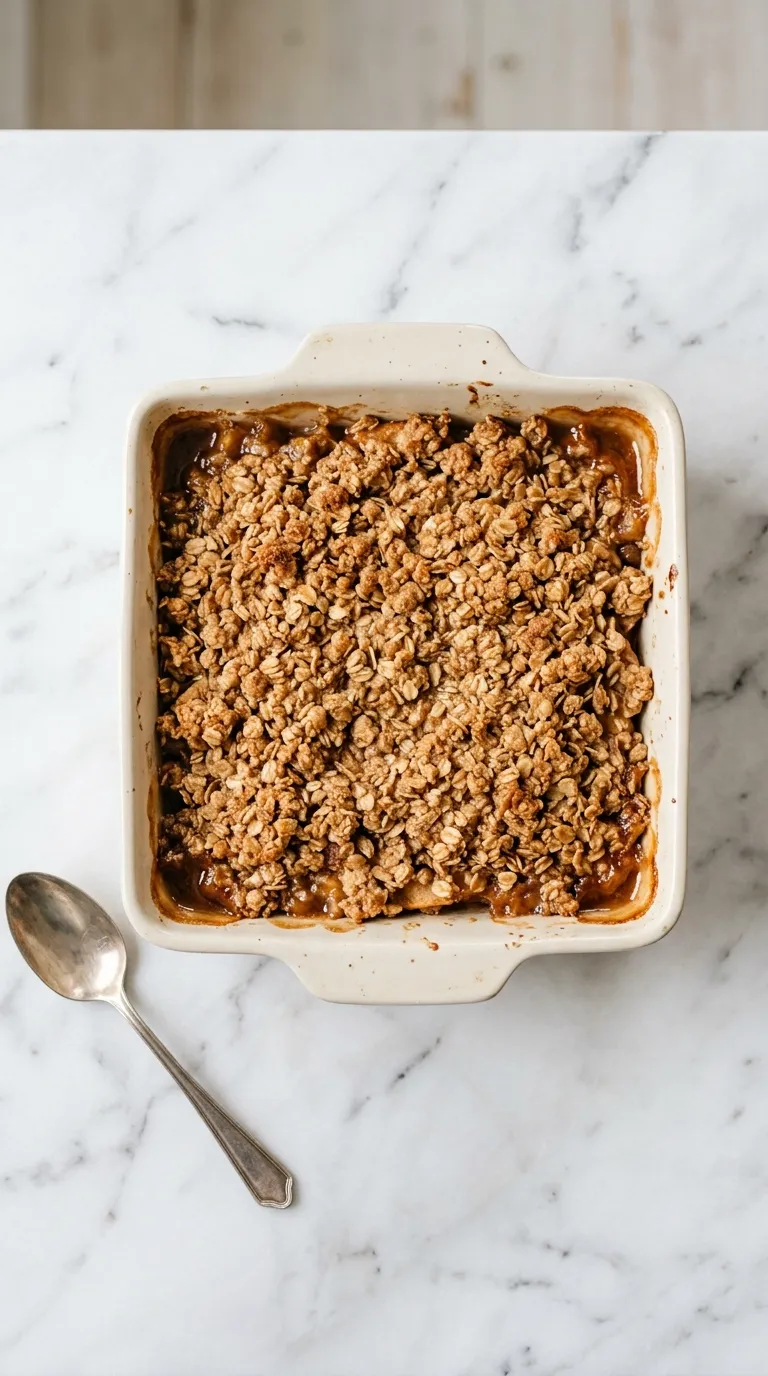
It's important to cover all the apples completely. This ensures every bite has that delicious crunchy topping. When I look at it, I want to see a nice, even layer of oats.
If I don't spread the topping evenly, some apples may cook too fast while others remain undercooked, which won't be pleasant.
BAKE UNTIL GOLDEN. The crisp goes into the oven for baking. I listen for the bubbling sounds, which means the apples are cooking.
After some time, I check for a golden color on the topping. It should look beautifully toasted and smell wonderful.
The texture will also change, becoming crisp and inviting. If I pull it out too soon, the topping won't have the right crunch, so I keep an eye on it during the last few minutes to avoid burning.
COOL BEFORE SERVING. Once it's done, I let the crisp cool for a while. This step is crucial. Cooling allows the juices to thicken, making it easier to serve.
I notice that it firms up slightly as it cools. The topping should still be crunchy, while the apples become tender. If I serve it too soon, the juices might run everywhere, making a mess on the plate.
Waiting is hard but worth it for a better presentation.
ENJOY WITH ICE CREAM! I love to serve the crisp warm, often with a scoop of ice cream. The cold ice cream melts slightly on the warm topping.
This contrast is delightful. I watch as the ice cream swirls into the apples and oats.
The combination of flavors and textures is comforting. If I skip the ice cream, the dish may feel incomplete, lacking that creamy element that balances the sweetness of the apples.
STORAGE TIPS. Storing leftovers is easy. I cover the dish with plastic wrap or foil. It stays fresh in the fridge for a few days.
When I want to reheat, I pop it in the oven briefly. That way, the topping regains some crunch. If I just use the microwave, the topping could become soggy.
I want to keep that texture for the next serving, so I prefer the oven method.
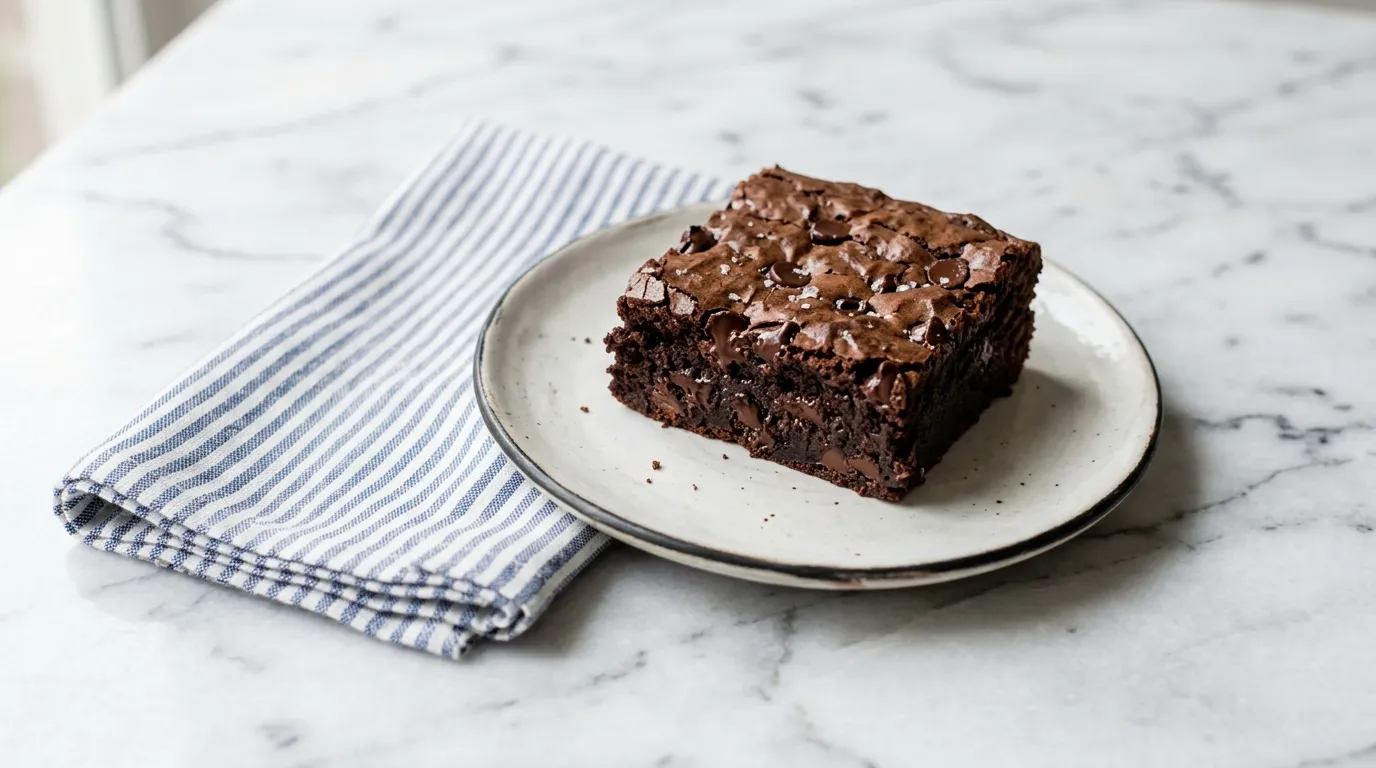
SHARE WITH FRIENDS. Sharing is part of the joy. I cut generous portions for friends or family.
Watching their smiles as they take the first bite is rewarding. I encourage them to pair it with their favorite ice cream.
The crisp is a great dessert for gatherings. If I keep it all to myself, I miss out on the fun of enjoying it with others.
Notes from My Own Kitchen.
- Use fresh apples. Older apples may have a mealy texture and won't hold up well during baking. This affects the overall quality of the crisp, leaving you with mushy fruit instead of tender slices that complement the crunchy topping.
- Let the topping chill. If I skip chilling the oat topping for a bit, it can melt too quickly when baking. This results in a soggy topping that lacks the desired crunch, ruining the texture of the dessert.
- Check the oven temperature. If the oven is too hot, the topping can brown too quickly while the apples remain undercooked. This leads to a crisp that is burned on top but raw underneath, which is quite unappetizing.
- Use a larger baking dish. A cramped baking dish can cause uneven cooking. The apples may steam instead of bake, resulting in a soggy bottom and uneven textures in the final dish.
- Adjust sugar based on apple type. Different apples have varying levels of sweetness. If I don't taste and adjust the sugar accordingly, my crisp may end up too sweet or not sweet enough, affecting the overall flavor profile.
Common Places This Falls Apart.
- Not peeling the apples Leaving the skin on can result in a tougher texture. The skin doesn't break down during cooking and can be unappealing. Always peel the apples for a smoother, more enjoyable bite.
- Overmixing the oat topping Overmixing can lead to a dense topping instead of a light and crumbly one. It is essential to mix just until combined. Stop as soon as you see the right crumbly texture.
- Skipping cooling time Serving immediately can cause the juices to spill everywhere. Cooling helps the juices thicken, making for a neater serving. Patience is key for the best presentation.
- Not covering apples completely If the apples are exposed, they can cook too fast and dry out. Make sure to spread the oat topping evenly over the apples for consistent cooking and flavor.
Rounding Out Dinner.
- Vanilla Ice Cream The cold, creamy texture of vanilla ice cream contrasts beautifully with the warm apple crisp, enhancing the overall experience.
- Caramel Sauce Drizzling caramel adds extra sweetness and richness, perfectly complementing the flavors of the apples and spices in the crisp.
- Whipped Cream Light and airy whipped cream adds a fluffy texture that balances the crunch of the topping and the softness of the apples.
- Coffee A warm cup of coffee pairs well with the sweetness of the apple crisp, providing a nice contrast and making for a cozy dessert experience.
What to Do with What's Left.
- STORING Store in an airtight container for 2 days. The topping will soften but still taste good.
- REHEATING Reheat in the oven at 350°F for 10 to 15 minutes. The topping will crisp up again.
Answering the Usual Ones.
Can I use frozen apples?
It's best to use fresh apples for the best texture and flavor. Frozen apples tend to become mushy when baked. If you must use frozen, thaw and drain excess moisture before mixing.
How can I make it gluten-free?
You can substitute all-purpose flour with a gluten-free flour blend. Ensure the oats are labeled gluten-free as some brands may contain traces of gluten.
How long does it take to bake?
The crisp typically takes about 30 to 40 minutes at 350°F. Keep an eye on it during the last few minutes for that perfect golden color.
Can I add nuts to the topping?
Yes, adding chopped nuts like walnuts or pecans can enhance the crunchiness. Use about 1/2 cup, mixing them in with the oat topping for added texture.
- 6 cups sliced apples (about 6 medium apples)
- 1/2 cup granulated sugar
- 1 teaspoon cinnamon
- 1 cup all purpose flour
- 1 cup rolled oats
- 1/2 cup packed brown sugar
- 1/2 cup unsalted butter, softened
- 1PREHEAT THE OVEN. 1. PREHEAT THE OVEN to 350 degrees Fahrenheit.
- 2CORE AND SLICE APPLES. 2. CORE AND SLICE 6 medium apples into thin slices.
- 3MIX APPLES WITH SUGAR. 3. MIX APPLES WITH 1/2 cup granulated sugar and 1 teaspoon cinnamon in a large bowl until evenly coated.
- 4COMBINE FLOUR, OATS, AND BUTTER. 4. COMBINE 1 cup all purpose flour, 1 cup rolled oats, and 1/2 cup packed brown sugar in a separate bowl. Cut in 1/2 cup unsalted butter until the mixture is crumbly.
- 5SPRINKLE OAT MIXTURE OVER APPLES. 5. SPRINKLE OAT MIXTURE OVER APPLES in the 9x13 inch baking dish, ensuring even coverage.
- 6BAKE IN A 9x13 PAN. 6. BAKE IN A 9x13 PAN for 35 minutes until the topping is golden brown.
- 7LET IT COOL. 7. LET IT COOL for at least 10 minutes before serving.
- 8SHARE THE LOVE. 8. SHARE THE LOVE. Please leave a 5-star rating and review!
Reviews
Community Guidelines
We love hearing how this recipe turned out for you. Please keep reviews about the recipe itself, stay kind and helpful to other cooks, and leave out personal details or links. Every review is checked before it appears.