
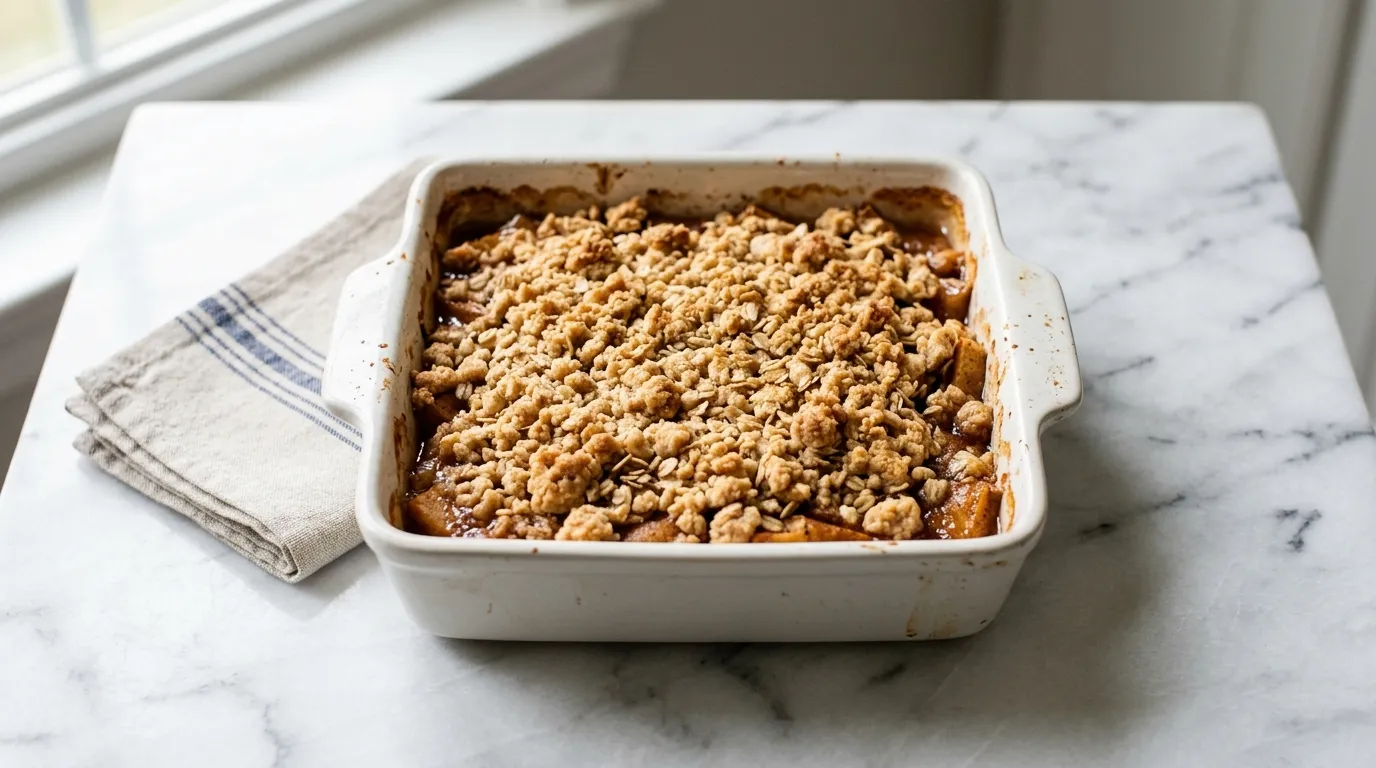
Best Ever Apple Crisp That Everyone Will Enjoy — Best Ever Apple Crisp that Everyone Will Enjoy features eight ingredients. It's easy to prepare in a small kitchen with limited tools. This version balances sweetness and tartness for a delightful flavor.
My Latest Video
A comforting dessert with balanced flavors.
- This apple crisp combines sliced apples with a touch of sweetness and cinnamon, creating a comforting dessert that everyone can appreciate.
- The rolled oats in the topping provide a chewy texture that contrasts nicely with the tender apples beneath.
- Using just one bowl for mixing keeps the process simple and quick, making it ideal for busy kitchens.
The Short Shopping List.
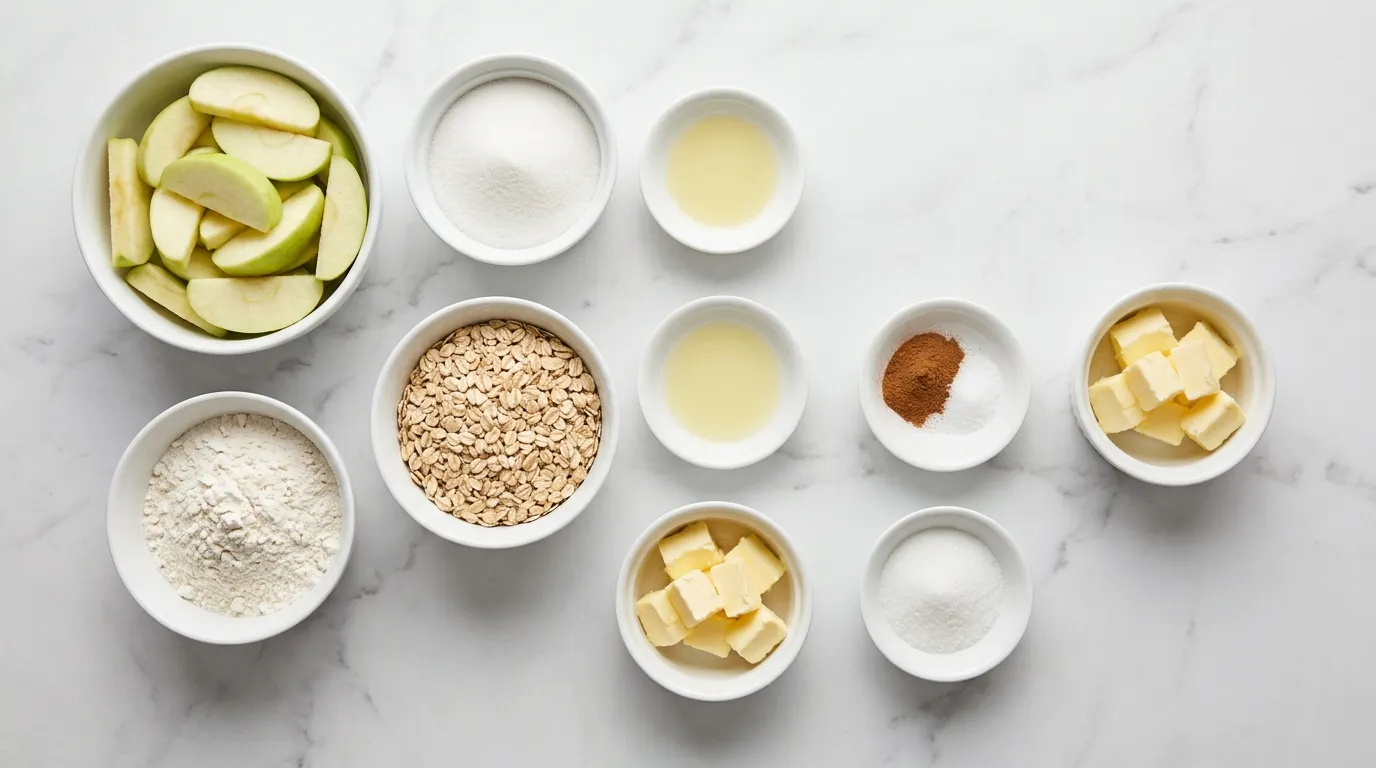
- 6 cups sliced apples
- 1 cup granulated sugar
- 1 tablespoon lemon juice
- 1 cup all-purpose flour
- 1 cup rolled oats
- 1 teaspoon ground cinnamon
- 1/2 teaspoon salt
- 1/2 cup unsalted butter, softened
A Closer Look At What Goes In.
- Apples Use a mix of tart and sweet apples for the best flavor. Granny Smith adds tartness while Fuji or Honeycrisp offers sweetness. If you substitute with only one type, your crisp may end up too sweet or too tart.
- Granulated Sugar This sweetener balances the tartness of the apples. If you substitute with brown sugar, use about 3/4 cup because it is sweeter and adds a different flavor from molasses.
- Unsalted Butter Unsalted butter allows you to control the saltiness of the dish. If using salted butter, reduce added salt to 1/4 teaspoon. This helps maintain the right balance of flavors.
- Cinnamon Cinnamon enhances the flavor of the apples and adds warmth. If you want a different flavor, you can use nutmeg instead, but use only 1/4 teaspoon as it is more potent.
How I Actually Make It.
PREPARE THE APPLES. Start by selecting fresh apples. I prefer a mix of tart and sweet varieties for depth of flavor. Wash them well. Then, peel the apples and remove the cores. Cut them into thin slices.
Aim for uniform sizes so they cook evenly. As I slice, I place them in a large bowl. This keeps them from browning too quickly. Toss the slices with a bit of lemon juice. It adds brightness and balances the sweetness.
I often sprinkle some cinnamon over the apples. This enhances their natural flavor. Once I have a good amount prepared, I set them aside. They will be the star of the dish.
MAKE THE FILLING. Next, I create the filling. I start with sugar, adding just enough to complement the apples. A dash of cinnamon is crucial here, too. I mix it in well, ensuring every piece of fruit gets coated.
Sometimes, I add a hint of nutmeg for warmth. This brings out the spices. I also like to add a bit of flour to thicken the juices. This helps the filling stay together during baking.
After mixing, I pour the filling over the sliced apples in the bowl. I give it a gentle toss to combine everything evenly.
COMBINE DRY INGREDIENTS. I prepare the dry ingredients in a separate bowl. I begin with oats, which give texture to the crisp. Next, I add flour to bind everything together. A bit of brown sugar follows, adding richness to the mix.
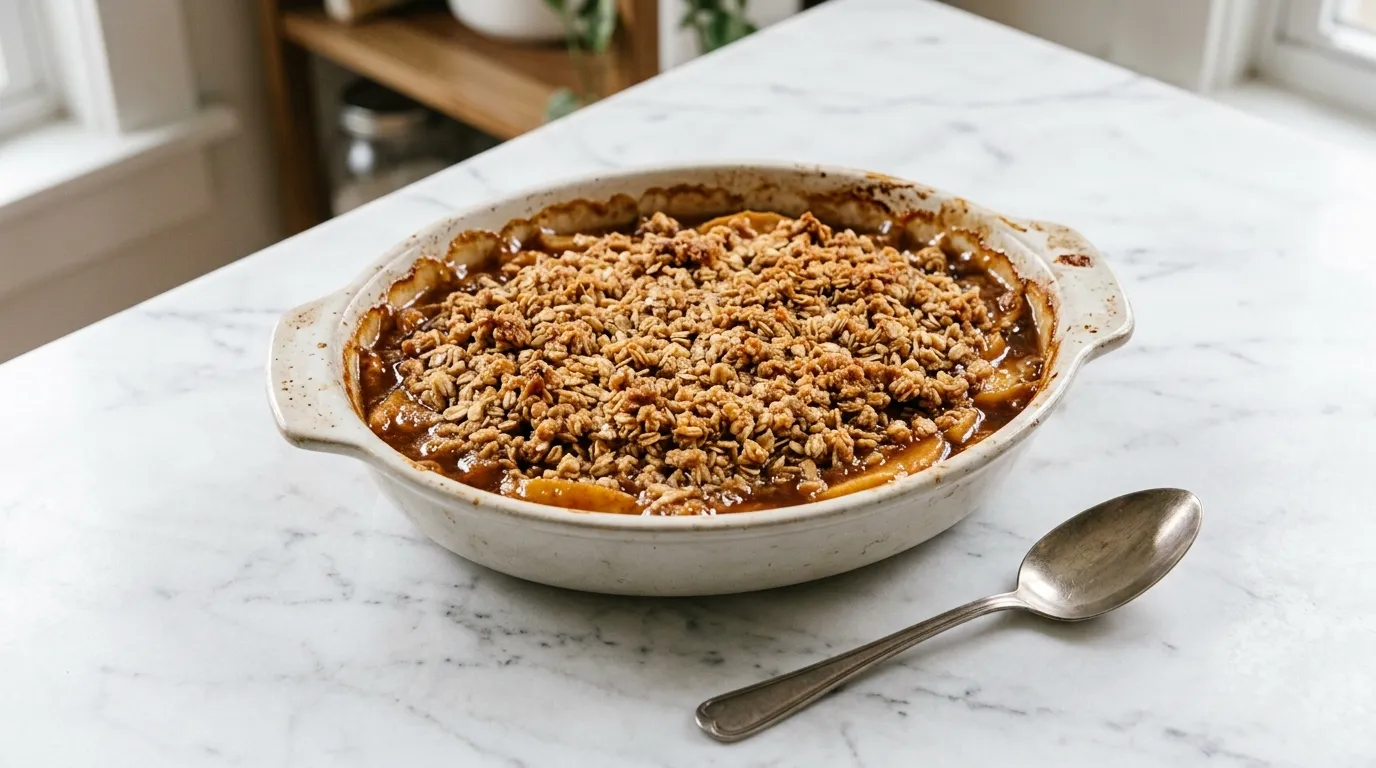
I usually include a pinch of salt to balance the sweetness. This brings out the flavors. To finish, I sprinkle in some cinnamon. It ties the whole dish together.
I stir everything with a fork until well combined. The mixture should feel crumbly. This will create a nice topping when baked. I set this bowl aside for the next step.
MIX IN THE BUTTER. Now it's time to mix in the butter. I take cold butter straight from the fridge. I cut it into small cubes. This helps it blend more easily.
Adding the butter to the dry ingredients, I use my fingertips to rub it in. I continue until the mixture resembles coarse crumbs. It's important not to overwork it. I want some small chunks for texture.
If the butter is too soft, it won't create that nice crisp topping. Once I'm satisfied with the consistency, I stop. This mixture is ready to combine with the apples.
ASSEMBLE THE CRISP. I start assembling the dish with the apple filling. I spread the apples evenly in a baking dish. It's important to cover the bottom well. Next, I sprinkle the crumbly topping over the apples.
I do this evenly, ensuring all the fruit is covered. Sometimes, I leave some gaps for the juices to bubble up. This adds to the texture. I gently press down on the topping.
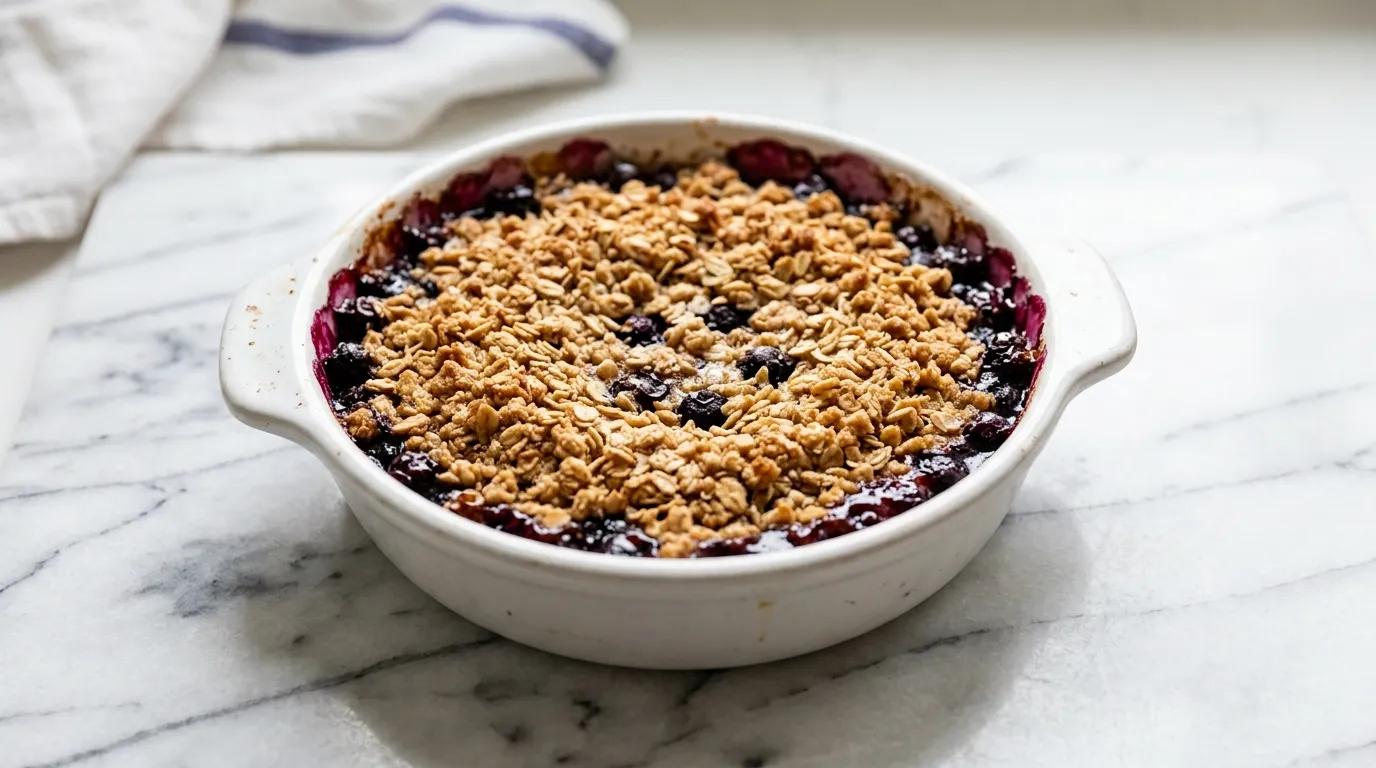
This helps it adhere to the apples below. The crisp is now ready for the oven. I can already smell the cinnamon wafting through the kitchen.
BAKE UNTIL GOLDEN. Baking is crucial for achieving the right texture. I place the dish in the oven and let it work its magic. The mixture starts to bubble after a while.
I keep an eye on it, watching for that golden color. This signals that it's time to check for doneness. The topping should be crisp and brown.
The apples should be tender but not mushy. This step takes patience. I want that perfect contrast between the crispy topping and the soft apples.
LET IT COOL SLIGHTLY. After baking, I take it out and let it cool slightly. This is an important step. Allowing it to rest helps the juices settle. It also makes it easier to serve.
I usually set it on the counter and resist the urge to dig in right away. A little cooling time goes a long way. The aroma in the kitchen is always mouthwatering. I can almost taste it already.
Once it has cooled enough, I know it's time to serve. I get the plates ready and prepare for the next step.
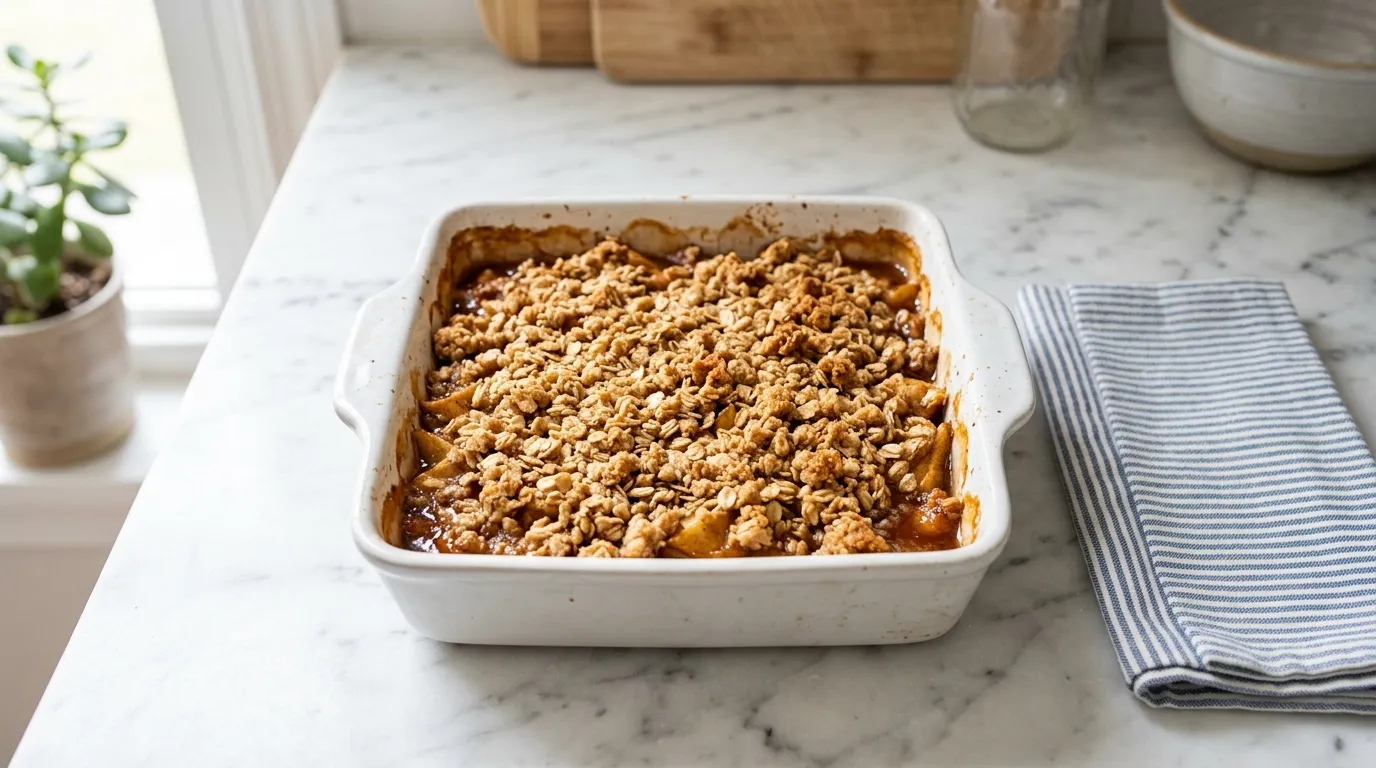
SERVE AND ENJOY. Finally, I serve the apple crisp. I scoop generous portions onto plates. Sometimes, I add a scoop of vanilla ice cream on top. The warm crisp pairs perfectly with the cold ice cream.
It adds a delightful contrast. I love watching everyone dig in and enjoy. The smiles and satisfied sighs are the best part. Sharing this dish brings joy to the table.
I take a moment to savor my own portion. This is what comfort food is all about.
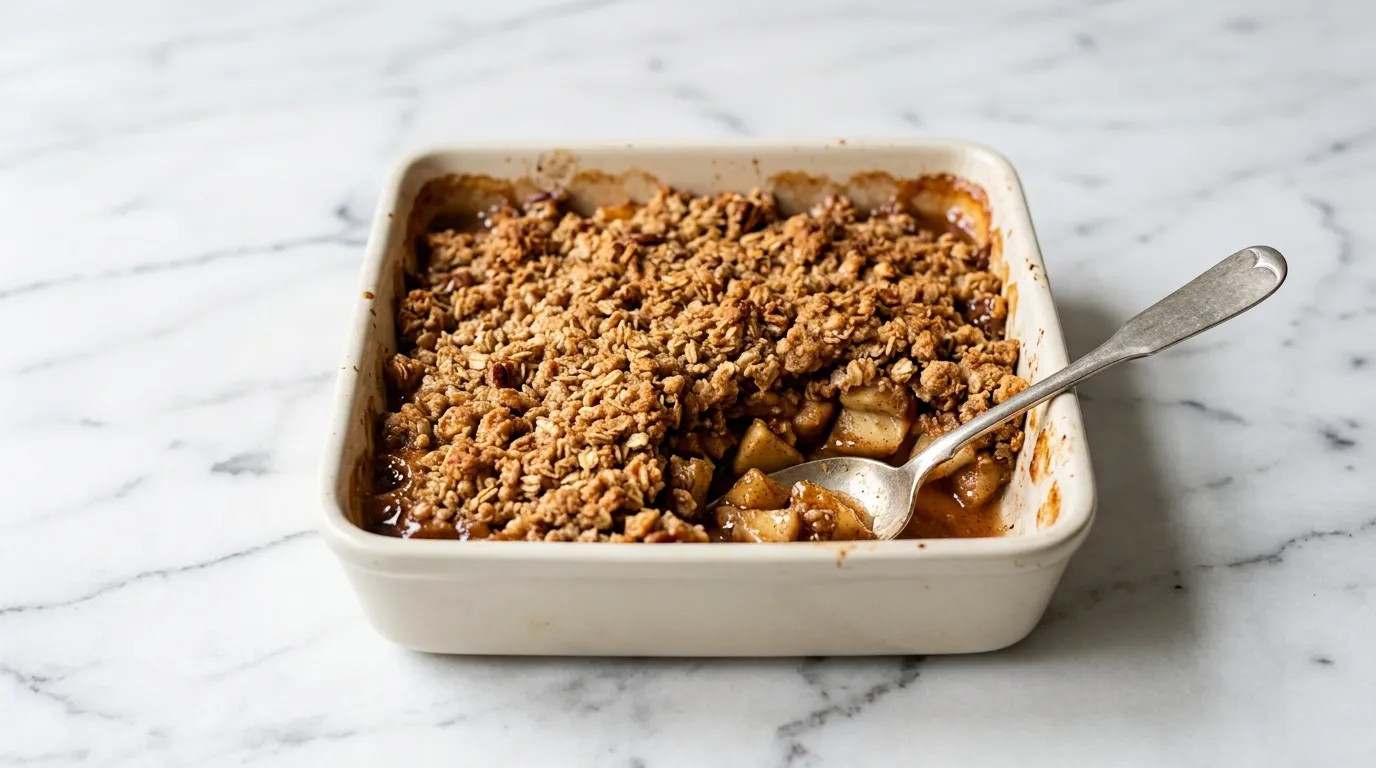
Small Things That Made a Big Difference.
- Use a mix of apple varieties. Different types add depth to the flavor. Sticking to one variety can make the crisp taste flat and one-dimensional.
- Don't skip the lemon juice. It brightens the flavors of the apples. Leaving it out can result in a dull and overly sweet filling that lacks balance.
- Be patient while baking. It may take longer than expected to reach that golden color. Underbaking can leave the topping soft and unappetizing instead of crisp and crunchy.
- Let it cool before serving. This allows the juices to settle and the topping to firm up. Serving too soon can create a messy dish that falls apart on the plate.
- Use cold butter for the topping. It creates a better texture. If the butter is too warm, the topping will become greasy and lose its crispiness.
Where This Usually Goes Wrong.
- Using too many apples Overcrowding the baking dish can lead to uneven cooking. It may result in mushy apples and soggy topping. Stick to the recommended amount for the best texture.
- Not mixing the filling well If the sugar and cinnamon don't coat the apples evenly, some bites may taste bland. Mix thoroughly to ensure every slice gets the flavor boost it needs.
- Using soft butter Soft butter can lead to a dough-like topping instead of a crisp one. Make sure your butter is cold and cut into cubes to keep that crumbly texture.
- Skipping the cooling step Cutting into the crisp too soon can cause the juices to run out, making it watery. Allow it to cool slightly to let the juices settle and improve serving quality.
What Makes It a Whole Meal.
- Vanilla Ice Cream The cold ice cream contrasts beautifully with the warm apple crisp. It adds creaminess that balances the dish perfectly.
- Caramel Sauce Drizzling caramel over the crisp enhances the sweetness and adds a rich flavor. It complements the apples splendidly.
- Whipped Cream A dollop of whipped cream adds lightness and creaminess to the dish. It works well with the warm, spiced flavors of the crisp.
- Cheddar Cheese Serving a slice of sharp cheddar alongside the crisp offers a bold contrast. The savory notes play well with the sweetness of the apples.
Keeping It for Later.
- STORING Store in an airtight container for 2-3 days. The topping may soften over time.
- REHEATING Reheat in the oven at 350°F for 10-15 minutes. The topping will crisp up again.
What Readers Write in About.
Can I use frozen apples for this recipe?
Yes, but they should be thawed and drained before using. Frozen apples can release extra moisture, which might affect the crisp's texture.
How can I store leftovers?
Store in an airtight container in the refrigerator for up to three days. Reheat in the oven at 350°F until warmed through for the best taste.
What can I add to make it more flavorful?
Consider adding nuts like walnuts or pecans to the topping for added crunch. You can also mix in dried fruits for extra sweetness.
How do I know when it's done baking?
Check for a golden-brown topping and bubbling juices around the edges. This usually takes about 30 to 40 minutes at 350°F.
- 6 cups sliced apples
- 1 cup granulated sugar
- 1 tablespoon lemon juice
- 1 cup all-purpose flour
- 1 cup rolled oats
- 1 teaspoon ground cinnamon
- 1/2 teaspoon salt
- 1/2 cup unsalted butter, softened
- 1PREHEAT THE OVEN. Preheat your oven to three hundred fifty degrees Fahrenheit.
- 2PREPARE THE APPLES. Slice six cups of apples and place them in a large bowl. Add one tablespoon of lemon juice and one cup of granulated sugar. Toss to coat the apples evenly.
- 3MIX FILLING INGREDIENTS. In the same bowl, mix together the sliced apples, one cup of all-purpose flour, one teaspoon of ground cinnamon, and half a teaspoon of salt until combined.
- 4MAKE THE CRISP TOPPING. In a separate bowl, combine one cup of rolled oats and one cup of all-purpose flour. Cut in half a cup of softened unsalted butter using a pastry cutter or your fingers until the mixture resembles coarse crumbs.
- 5ASSEMBLE IN PAN. Pour the apple mixture into a 9x13 inch baking dish and spread it evenly. Sprinkle the crisp topping over the apple mixture.
- 6BAKE UNTIL BUBBLING. Bake in the preheated oven for forty-five minutes or until the topping is golden brown and the filling is bubbling.
- 7LET IT COOL. Remove from the oven and let the apple crisp cool for at least ten minutes before serving.
- 8SHARE THE LOVE. If you enjoyed this recipe, please take a moment to leave a five-star rating and a review. Thank you!
Reviews
Community Guidelines
We love hearing how this recipe turned out for you. Please keep reviews about the recipe itself, stay kind and helpful to other cooks, and leave out personal details or links. Every review is checked before it appears.