
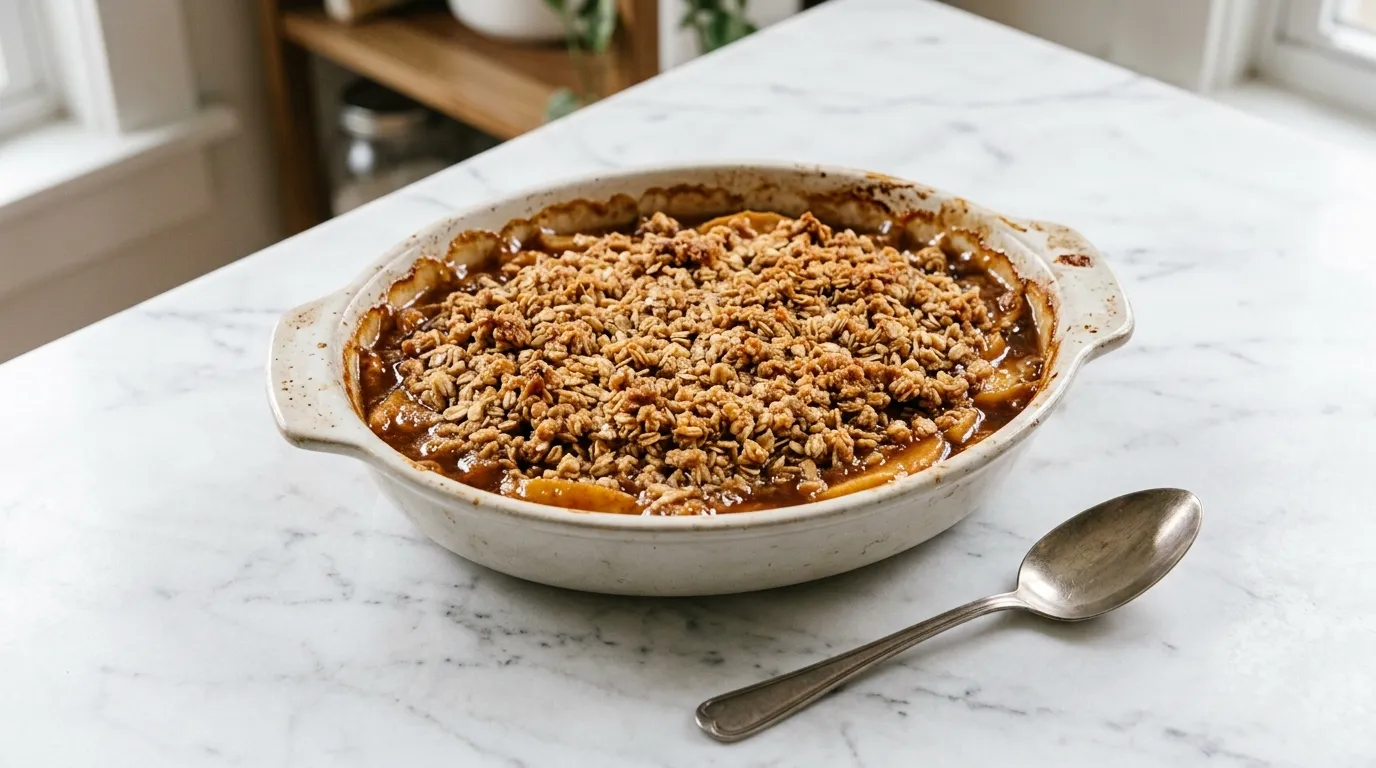
Easy Apple Crisp in One Bowl for Quick Baking — This Easy Apple Crisp recipe uses just one bowl and six ingredients. It takes about 10 minutes to prepare and delivers a simple, comforting dessert. This version is quick to make and perfect for small kitchens.
My Latest Video
Simple and satisfying dessert option.
- This Easy Apple Crisp simplifies traditional recipes by using fewer ingredients and minimizing cleanup. It focuses on the natural sweetness of apples and a crunchy topping.
- With just one bowl required, I can mix everything quickly. This saves time and space, making it ideal for small kitchens or busy schedules.
- The recipe doesn't need fancy equipment, just a whisk and a pastry cutter. It's easy enough for anyone to make without feeling overwhelmed.
Pull These Out First.
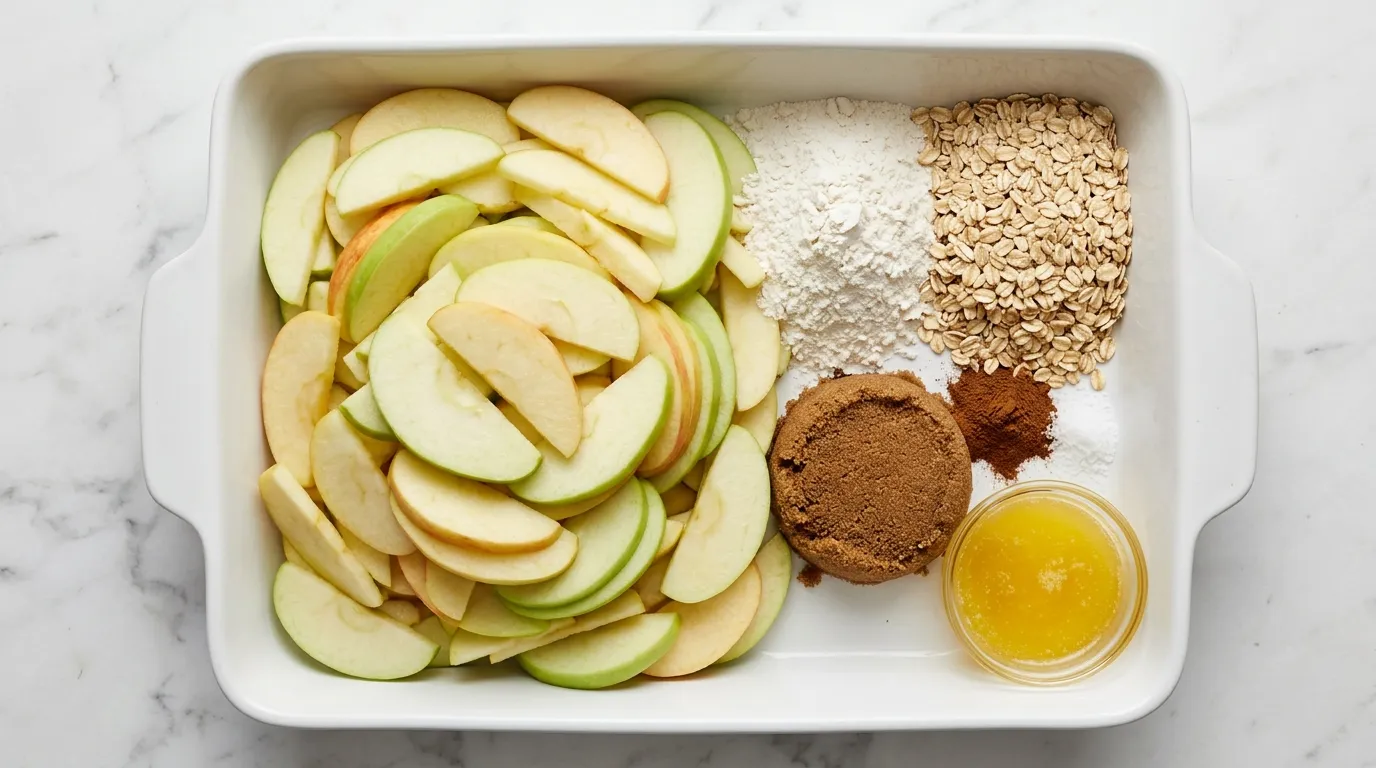
- 6 cups sliced apples (about 6 medium apples)
- 1 cup all purpose flour
- 1 cup rolled oats
- 1 cup brown sugar, packed
- 1 teaspoon cinnamon
- 1/2 teaspoon salt
- 1/2 cup unsalted butter, melted
What to Know Before You Shop.
- Apples Choose firm apples like Granny Smith or Honeycrisp for the best texture. Softer apples might turn mushy during baking, resulting in a less appealing dish. If using softer apples, reduce the baking time slightly to prevent them from falling apart.
- All Purpose Flour All-purpose flour provides structure to the crisp topping. If you substitute with whole wheat flour, expect a denser texture and nuttier flavor. Use the same amount, but consider adding a tablespoon of additional butter to balance the dryness.
- Brown Sugar Brown sugar adds moisture and a rich flavor due to its molasses content. Using white sugar instead will create a dryer topping with a more straightforward sweetness. If substituting, use the same amount but consider adding a teaspoon of molasses for flavor.
- Cinnamon Cinnamon enhances the warm flavors of the apples. If you want a spicier kick, substitute with pumpkin pie spice for a different flavor profile. Use the same amount, but be aware that it will alter the taste significantly.
Here's How I Put It Together.
PREPARE THE APPLES. Start by washing the apples well to remove any dirt or residues. After that, slice them into uniform pieces. I prefer thin slices to ensure they cook evenly.
I can see the bright colors and feel the juicy texture as I slice through. The apples should be firm yet tender. If they are too soft, they may turn mushy while baking.
A sharp knife helps here, as it makes cutting easier and safer. Take your time with this step. If the slices are uneven, some may cook faster than others, resulting in an inconsistent texture.
MIX THE DRY INGREDIENTS. In a large bowl, combine the flour, oats, brown sugar, cinnamon, and salt. I mix everything until it looks uniform. The dry ingredients should feel grainy yet cohesive.
I can see the sugar crystals glistening against the other ingredients. It's important to ensure there are no lumps in the flour or sugar; otherwise, they won't incorporate well later. A whisk works great for this.
If you skip this step or rush, you'll end up with uneven sweetness or texture in the final dish. Patience pays off here.
COMBINE WITH BUTTER. Next, I pour in the melted butter. I stir everything together until the mixture clumps together. It should feel slightly sticky and crumbly.
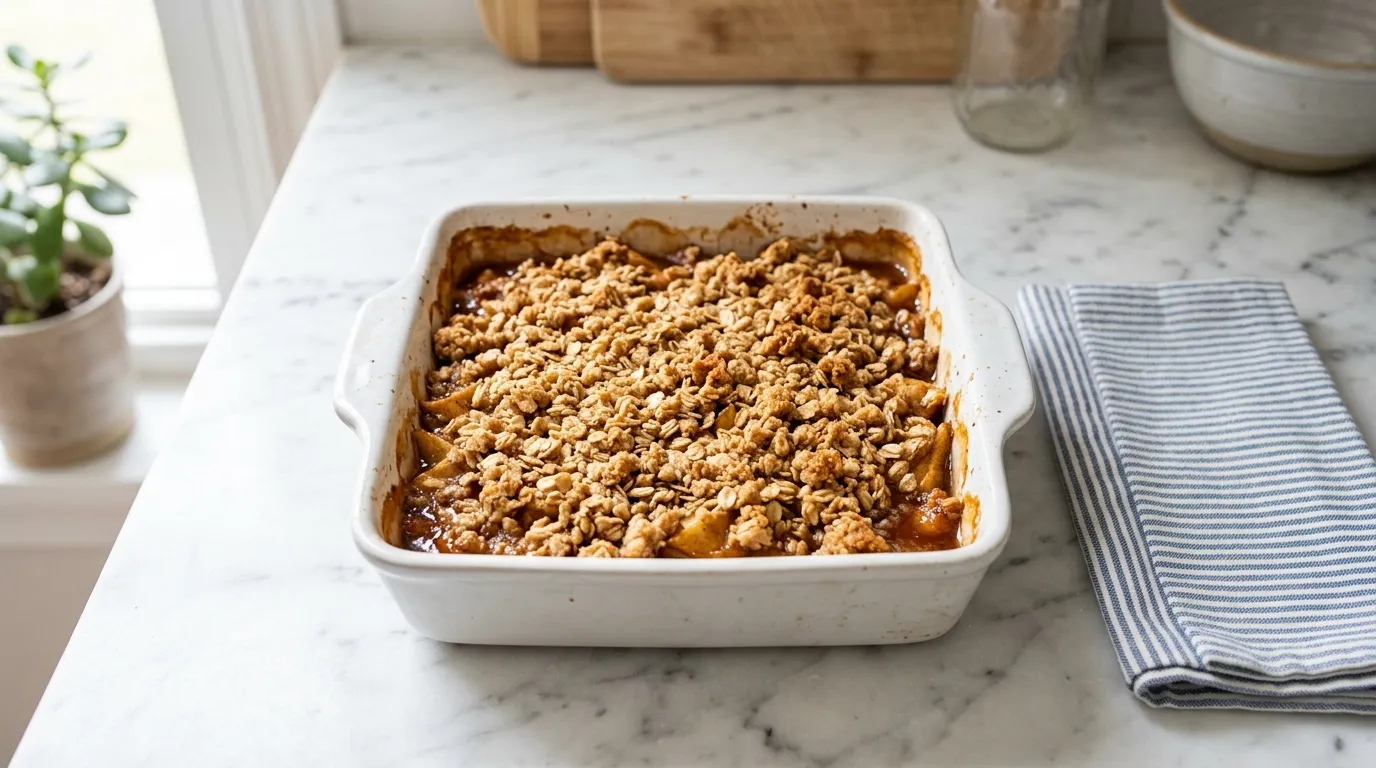
I know it's ready when I can press some of it together and it holds its shape. This mixture should not be too wet; it should crumble easily when I break it apart. If it's too wet, the topping will turn into a paste in the oven.
I make sure to mix well but not overdo it. Overworking can lead to a tough topping, which I want to avoid.
ADD THE APPLES. Now, I add the sliced apples into the bowl with the mixture. I gently fold the apples in, ensuring they are coated with the mixture.
Each slice should be covered, and I can see the apples glistening with the buttery mix. I know I've done this right when the apples are evenly distributed and surrounded by the crumble.
It's crucial to handle the apples carefully so they don't break apart. If I stir too aggressively, they might turn mushy, which I don't want for the crisp.
TOP WITH CRUMBLES. Next, I take the crumble mixture and sprinkle it evenly over the apples. I make sure to cover them generously. The topping should look fluffy and slightly mounded.
Each scoop should feel crumbly in my hands. I know it's correct when I see some of the apples peeking through but most are well covered. A good topping ensures a nice contrast in texture with the tender apples beneath.
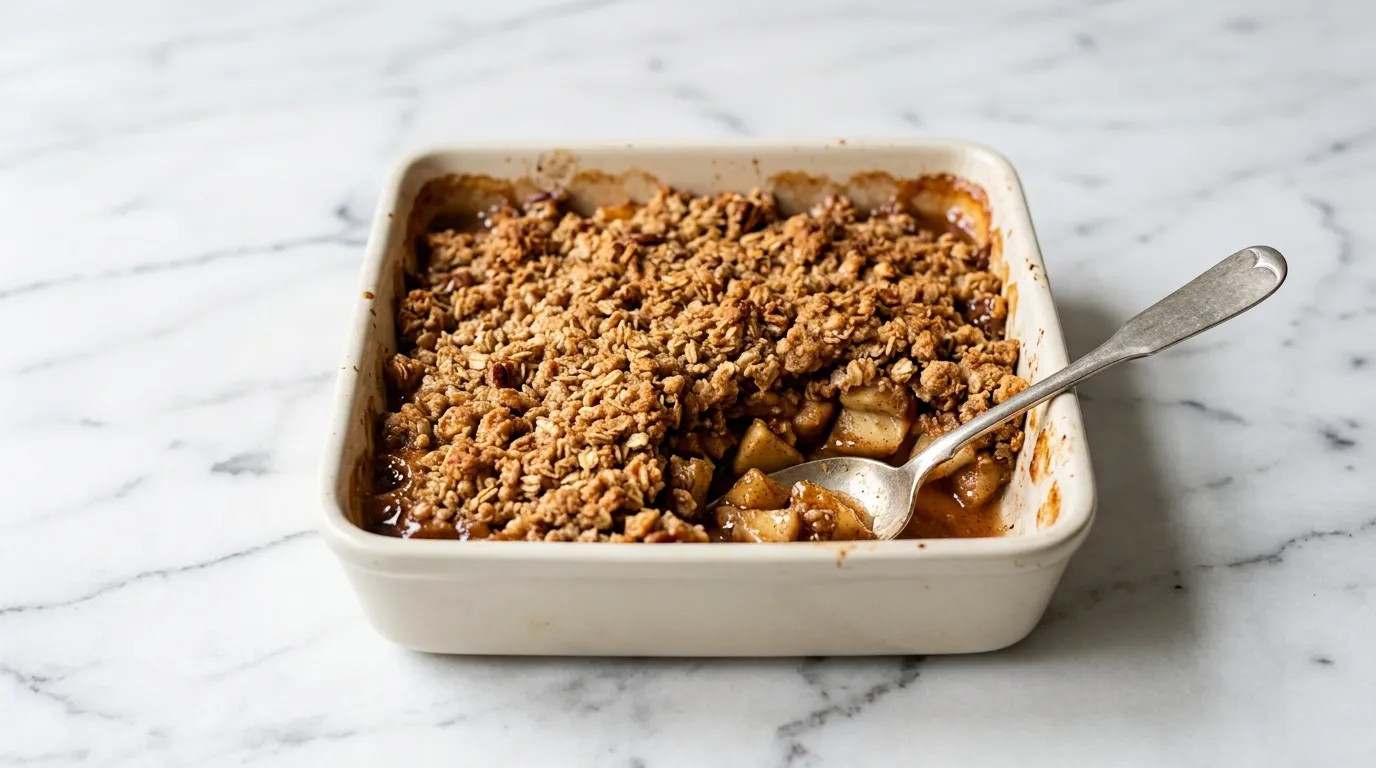
If I leave too many apples exposed, they might dry out while baking, which is not what I want.
BAKE UNTIL GOLDEN. I place the dish in the oven and set a timer. I watch closely as it bakes. The top should turn golden brown, and I can smell the warm spices filling the kitchen.
It's a comforting aroma. The edges will bubble slightly as the apples release their juices. If I don't keep an eye on it, the topping could burn, ruining the dish.
I should also check for doneness by poking the apples with a fork. They should be tender, not mushy.
LET IT COOL SLIGHTLY. Once it's out of the oven, I let the dish cool slightly. I can see the topping settling as it cools, and the bubbling subsides.
This step is essential because it allows the juices to thicken. If I dive in too soon, it might be too hot to handle, and the filling could be runny.
I can hear the slight crackle as it cools, indicating a nice crust has formed. Waiting just a few minutes enhances the overall experience.
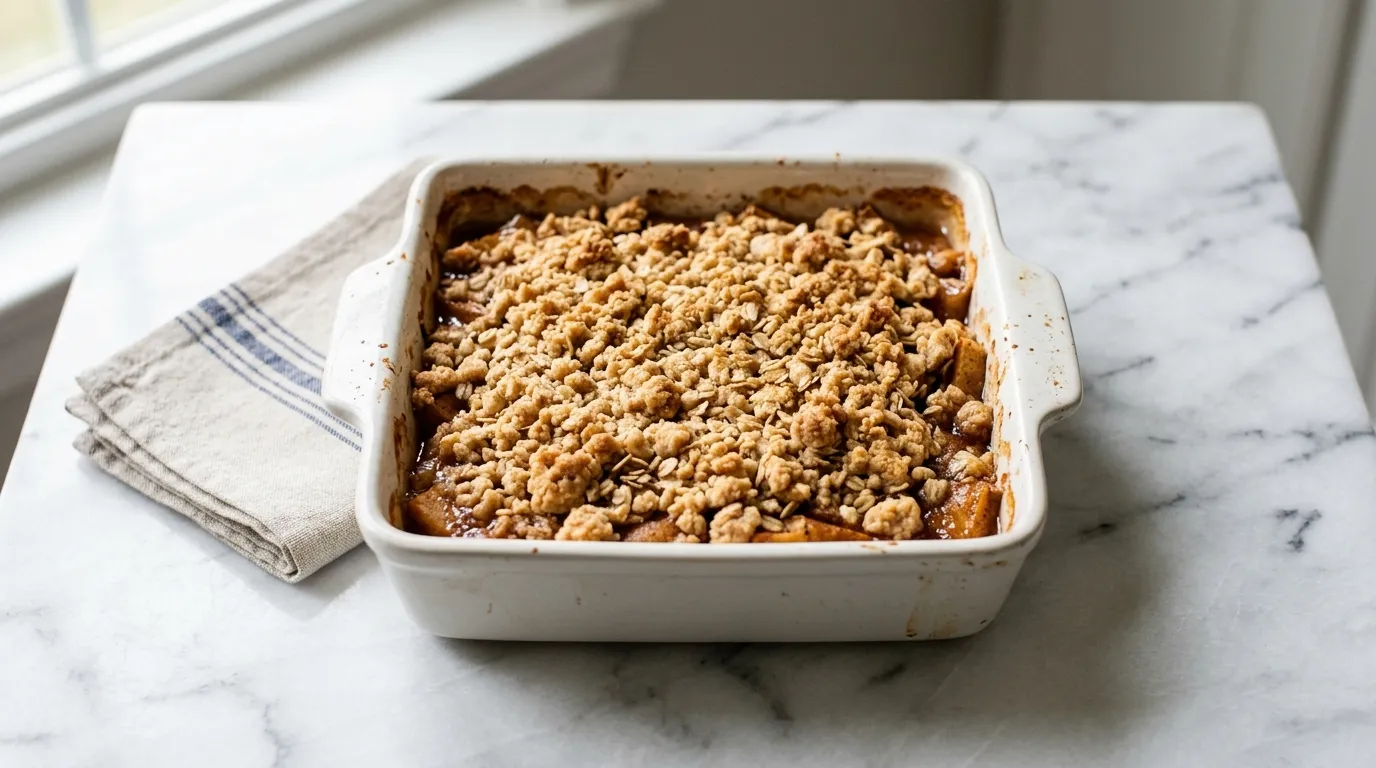
SERVE WITH ICE CREAM. Finally, I serve the apple crisp warm. A scoop of ice cream on top adds a creamy contrast. I love watching it melt slightly into the warm topping.
The combination of flavors and textures is delightful. I make sure to dish out generous portions so everyone can enjoy it. If I skip the ice cream, the dish may lack that creamy element that balances the sweetness of the apples.
It enhances the whole experience of enjoying the crisp.
Small Things That Made a Big Difference.
- Use firm apples. Choose apples that are not too soft. Soft apples can turn mushy during baking and ruin the texture of the crisp. Firm apples hold their shape and provide a pleasant bite in every spoonful.
- Don't skip the cooling step. Allowing the apple crisp to cool slightly thickens the juices. If I serve it too soon, the filling can be runny and messy. Waiting helps achieve that perfect scoop.
- Watch the baking time closely. Ovens can vary, and baking too long can burn the topping. If I leave it in for too long, the crisp becomes bitter and loses its appealing texture.
- Be gentle when folding. When mixing the apples with the crumble, I should fold carefully. If I stir too hard, the apple slices can break apart and lead to a mushy filling instead of distinct pieces.
- Check for doneness with a fork. Poking the apples to test for tenderness is key. If I skip this, I risk serving undercooked apples, which can be unpleasant and crunchy.
- Evenly distribute the topping. Ensure the crumble covers the apples well. Leaving too many exposed can dry them out while baking, resulting in a less enjoyable dish.
- Measure ingredients accurately. Using imprecise measurements can lead to an unbalanced flavor. If I don't measure correctly, it can result in a bland or overly sweet crisp.
What to Watch Out For.
- Using too many soft apples Too many soft apples can lead to a mushy filling. This happens because they break down too much during baking. Stick with firmer varieties to keep the texture intact.
- Overmixing the topping Overmixing can create a tough topping instead of a crumbly one. This occurs because the gluten in the flour develops too much. Mix just until combined for the best crumble.
- Skipping the cooling step Not allowing the crisp to cool can result in a runny filling. The juices need time to thicken. Let it sit for about 10 minutes after baking for a better texture.
- Not covering the apples fully Leaving too many apples exposed can cause them to dry out during baking. This results in a less juicy crisp. Make sure to generously top with the crumble mixture.
Turning It Into a Full Meal.
- Vanilla bean ice cream The creamy texture of vanilla bean ice cream complements the warm, spiced apple crisp perfectly. It adds a rich contrast to the sweet and tart apples.
- Caramel sauce Drizzling caramel sauce over the apple crisp adds an extra layer of sweetness and richness. It enhances the flavors and creates an indulgent dessert experience.
- Whipped cream Light and airy whipped cream balances the dense texture of the crisp. Its sweetness and creaminess provide a nice contrast to the warm apples.
- Chai tea A warm cup of chai tea complements the spices in the apple crisp. The aromatic flavors make for a cozy and comforting pairing.
Just in Case You Have Leftovers.
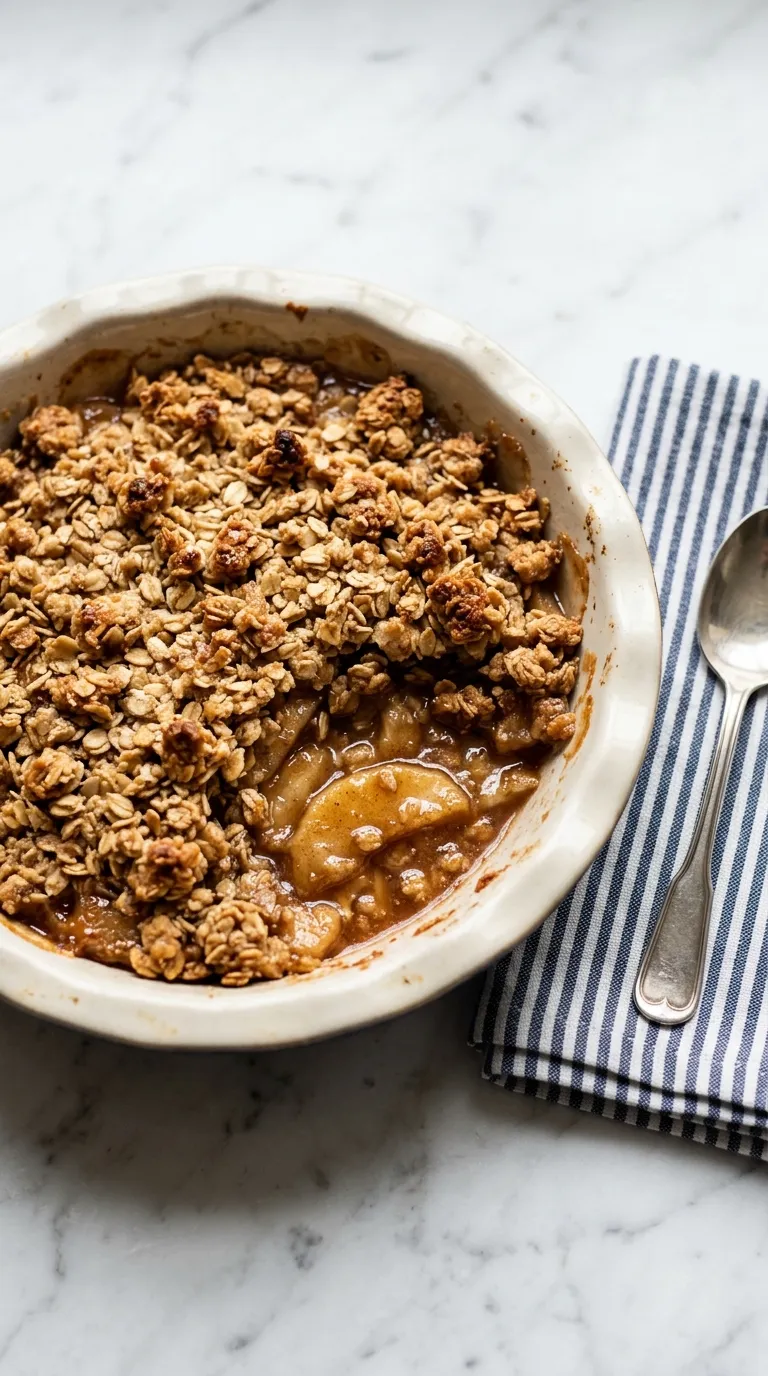
- STORING Keep in an airtight container for up to 2 days. The topping will soften over time.
- REHEATING Reheat in the oven at 350°F for 15 minutes. The topping will crisp up again.
A Few Things Worth Answering.
Can I make this ahead of time?
Yes, you can prepare the apple crisp and store it in the refrigerator for up to 24 hours before baking. Just cover it tightly to prevent it from drying out.
How long can leftovers be stored?
Leftover apple crisp can be stored in the refrigerator for up to 3 days. Reheat in the oven at 350°F for about 15-20 minutes for the best texture.
Can I use frozen apples?
Yes, you can use frozen apples, but they may release more moisture during baking. Consider reducing the baking time by about 10 minutes to prevent a soggy filling.
What can I add for extra flavor?
You can add chopped nuts like walnuts or pecans for crunch, or dried fruits like cranberries for added sweetness. A teaspoon of vanilla extract can also enhance the flavor profile.
- 6 cups sliced apples (about 6 medium apples)
- 1 cup all purpose flour
- 1 cup rolled oats
- 1 cup brown sugar, packed
- 1 teaspoon cinnamon
- 1/2 teaspoon salt
- 1/2 cup unsalted butter, melted
- 1PREHEAT OVEN TO 350°F.
- 2PREPARE 9x13 PAN. PREPARE a 9x13 inch baking dish by greasing it lightly or lining it with parchment paper.
- 3PEEL AND SLICE APPLES. PEEL AND SLICE 6 medium apples into thin slices.
- 4MIX TOGETHER DRY INGREDIENTS. MIX TOGETHER 1 cup all purpose flour, 1 cup rolled oats, 1 cup brown sugar, packed, 1 teaspoon cinnamon, and 1/2 teaspoon salt in a large bowl.
- 5ADD BUTTER AND MIX. ADD 1/2 cup unsalted butter, melted, to the dry ingredients and mix until crumbly.
- 6SPREAD APPLES IN PAN. SPREAD the sliced apples evenly in the prepared 9x13 inch baking dish.
- 7TOP WITH CRUMBLE MIXTURE. TOP WITH the crumble mixture, spreading it evenly over the apples.
- 8BAKE FOR 35-40 MINUTES. Or until the topping is golden brown.
- 9SHARE THE LOVE. Please rate this recipe 5 stars and leave a review!
Reviews
Community Guidelines
We love hearing how this recipe turned out for you. Please keep reviews about the recipe itself, stay kind and helpful to other cooks, and leave out personal details or links. Every review is checked before it appears.