
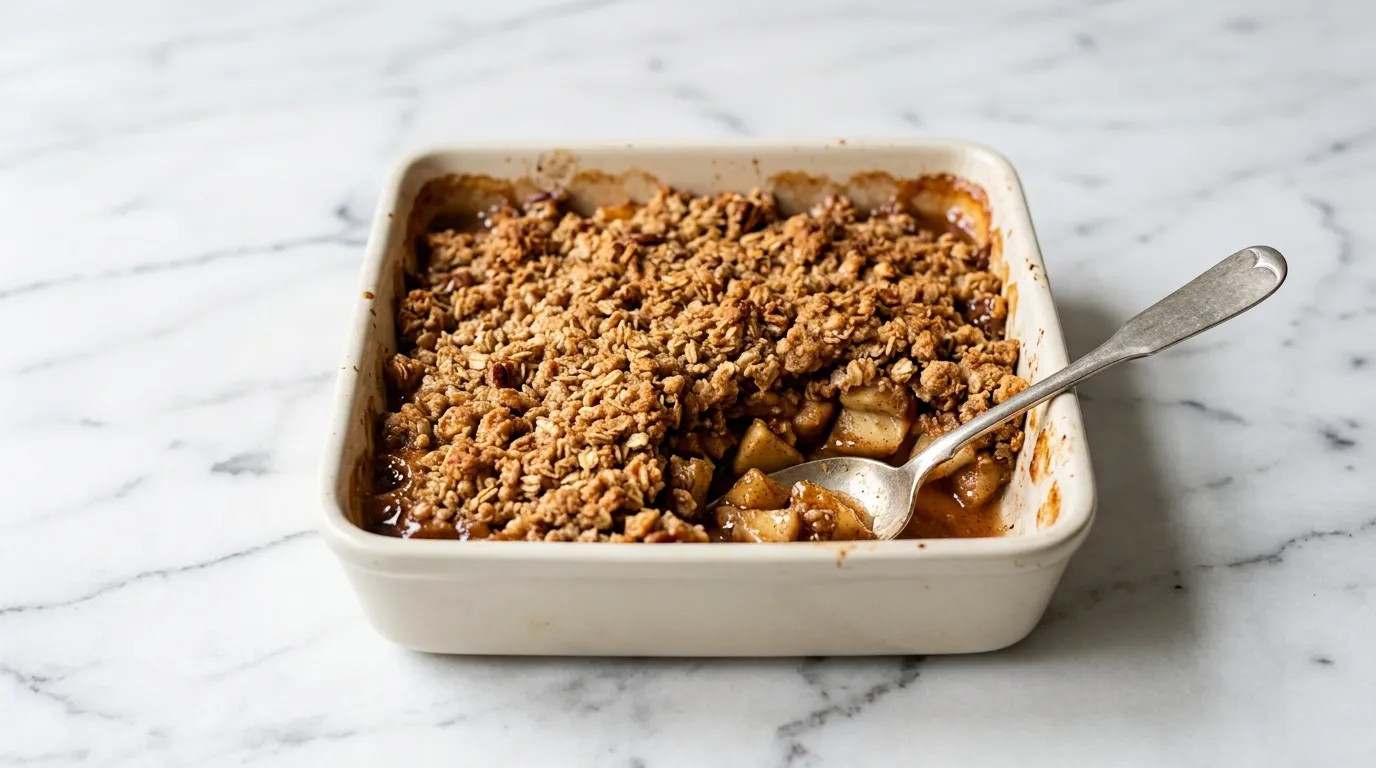
Classic Apple Crisp with Crunchy Oat Topping — This Classic Apple Crisp with Crunchy Oat Topping uses just eight ingredients. I prepare it in a 9x13 pan for a comforting dessert. The oat topping adds a satisfying crunch that pairs perfectly with the tender apples.
My Latest Video
A comforting dessert with satisfying texture.
- This version of apple crisp features a crunchy oat topping that enhances the texture, making each bite more enjoyable.
- Using common ingredients, this recipe is easy to whip up in a small kitchen, perfect for those limited on time and space.
- The combination of granulated and brown sugar gives the filling a delicious sweetness, complementing the tartness of the apples.
- This dish requires minimal equipment and no complicated techniques, making it accessible for anyone to create at home.
What Goes in the Bowl.
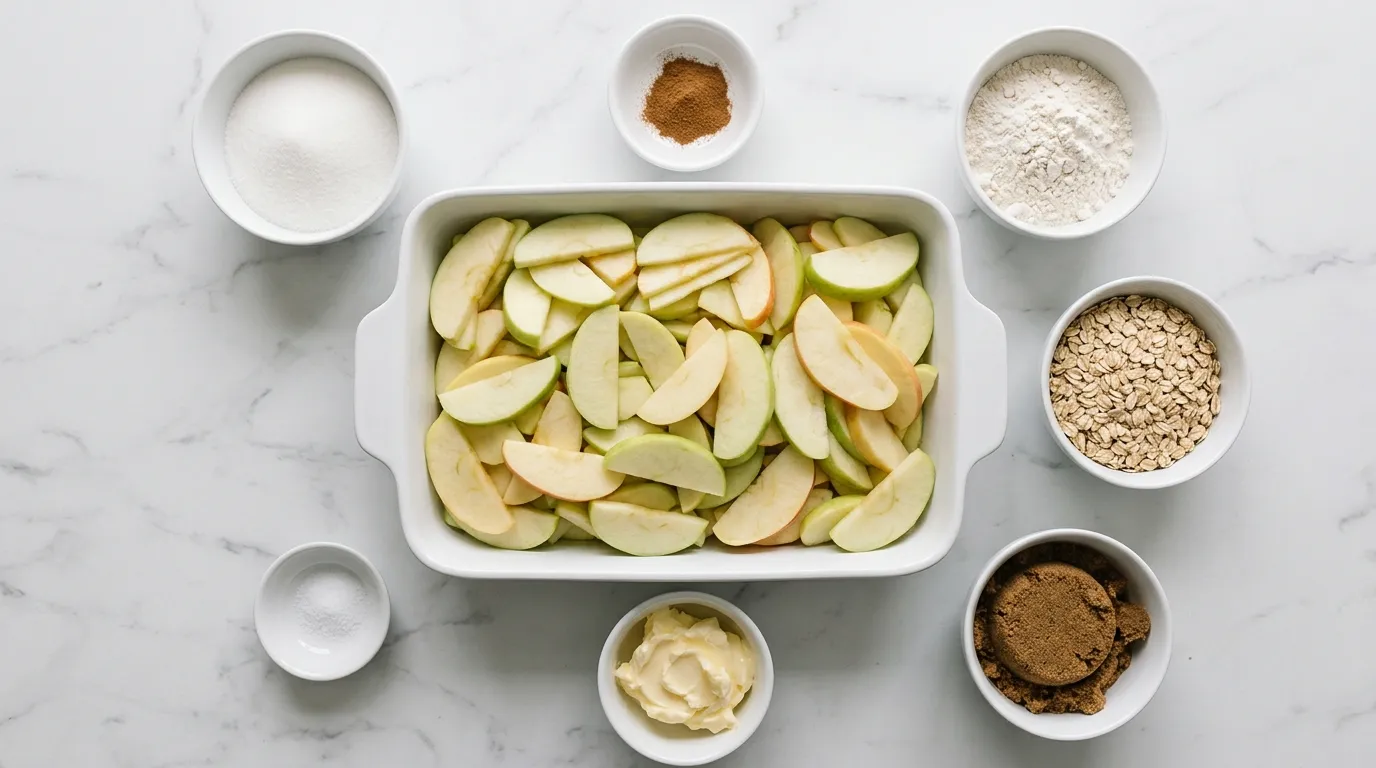
- 6 cups apples, peeled and sliced
- 1 cup granulated sugar
- 1 teaspoon cinnamon
- 1 cup all purpose flour
- 1 cup rolled oats
- 1 cup brown sugar, packed
- 1/2 cup unsalted butter, softened
- 1/4 teaspoon salt
The Ones I'm Picky About.
- Apples Using a mix of sweet and tart apples adds depth to the flavor. Granny Smith apples provide tartness, while Fuji or Honeycrisp apples contribute sweetness. If you substitute with only one type, the flavor balance may shift, making the dish too sweet or too sour.
- Granulated Sugar This sugar helps to sweeten the apples and enhance their natural flavors. If you use brown sugar instead, it will add a slight caramel flavor but may alter the texture of the apple mixture. If substituting, use the same amount for consistency.
- Brown Sugar Brown sugar adds moisture and a rich flavor to the topping. If you replace it with white sugar, the topping will be drier and less flavorful. Use an equal amount if substituting, but consider adding a teaspoon of molasses for a similar taste.
- Unsalted Butter Unsalted butter allows you to control the salt level in the recipe. Using salted butter may result in an overly salty topping. If you must substitute, reduce the added salt to 1/4 teaspoon if using salted butter.
How It Goes from Bowl to Table.
PREPARE THE APPLES. I start by peeling and slicing the apples. I choose a mix of sweet and tart varieties for a balanced flavor. The apples need to be firm to hold their shape.
Once sliced, I toss them in a bowl with the sugar and cinnamon. This mixture coats the apples evenly. I can see the sugar glisten and the cinnamon speckle the surface.
The apples soften slightly but still maintain their texture. This step is crucial. If I don't toss them well, the sugar won't dissolve properly during baking, and the apples may end up bland instead of flavorful.
MIX THE OAT TOPPING. Next, I prepare the oat topping. In a large bowl, I combine the rolled oats, flour, brown sugar, and salt. I mix these dry ingredients until they are well combined, ensuring no clumps remain.
Then, I add the softened butter. Using my fingers, I work the butter into the dry ingredients. The mixture should feel crumbly and resemble coarse sand.
I know it's ready when I can pinch it together and it holds its shape. This texture is important. If the topping is too wet, it will become dense instead of crunchy during baking.
ASSEMBLE THE CRISP. Now it's time to layer the crisp in a baking dish. I spread the apple mixture evenly across the bottom. The apples should be piled high but not overcrowded.
Then, I sprinkle the oat topping generously over the apples. I make sure to cover them completely. This helps ensure that every bite has the delicious crunch.
I also press the topping down slightly for better adhesion. If I don't do this, the topping might fall off when serving, making it less enjoyable.
BAKE UNTIL GOLDEN. I place the assembled dish in the oven and set the timer. As it bakes, I listen for the bubbling sound of the apples releasing their juices. The aroma fills the kitchen, hinting at the deliciousness to come.
The topping begins to turn golden brown, which is a good sign. I check it after about 25 minutes. If the topping appears dark brown too quickly, I cover it with foil to prevent burning.
This step is vital. Overbaking can dry out the crisp, ruining the texture and taste.
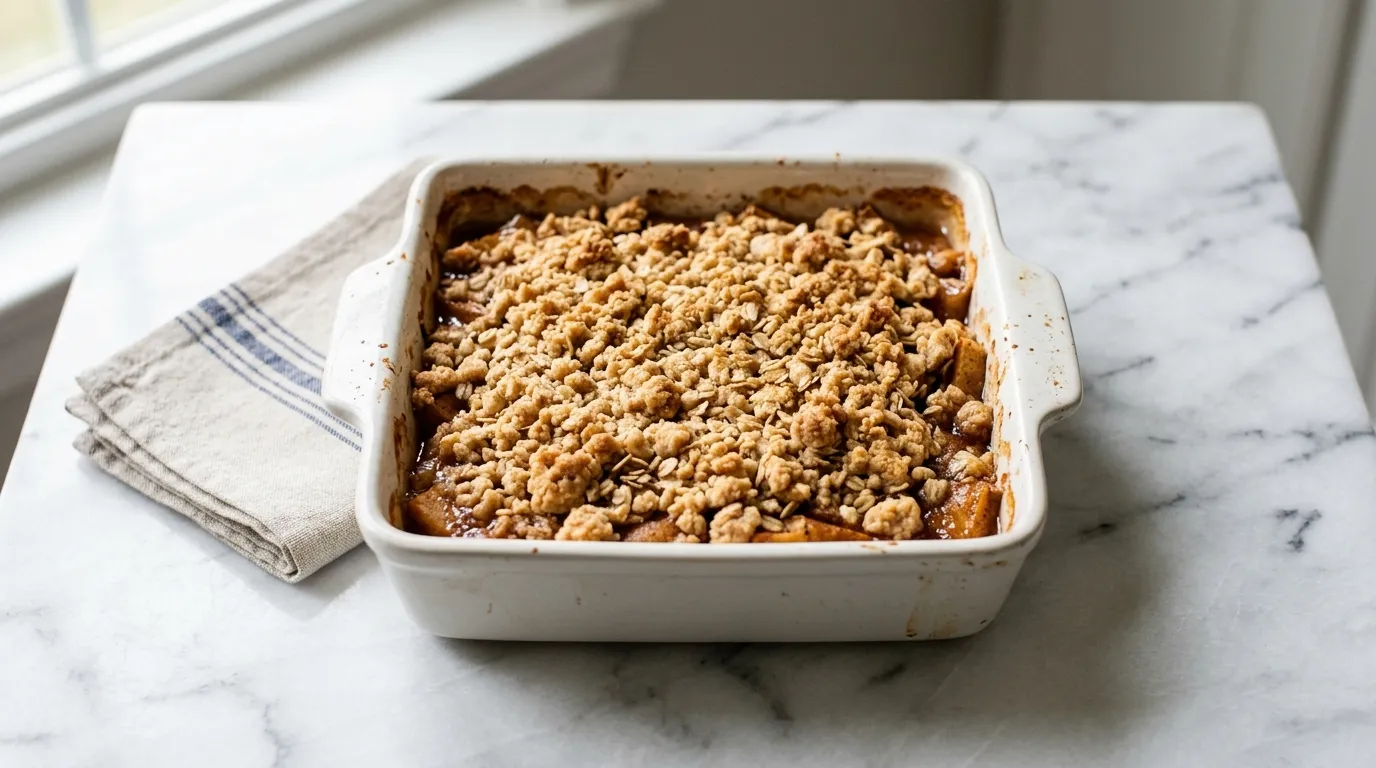
COOL BEFORE SERVING. After baking, I let the crisp cool for a while. This step is important because it allows the juices to settle. If I serve it too soon, it might be too runny.
The crisp should be warm but not scalding. I can tell it's ready when the topping feels firm to the touch, yet still has a slight give. Cooling also enhances the flavors, allowing them to meld.
If I skip this, the dish may taste flat, lacking depth.
ENJOY WITH ICE CREAM. When serving, I dish out portions and add a scoop of ice cream on top. The creamy texture of the ice cream contrasts with the warm, crunchy crisp.
I watch as the ice cream slightly melts, creating a delicious sauce. This combination is delightful.
If I forget to add ice cream, the dessert might feel incomplete. The richness of the ice cream balances the tartness of the apples and the sweetness of the topping perfectly.
STORE LEFTOVERS PROPERLY. Any leftovers need to be stored properly. I let the crisp cool completely before covering it with plastic wrap. I place it in the fridge to keep it fresh.
This keeps the topping from becoming soggy. I can tell it's stored correctly when it feels firm to the touch. If I leave it uncovered, it will dry out, losing its appeal.
Ensuring it's well-sealed also prevents other odors from affecting the dish.
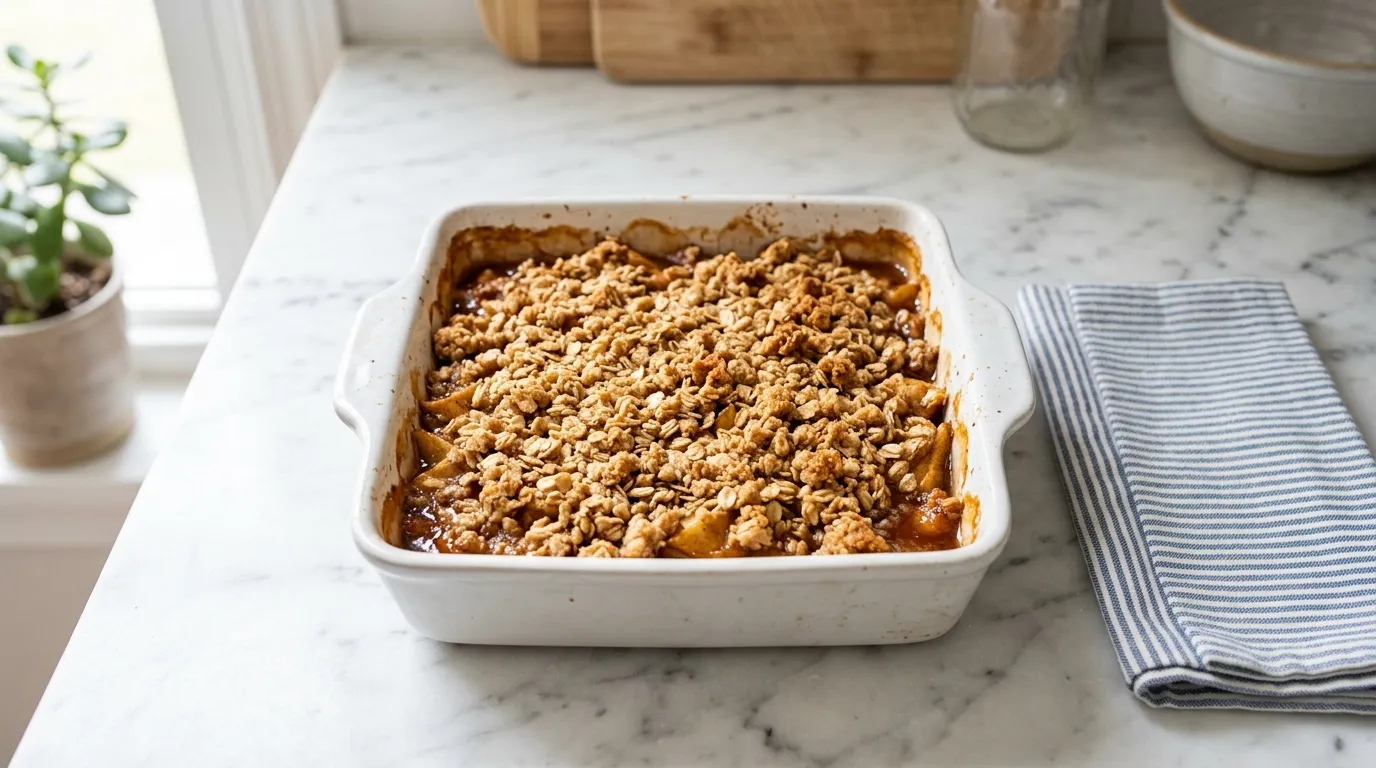
SAVOR THE FLAVORS. Lastly, I take a moment to savor the flavors. The combination of sweet apples, crunchy topping, and creamy ice cream creates a comforting experience.
Each bite offers a mix of textures and tastes. I appreciate the warmth and nostalgia this dish brings.
If I rush this step, I might miss the joy of enjoying my creation fully. Taking time to relish the flavors enhances the experience and makes it more memorable.
Lessons from Doing This More Than Once.
- Use a mix of apple varieties. Different apples bring varied flavors and textures. Sticking to just one type may lead to a bland taste. A mix ensures a balanced, flavorful crisp that is more enjoyable.
- Don't skip the cooling time. Letting the crisp cool allows the juices to settle. Serving too soon leads to a runny dessert that lacks that satisfying texture. Patience here pays off for a better experience.
- Be mindful of oven temperature. An oven that's too hot can burn the topping before the apples are properly cooked. This results in a crisp that is uneven, with some parts overdone and others undercooked.
- Keep an eye on baking time. Checking the crisp periodically helps prevent overbaking. If left too long, the apples can dry out and lose their flavor, making the dish less enjoyable.
- Press the topping down firmly. A loosely placed topping can fall off when serving. This can ruin the experience, as the crunchy layer is essential for texture. Make sure it adheres well to the apples.
- Store leftovers properly. Always let the crisp cool completely before covering it. If not, the topping can become soggy, and the crisp will lose its delightful crunch. Proper storage keeps it fresh longer.
The Parts That Trip People Up.
- Under-seasoning the apples If the apples are not coated well with sugar and cinnamon, they can taste bland. The spices are essential to enhance the natural flavors. Ensure you toss the apples thoroughly for even coverage.
- Using cold butter If the butter is too cold, it won't blend well with the dry ingredients, resulting in a dense topping. Make sure the butter is softened to achieve a crumbly texture. Softened butter mixes better and creates that desired crunch.
- Overcrowding the apples Piling the apples too high can cause uneven baking. The apples need space to cook down and release juices. Spread them evenly in the dish to ensure they bake properly.
- Not pressing the topping If the topping isn't pressed down, it may crumble off when served. Pressing it slightly helps it adhere to the apples. This ensures every bite has that crunchy topping.
What I Put Next to It.
- Vanilla Ice Cream The creamy texture of vanilla ice cream contrasts beautifully with the warm, crunchy apple crisp. This combination enhances the overall dessert experience.
- Caramel Sauce Drizzling warm caramel sauce over the apple crisp adds a rich sweetness that complements the tart apples perfectly. It creates a delightful flavor pairing.
- Whipped Cream A dollop of freshly whipped cream adds a light, airy texture that balances the richness of the crisp. It enhances the dessert without overpowering it.
- Cheddar Cheese Serving a slice of sharp cheddar cheese alongside the crisp provides a savory contrast. The tanginess cuts through the sweetness, making for a balanced flavor profile.
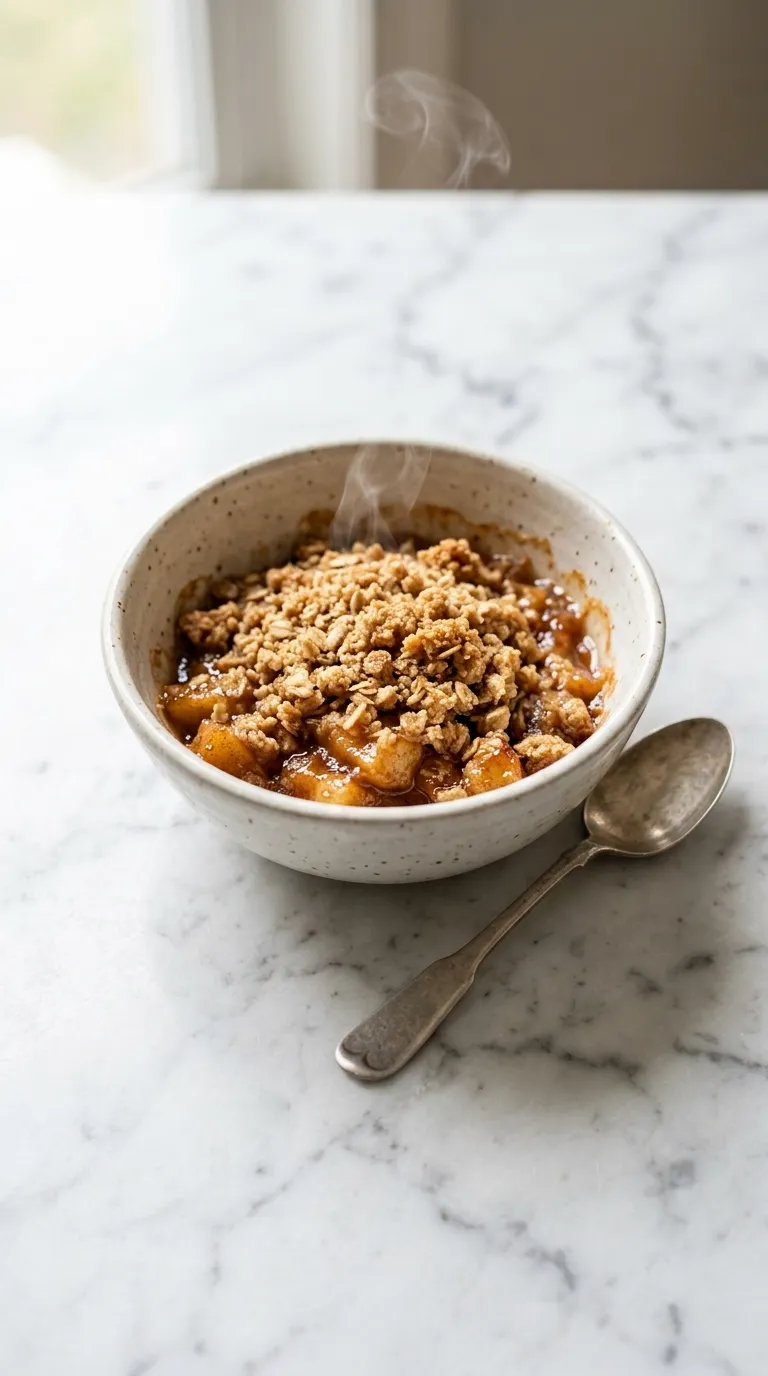
If There's Any Left.
- STORING Keep in an airtight container in the fridge for 2 days. The topping will soften over time.
- REHEATING Reheat in the oven at 350°F for 15 minutes. The topping will regain some crunch.
Answering the Usual Ones.
Can I make this ahead of time?
Yes, you can prepare the apple mixture and topping separately a day in advance. Store them in the fridge. Assemble and bake just before serving for the best texture.
Can I freeze apple crisp?
Yes, you can freeze apple crisp after baking. Cool it completely, then wrap it tightly in plastic wrap and foil. It can last up to three months in the freezer.
What apples are best for apple crisp?
A mix of sweet and tart apples like Granny Smith, Honeycrisp, and Fuji works well. This combination creates a balanced flavor and maintains texture during baking.
How do I know when the apple crisp is done?
The crisp is done when the topping is golden brown and the apples are bubbling. This usually takes about 30-40 minutes in the oven. Keep an eye on it to avoid burning.
- 6 cups apples, peeled and sliced
- 1 cup granulated sugar
- 1 teaspoon cinnamon
- 1 cup all purpose flour
- 1 cup rolled oats
- 1 cup brown sugar, packed
- 1/2 cup unsalted butter, softened
- 1/4 teaspoon salt
- 1PREHEAT THE OVEN. 1. PREHEAT THE OVEN to 350 degrees Fahrenheit.
- 2PREPARE THE APPLES. 2. PREPARE THE APPLES by peeling and slicing six cups of apples. Toss them in a bowl with one cup of granulated sugar and one teaspoon of cinnamon. Set aside.
- 3MAKE THE OAT TOPPING. 3. MAKE THE OAT TOPPING by combining one cup of all purpose flour, one cup of rolled oats, one cup of brown sugar (packed), and one fourth teaspoon of salt in a bowl. Cut in one half cup of softened unsalted butter using a pastry cutter until the mixture resembles coarse crumbs.
- 4ASSEMBLE IN PAN. 4. ASSEMBLE IN PAN by spreading the apple mixture evenly in a 9x13 inch baking dish. Sprinkle the oat topping evenly over the apples.
- 5BAKE UNTIL BUBBLY. 5. BAKE UNTIL BUBBLY for thirty-five minutes, or until the apples are tender and the topping is golden brown.
- 6LET IT COOL. 6. LET IT COOL for at least ten minutes before serving.
- 7SHARE THE LOVE. 7. SHARE THE LOVE. If you enjoyed this recipe, please leave a 5-star rating and review!
Reviews
Community Guidelines
We love hearing how this recipe turned out for you. Please keep reviews about the recipe itself, stay kind and helpful to other cooks, and leave out personal details or links. Every review is checked before it appears.