
Homemade Sheet Pan Pizza Dough for Fun Family Nights — Homemade Sheet Pan Pizza Dough requires just six ingredients and one bowl. It's simple to prepare and perfect for family nights. This version is tailored for small kitchens with limited space and equipment.
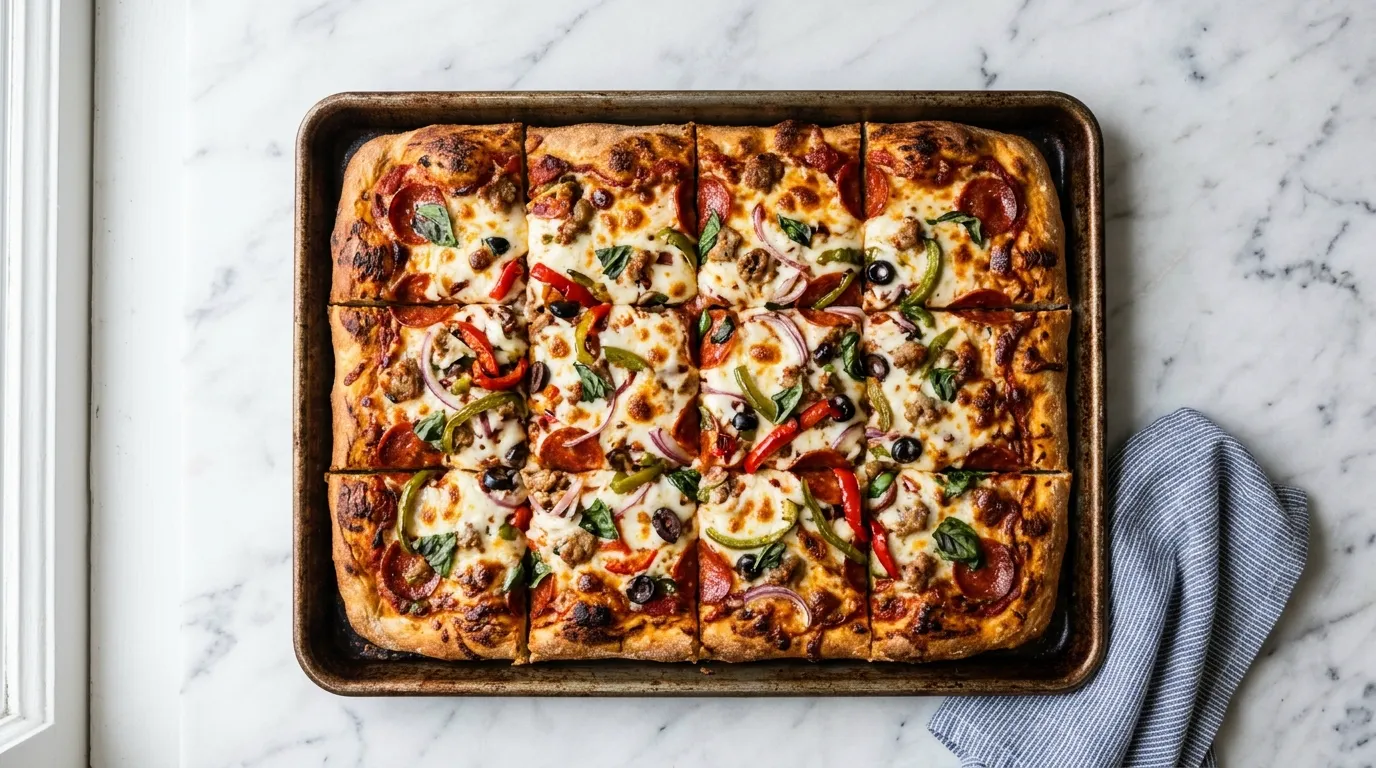
My Latest Video
Deliciously simple pizza dough for everyone.
- This sheet pan pizza dough offers a quick and easy way to make pizza at home. It combines basic ingredients to create a soft, workable dough.
- It requires only one bowl and minimal equipment, making cleanup a breeze. This is ideal for small kitchens with limited counter space.
- You can customize toppings, letting everyone create their favorite pizza. This makes it a fun activity for the whole family.
Pull These Out First.
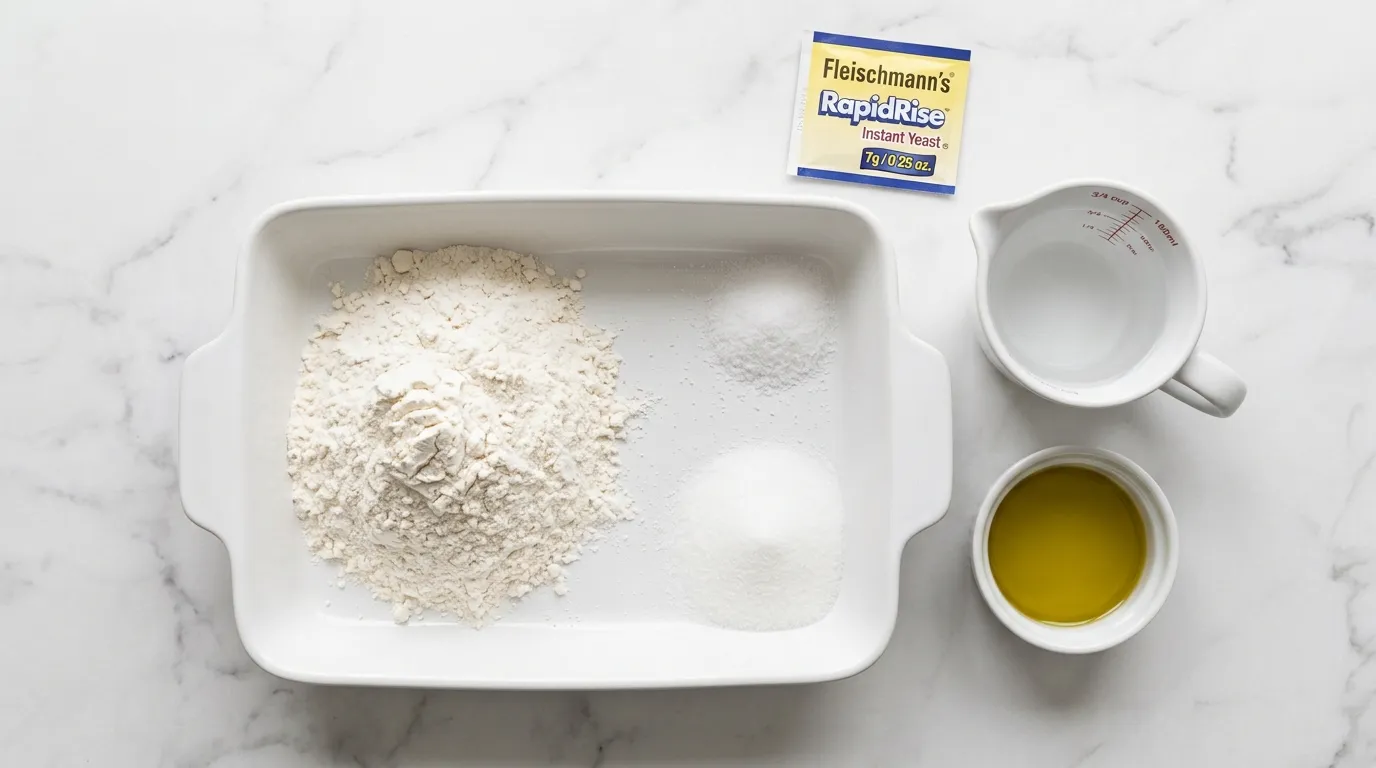
- 2 cups all-purpose flour
- 1 packet (2 1/4 tsp) instant yeast
- 1 tsp salt
- 1 tsp sugar
- 3/4 cup warm water
- 2 tbsp olive oil
The Ones I'm Picky About.
- All-purpose flour This flour provides the right balance of protein for a chewy crust. If you use bread flour instead, it may result in a denser texture. Keep the same amount, but note that bread flour absorbs more water, so adjust the water slightly if needed.
- Instant yeast Instant yeast activates quickly and rises faster than active dry yeast. If you substitute active dry yeast, use about 25% more and dissolve it in warm water first. Instant yeast gives a more consistent rise and a fluffier texture.
- Olive oil Olive oil contributes flavor and moisture to the dough. If you use vegetable oil instead, the taste will be milder, affecting the overall flavor. Use the same amount, but consider adding a little extra for richness.
- Warm water Warm water helps activate the yeast properly. If the water is too hot, it can kill the yeast. Aim for about 110°F. If you don't have a thermometer, it should feel warm but not hot to the touch.
The Order I Do Things In.
COMBINE DRY INGREDIENTS. I start by combining the all-purpose flour, instant yeast, salt, and sugar in a large bowl. I stir them together with a whisk to ensure everything is mixed evenly.
The flour should appear light and fluffy, with no clumps. This step is crucial because it helps distribute the yeast and salt evenly throughout the dough.
If I skip this, the dough may rise unevenly or have pockets of saltiness. The mixture should look like a uniform dry blend before I move on to the next step.
ADD WARM WATER. Next, I add the warm water to the dry mixture. I pour it in slowly while using a spatula to incorporate everything. It's important to use warm water, as it activates the yeast.
I keep mixing until I see the dough coming together. It should be a sticky mass, but not too wet. If it feels too dry, I know I need to add a little more water.
If I ignore this, the dough might not rise properly later on, resulting in a tough pizza crust.
MIX UNTIL SMOOTH. I mix until the dough appears smooth and cohesive. I use a spatula or my hands, pushing and folding until there are no dry bits left.
The texture should feel slightly tacky but not overly sticky. I can tell it's ready when it forms a ball that holds together well.
This means the ingredients have blended properly, which is vital for a good rise. If I don't mix it enough, the dough may not develop the gluten structure needed for a good texture.
KNEAD DOUGH BY HAND. Now, I knead the dough by hand on a lightly floured surface. I push the dough down and fold it over, repeating this motion.
I do this for several minutes until the dough feels smooth and elastic. The sound of the dough slapping against the counter is a good sign.
It should feel soft but not sticky anymore. If I don't knead it long enough, the dough will be dense and won't rise well, resulting in a heavy crust.
LET DOUGH RISE. After kneading, I place the dough in a lightly oiled bowl and cover it with a damp cloth. I let it rise in a warm spot for about an hour. I know it's ready when it has doubled in size.
The dough should feel light and airy when I gently poke it. If it springs back, I know it's well-risen. Skipping this step will lead to a crust that is flat and chewy instead of fluffy and light.
Patience is key here, as this is where the yeast does its magic.
ROLL OUT DOUGH. Once the dough has risen, I turn it out onto a floured surface. I press it down gently to release some air. Then, I roll it out into a rectangle, making sure it's even.
The dough should stretch easily but not tear. I can feel its elasticity as I work with it. If I roll it too thin, it may not hold the toppings well.
A good thickness allows for a chewiness that's enjoyable when baked. I aim for a nice, even layer for the best baking results.
ADD TOPPINGS. I transfer the rolled-out dough onto a greased sheet pan. Now, I can add my favorite toppings. Sauce, cheese, veggies, and meats go on top.
I spread the sauce evenly and sprinkle cheese generously. The toppings should cover the dough without overpowering it. If I pile too much on, the crust may not cook through and could turn soggy.
Balancing the toppings is important for a delicious pizza experience. I want to see vibrant colors and a nice layer of cheese.
BAKE UNTIL GOLDEN. With everything topped, I place the sheet pan in the oven. I watch as it bakes, looking for a golden brown crust. The cheese should bubble and turn slightly golden.
The aroma fills the kitchen, making everyone excited. I know it's done when the edges are crisp and the bottom is firm. If I take it out too early, the center might be doughy and unpleasant.

Timing is crucial for that perfect, crispy bite.
ENJOY WITH FAMILY. Finally, I slice the pizza and gather the family around the table. Everyone digs in, enjoying the homemade goodness. I watch their faces light up with every bite.
The crust is crispy, and the toppings are flavorful. I feel a sense of accomplishment knowing we made this together. Sharing this meal strengthens our bond.
If I had rushed through any step, it wouldn't have been the same joyful experience. This is what family nights are about.
Things I Learned While Testing This Recipe.
- Use a kitchen scale for accuracy. Measuring flour by volume can lead to inconsistency. Too much flour dries out the dough, making it tough. A scale ensures the right balance for a soft and fluffy crust every time.
- Let the dough rest after kneading. This brief rest period allows the gluten to relax. Skipping it can make rolling out the dough difficult, leading to a crust that is tough and hard to shape properly.
- Preheat the oven fully before baking. An oven that isn't hot enough can prevent the crust from rising correctly. This may result in a dense pizza instead of a light and airy one with a crisp finish.
- Experiment with different flours. Using only all-purpose flour can limit flavor and texture. Mixing in bread flour or whole wheat can enhance the dough, but ignoring this can yield a bland crust.
- Monitor baking time closely. Every oven is different, and relying solely on a timer can be risky. Taking the pizza out too soon results in a soggy center, while leaving it too long can burn the edges.
- Don't overcrowd with toppings. Adding too many toppings can lead to uneven cooking. The crust might not cook through properly, resulting in a soggy base that detracts from the overall pizza experience.
The Parts That Trip People Up.
- Not using warm water Using cold water can prevent the yeast from activating. This means the dough won't rise properly. Always make sure the water is warm to the touch to help the yeast do its job.
- Skipping the kneading process Not kneading enough leads to a dense and heavy crust. Kneading develops gluten, which creates structure. Make sure to knead until the dough feels smooth and elastic.
- Overloading with toppings Adding too many toppings can make the crust soggy. The dough needs to cook through, and excess moisture from toppings can prevent that. Stick to a balanced amount for the best texture.
- Not letting the dough rise long enough If the dough doesn't rise enough, the crust will be flat and chewy. Allow it to double in size in a warm place. Be patient; this step is key for a fluffy crust.
Turning It Into a Full Meal.
- Caesar salad The crisp lettuce and tangy dressing complement the richness of the pizza. It adds a refreshing contrast that balances the meal.
- Garlic knots These make a fun side that enhances the pizza experience. Their buttery, garlicky flavor pairs well with the pizza's toppings.
- Buffalo wings Spicy buffalo wings add a kick that contrasts nicely with the cheesy pizza. They're a classic combination for family nights.
- Fruit salad A light fruit salad brings a sweet, fresh element to the table. It's a great way to end the meal on a refreshing note.

What to Do with What's Left.
- STORING Store in an airtight container at room temperature for up to 2 days. The crust may soften over time.
- REHEATING Reheat in the oven at 350°F for 10 minutes. This helps restore the crust's crispness.
Things People Wonder About.
Can I make this dough ahead of time?
Yes, you can make the dough ahead of time. After kneading, let it rise, then cover it tightly and refrigerate for up to 24 hours. Allow it to come to room temperature before rolling it out.
How do I store leftover pizza?
Store leftover pizza in an airtight container in the refrigerator for up to 3 days. Reheat it in the oven for a few minutes to restore its crispiness.
Can I freeze the dough?
Yes, you can freeze the dough. After the first rise, wrap it tightly in plastic wrap and place it in a freezer bag. It can be frozen for up to 3 months. Thaw it overnight in the fridge before use.
What if my dough doesn't rise?
If your dough doesn't rise, it may be due to old yeast or water that was too hot or cold. Always check the yeast's expiration date and ensure your warm water is around 110°F for optimal activation.
- 2 cups all-purpose flour
- 1 packet (2 1/4 tsp) instant yeast
- 1 tsp salt
- 1 tsp sugar
- 3/4 cup warm water
- 2 tbsp olive oil
- 1PREHEAT OVEN TO 450°F.
- 2MIX INGREDIENTS IN BOWL. In a bowl, combine 2 cups all-purpose flour, 1 packet (2 1/4 tsp) instant yeast, 1 tsp salt, and 1 tsp sugar. Gradually add 3/4 cup warm water and 2 tbsp olive oil. Mix until combined.
- 3KNEAD DOUGH FOR 5 MINUTES. Knead the dough in the bowl for 5 minutes until smooth and elastic. Use a pastry cutter to help if needed.
- 4ALLOW DOUGH TO RISE. Cover the bowl with a cloth and allow the dough to rise in a warm place for 30 minutes, or until it has doubled in size.
- 5ROLL OUT AND SHAPE DOUGH. On a lightly floured surface, roll out the dough to fit a 9x13 inch baking dish. If using a 9x9 inch baking dish, roll the dough to fit and reduce baking time by 5 minutes.
- 6TOP PIZZA WITH FAVORITES. Top the rolled-out dough with your favorite pizza toppings.
- 7BAKE UNTIL CRISPY. Place the baking dish in the oven and bake for 20 minutes, or until the crust is crispy and golden.
- 8SHARE THE LOVE. If you enjoyed this recipe, please consider giving a 5-star rating and leaving a review. SHARE THE LOVE.
Reviews
Community Guidelines
We love hearing how this recipe turned out for you. Please keep reviews about the recipe itself, stay kind and helpful to other cooks, and leave out personal details or links. Every review is checked before it appears.