
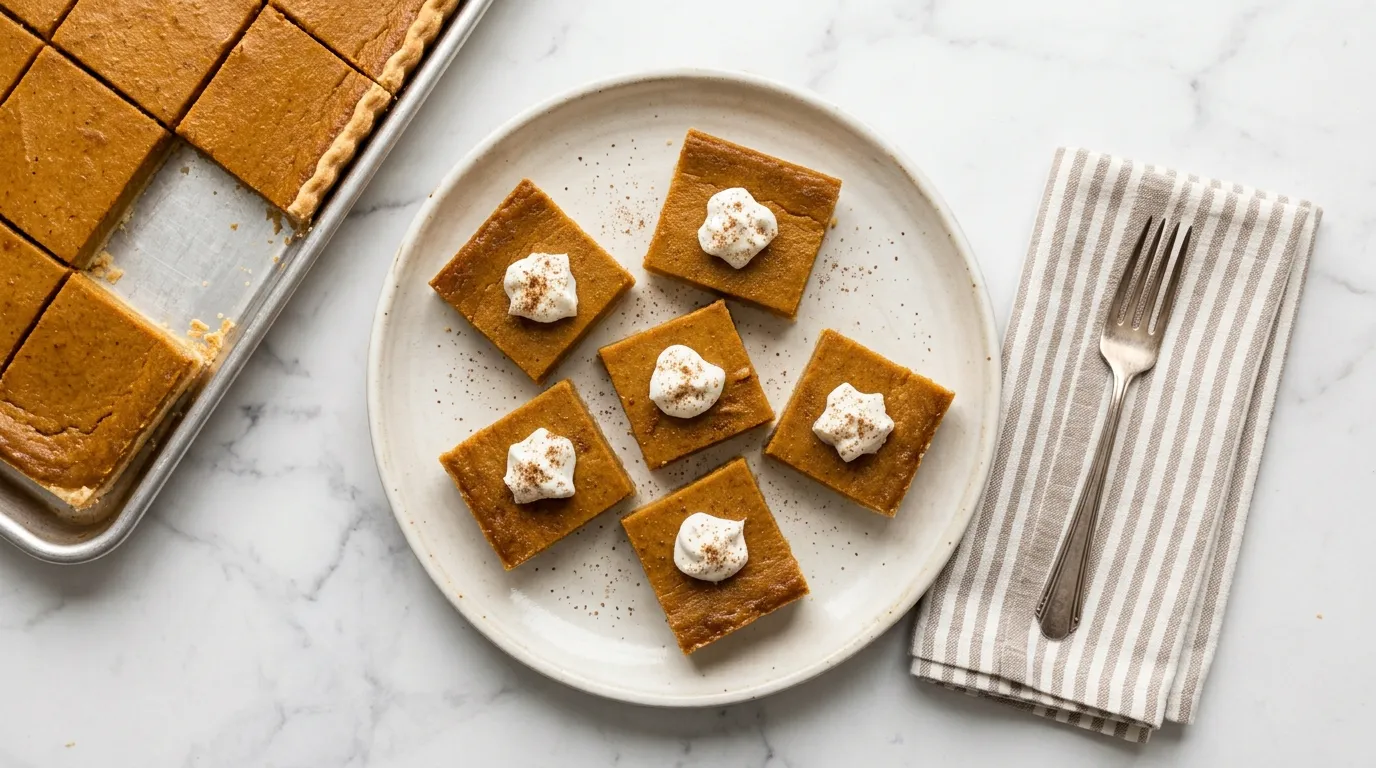
Sheet Pan Pumpkin Pie for Thanksgiving Feasts — Sheet Pan Pumpkin Pie is simple to make with just 10 ingredients. I use a sheet pan to create a thin pie that's easy to slice and serve. This version is perfect for gatherings, allowing for more servings in a single bake.
My Latest Video
A delicious twist on a classic dessert.
- Using a sheet pan means you can create a larger, thinner pie that's easy to slice and serve at gatherings. This method provides more portions without the hassle of multiple pies.
- The combination of pumpkin puree and sweetened condensed milk creates a rich filling that balances sweetness and spice, perfect for autumn celebrations.
- This recipe is straightforward, requiring minimal equipment and just one oven, making it ideal for small kitchens or rental spaces where counter space is limited.
The Short Shopping List.
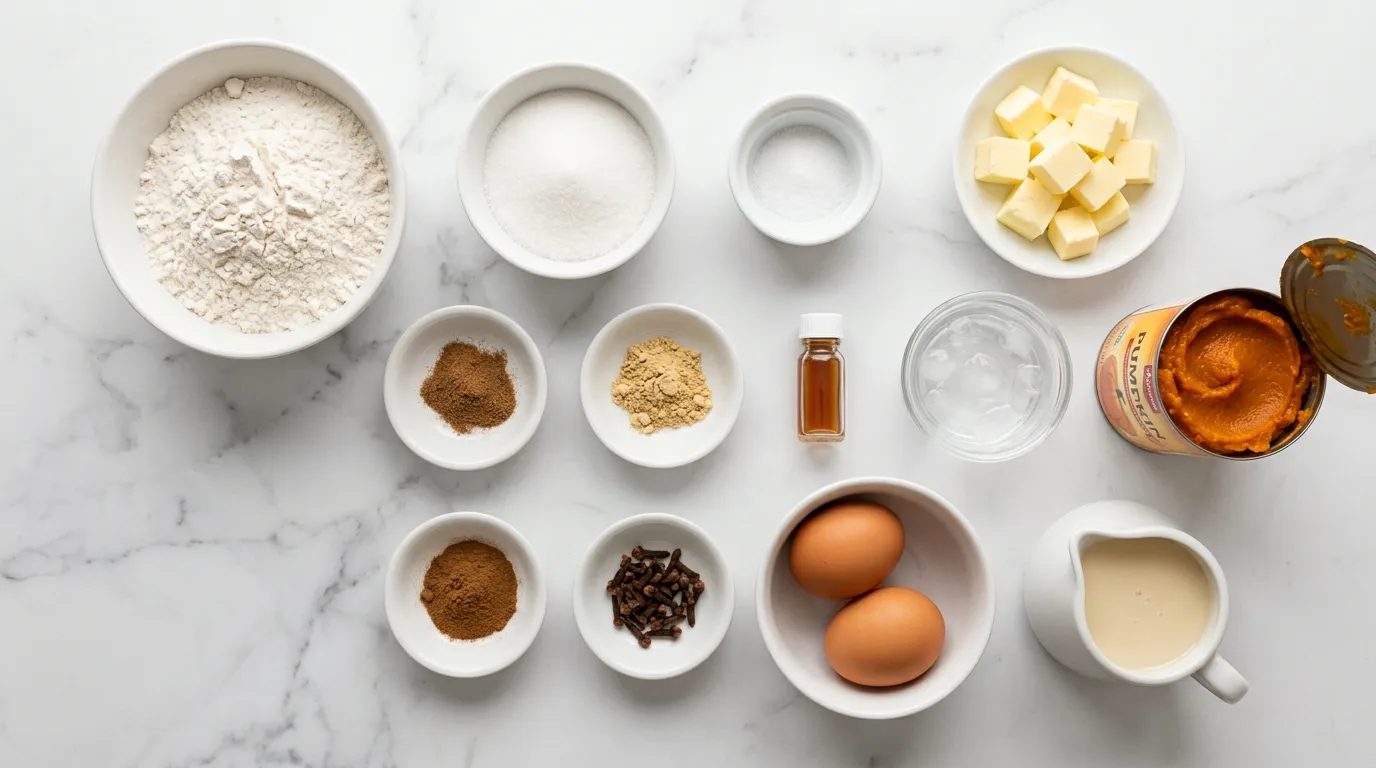
- 1 cup all purpose flour
- 1/4 cup granulated sugar
- 1/2 teaspoon salt
- 1/4 cup unsalted butter, cold and cubed
- 1/4 cup ice water
- 1 can (15 oz) pumpkin puree
- 1 cup sweetened condensed milk
- 2 large eggs
- 1 teaspoon ground cinnamon
- 1/2 teaspoon ground nutmeg
- 1/2 teaspoon ground ginger
- 1/4 teaspoon ground cloves
- 1/2 teaspoon vanilla extract
Where the Choices Matter.
- All purpose flour This flour provides the right structure for the crust. Using whole wheat flour will create a denser texture and a nuttier flavor. If substituting, use the same amount, but be aware that the crust may need extra moisture due to the higher absorption of whole wheat.
- Granulated sugar Granulated sugar sweetens the filling and enhances flavor. Brown sugar can be used instead, adding a slight caramel note. If substituting, use the same amount, but it may change the texture slightly due to the moisture content in brown sugar.
- Pumpkin puree Pumpkin puree gives the pie its signature flavor and color. If using fresh pumpkin, you'll need to cook and blend it until smooth, which may require about 2 cups of fresh pumpkin to match the density of canned puree.
- Sweetened condensed milk This ingredient adds creaminess and sweetness to the filling. If you want a dairy-free version, use coconut cream as a substitute. Use about the same amount, but the flavor will be different, giving a tropical twist.
Here's How It All Comes Together.
PREPARE THE CRUST. I start by preparing the crust. First, I gather my ingredients and mix the flour and salt together. I cut in the butter until the mixture resembles coarse crumbs. Next, I add cold water, a little at a time, until the dough comes together. I form the dough into a disk and wrap it in plastic wrap.
It goes into the fridge to chill. Chilling helps the crust hold its shape when baking. After some time, I roll out the dough on a floured surface. I aim for a circle that's slightly larger than my sheet pan. Once rolled out, I carefully place the dough in the pan, pressing it into the corners.
I trim any excess dough hanging over the edges. Then, I poke holes in the crust with a fork. This prevents it from puffing up while baking. The crust is now ready for the filling.
MAKE THE PUMPKIN FILLING. I move on to make the pumpkin filling. In a mixing bowl, I combine pumpkin puree with eggs. Mixing in sugar, spices, and salt creates a flavorful blend. I choose warm spices like cinnamon, nutmeg, and ginger for a classic taste.
After mixing well, I pour in heavy cream and stir until everything is smooth. The filling should have a rich, creamy consistency. I taste a little to ensure the flavors are balanced. If needed, I adjust the spices or sweetness.
This step is vital for a delicious pie. Once I'm satisfied, I set the bowl aside. The filling needs to be ready when the crust is done baking. I can already imagine how good this will taste.
ASSEMBLE THE PIE. Assembling the pie is next on my list. I take the chilled crust from the fridge and pre-bake it for a short time. This helps it stay crisp under the filling. After it cools slightly, I pour the pumpkin filling into the crust.
I make sure it's evenly spread across the surface. The filling should look smooth and inviting. I gently tap the pan on the counter to eliminate any air bubbles. This ensures a nice texture when it's baked.
Once I'm satisfied with the filling, I check the edges of the crust. I might fold them over if they look too rough. The pie is now ready to go into the oven, where it will transform into a delicious dessert.
BAKE THE PIE. Baking the pie is an exciting step. I slide the sheet pan into the preheated oven. The aroma of spices fills the kitchen as it bakes. I watch as the filling begins to set around the edges.
Checking the pie after some time is important. I look for a slight jiggle in the center, which means it's done but still moist. This is key to a perfect texture. I take it out and let it cool on a wire rack.
Waiting patiently is hard, but it's necessary. The pie needs to firm up before I slice into it. I remind myself that good things take time. The cooling stage is crucial for the best flavor and consistency.
COOL BEFORE SERVING. Cooling the pie before serving is essential. I let it sit at room temperature for a while. This helps the filling set completely. I can see the edges firming up as it cools.
After some time, I transfer it to the fridge to chill further. A cold pie is refreshing, especially during a festive meal. Waiting can be tough, but it's worth it. I like to let it chill for a few hours, allowing the flavors to meld.
Family and friends will appreciate the effort. Once cooled, I'm ready to serve. The pie looks beautiful and inviting on the table. It's hard not to sneak a bite at this point.
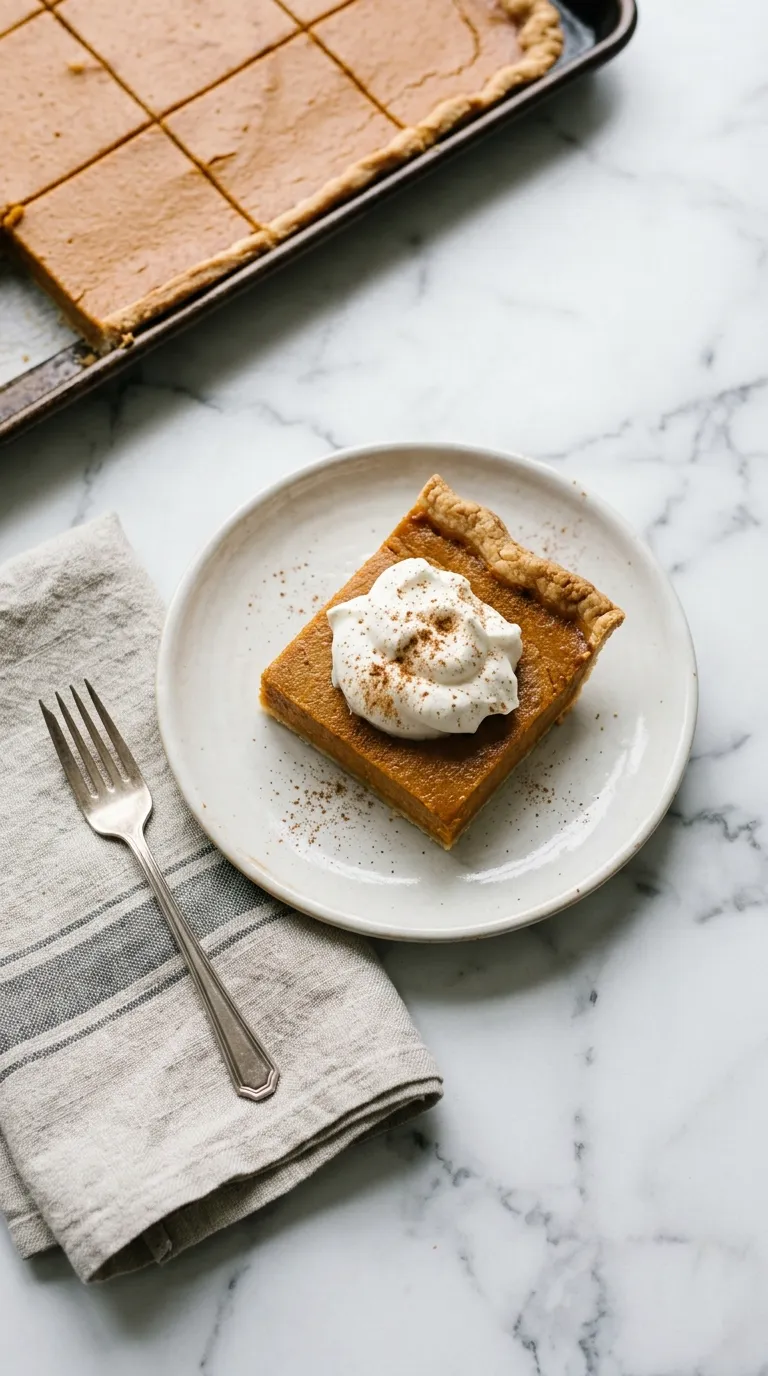
ADD WHIPPED CREAM. Adding whipped cream is the finishing touch. I whip heavy cream with a little sugar until soft peaks form. The cream should be light and airy. Once ready, I dollop it generously over each slice of pie.
The cream adds a rich contrast to the pumpkin filling. I sometimes sprinkle a dash of cinnamon on top for extra flavor. This simple step makes the pie feel special. Everyone enjoys the combination of creamy and spiced.
I can't help but smile as I prepare the servings. Each slice looks delightful and ready to impress. Everyone will enjoy this addition, enhancing the overall experience.
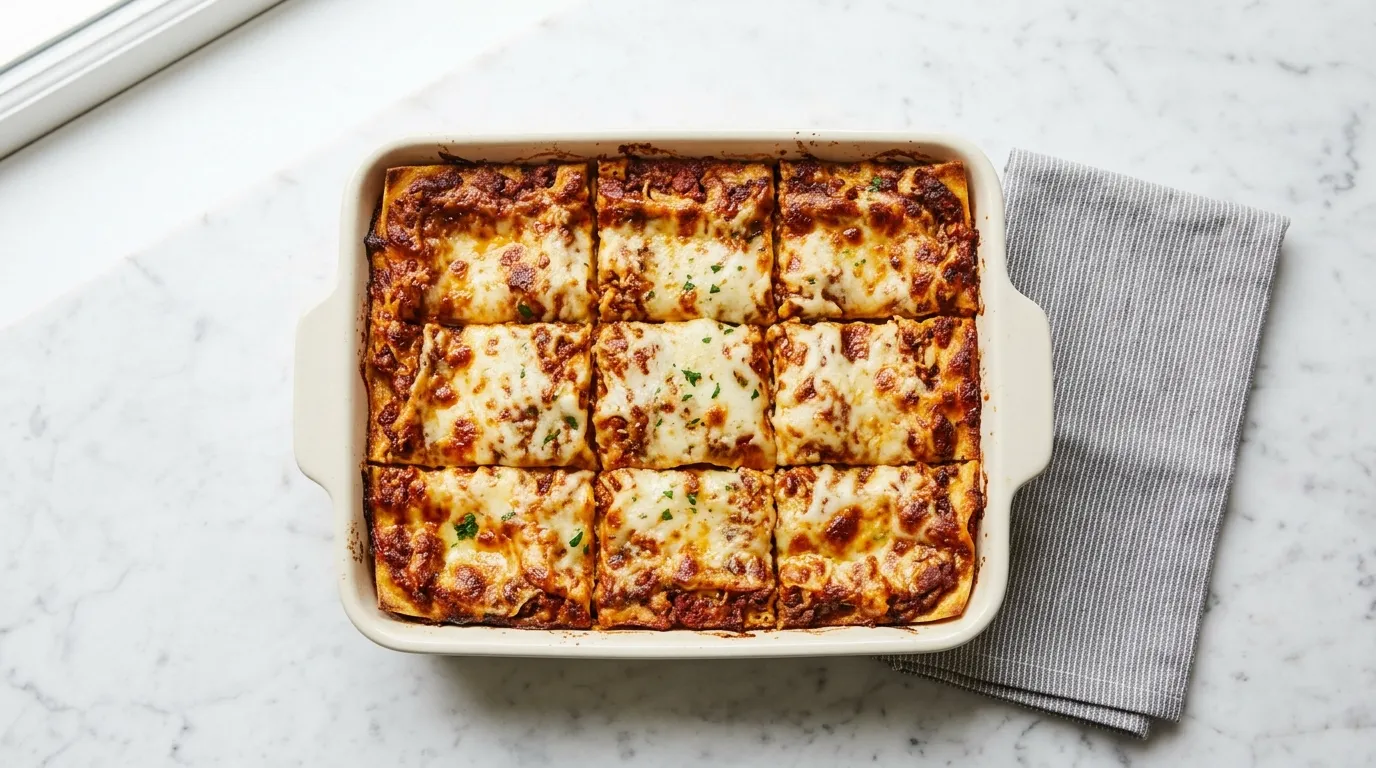
ENJOY YOUR PIE! The best part comes next. I sit down with family and friends to enjoy the pie. Everyone takes a slice, and I watch their faces light up. The flavors come together perfectly, and the texture is spot on.
Conversations flow as we share stories and laughter. Each bite brings back memories of past Thanksgiving gatherings. I love seeing how much everyone enjoys the dessert. It feels good to share something I've made with love.
The atmosphere is warm and welcoming. I take my time, savoring each bite. This is what the holiday is all about: togetherness and good food.
SHARE THE LOVE. Sharing the love is the final step. I invite everyone to try a slice if they haven't already. I encourage them to share their thoughts on the pie. Their feedback warms my heart.
I enjoy hearing stories about their favorite Thanksgiving desserts. Baking brings people together, and this pie is a symbol of that connection. I might even share the recipe with those interested. It feels good to pass on traditions.
As we finish our meal, I remind everyone to take leftovers home. I want them to enjoy a slice later. The joy of sharing delicious food carries on beyond the meal.
What the First Few Rounds Taught Me.
- Use cold butter for the crust. If your butter is too warm, the dough can become greasy and tough. This makes it hard to achieve that flaky texture we all love.
- Pre-bake the crust properly. If you skip this step, the filling can make the crust soggy. A soggy crust ruins the overall pie experience.
- Allow the filling to sit briefly after mixing. If you pour it immediately into the crust, the spices may not fully blend, leading to uneven flavor in the pie.
- Check the pie closely towards the end of baking. Overbaking can cause the filling to crack and dry out. A slight jiggle means it's just right, so keep an eye on it.
- Let the pie cool completely before slicing. If you cut it too soon, the filling may still be runny. A well-set pie ensures clean slices and better presentation.
What I Got Wrong the First Time.
- Overworking the dough If the dough is overmixed, it can become tough instead of flaky. This happens because the gluten develops too much. To avoid this, mix just until combined and no dry flour remains.
- Not cooling the pie Skipping the cooling step can lead to a runny filling. The pie needs time to set properly after baking. Allow it to cool for at least an hour before slicing for the best texture.
- Skipping the pre-baking Pre-baking the crust helps it stay crisp. If you skip this step, the crust may become soggy from the filling. Always pre-bake for about 10 minutes until it's lightly golden.
- Not adjusting spices If you don't taste and adjust the spices, the pie may lack flavor. Each pumpkin puree can vary. Always taste the filling before pouring it into the crust and add more spices if needed.
What Goes Well with This.
- Roasted turkey The savory flavors of roasted turkey pair well with the sweet and spiced pie, creating a balanced Thanksgiving plate.
- Green bean casserole The creamy, crunchy elements of green bean casserole offer a nice contrast to the smooth pumpkin pie, enhancing the meal's variety.
- Cranberry sauce The tartness of cranberry sauce complements the sweetness of the pumpkin pie, making each bite more dynamic and flavorful.
- Stuffing Savory stuffing adds depth to your meal, and its herbs and spices work beautifully alongside the spices in the pie.
How It Holds Up the Next Day.
- STORING Keep in an airtight container in the fridge for 2 days. The crust will soften over time.
- FREEZING Do not freeze. The texture of the filling will change when thawed.
- REHEATING Reheat in the oven at 350°F for 15 minutes. The filling will warm nicely, but the crust may lose some crispness.
Frequently Asked Questions
- 1 cup all purpose flour
- 1/4 cup granulated sugar
- 1/2 teaspoon salt
- 1/4 cup unsalted butter, cold and cubed
- 1/4 cup ice water
- 1 can (15 oz) pumpkin puree
- 1 cup sweetened condensed milk
- 2 large eggs
- 1 teaspoon ground cinnamon
- 1/2 teaspoon ground nutmeg
- 1/2 teaspoon ground ginger
- 1/4 teaspoon ground cloves
- 1/2 teaspoon vanilla extract
- 1PREHEAT THE OVEN. 1. PREHEAT THE OVEN to 350 degrees Fahrenheit.
- 2COMBINE CRUST INGREDIENTS. 2. COMBINE 1 cup all purpose flour, 1/4 cup granulated sugar, and 1/2 teaspoon salt in a bowl. Add 1/4 cup unsalted butter, cold and cubed, and mix with a pastry cutter until crumbly. Stir in 1/4 cup ice water until dough forms.
- 3PRESS CRUST INTO PAN. 3. PRESS CRUST INTO A 9x13 inch baking dish, evenly covering the bottom and slightly up the sides. If using a 9x9 inch pan, bake for 5 minutes less.
- 4MIX FILLING INGREDIENTS. 4. MIX 1 can (15 oz) pumpkin puree, 1 cup sweetened condensed milk, 2 large eggs, 1 teaspoon ground cinnamon, 1/2 teaspoon ground nutmeg, 1/2 teaspoon ground ginger, 1/4 teaspoon ground cloves, and 1/2 teaspoon vanilla extract in a bowl until smooth.
- 5POUR FILLING INTO CRUST. 5. POUR FILLING INTO CRUST, spreading it evenly.
- 6BAKE UNTIL SET. 6. BAKE UNTIL SET, about 55 minutes, or until a knife inserted in the center comes out clean.
- 7LET COOL COMPLETELY. 7. LET COOL COMPLETELY in the pan on a wire rack before serving.
- 8SERVE WITH WHIPPED CREAM. 8. SERVE WITH WHIPPED CREAM on top of each slice.
- 9SHARE THE LOVE. 9. SHARE THE LOVE. If you enjoyed this recipe, please leave a 5-star rating and review.
Reviews
Community Guidelines
We love hearing how this recipe turned out for you. Please keep reviews about the recipe itself, stay kind and helpful to other cooks, and leave out personal details or links. Every review is checked before it appears.