
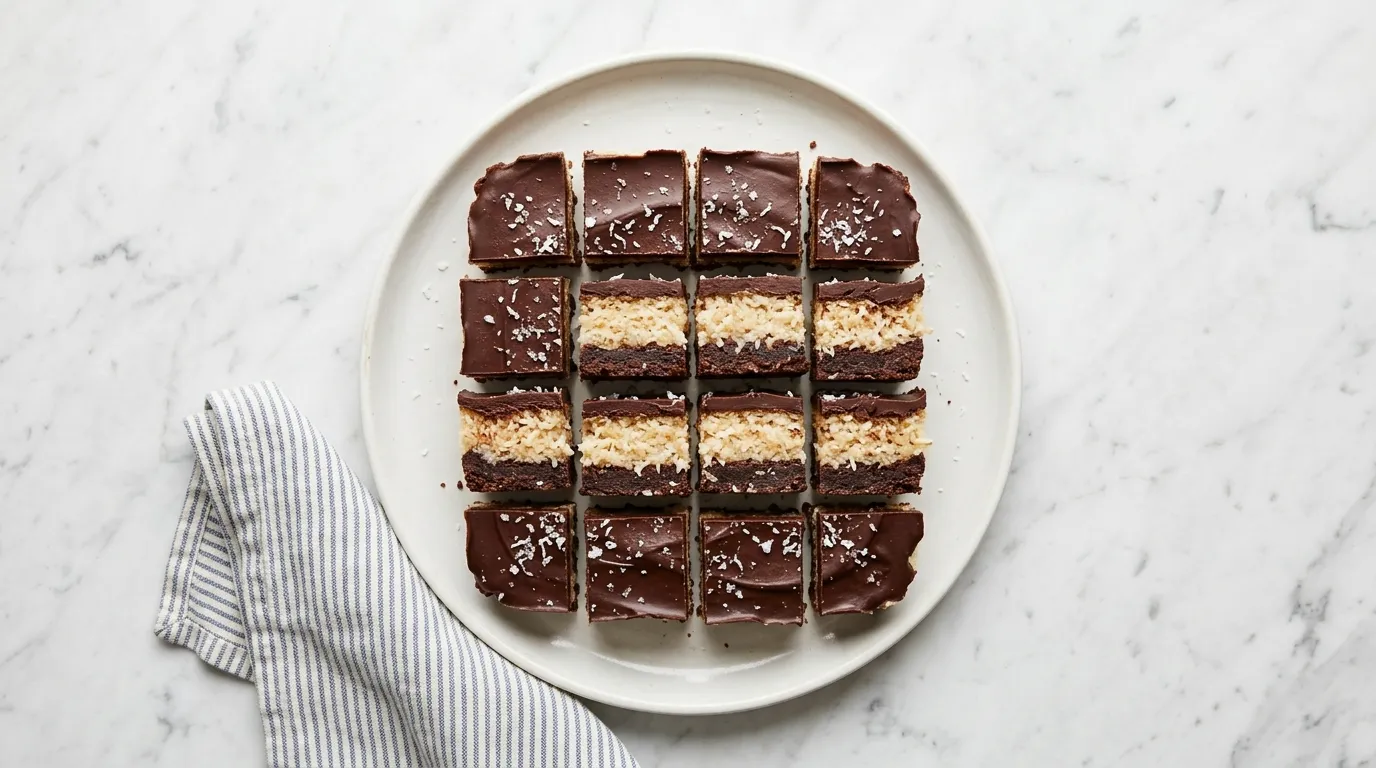
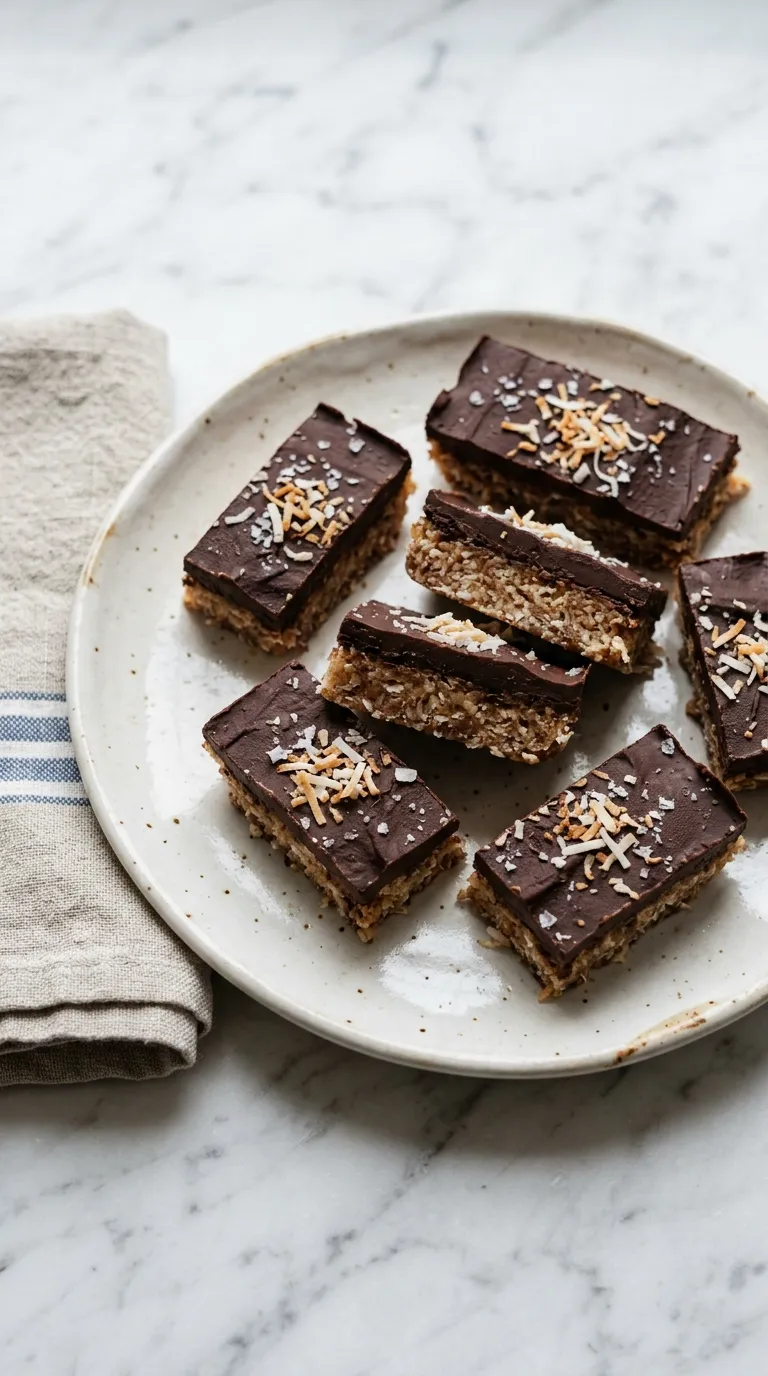
Irresistible Magic Bars with Coconut and Chocolate — Magic Bars are a delightful treat made with just seven ingredients. In about 10 minutes of prep, I combine chocolate and coconut for a rich, satisfying dessert. This version features cocoa, creating a deeper chocolate flavor.
My Latest Video
Rich chocolate meets sweet coconut.
- These magic bars stand out with cocoa powder, enhancing the chocolate flavor. The combination of chocolate chips and coconut creates a dessert that's both chewy and crunchy.
- Using melted butter gives the bars a rich, smooth texture. This helps bind the ingredients while adding flavor.
- The sweetened condensed milk adds moisture and sweetness, balancing the cocoa and ensuring each bite is satisfying.
The Lineup.
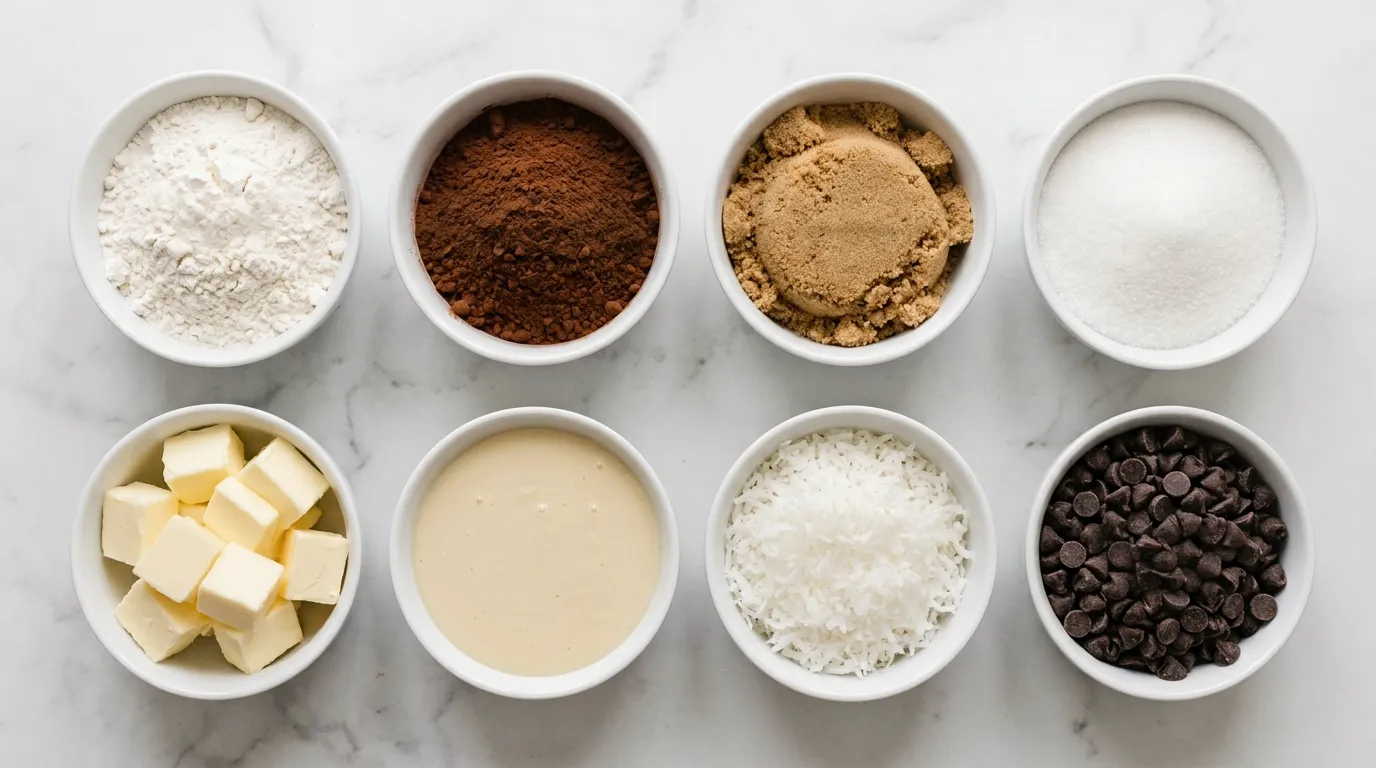
- 1 cup all purpose flour
- 1/2 cup unsweetened cocoa powder
- 1/2 cup brown sugar
- 1/2 cup granulated sugar
- 1/2 cup unsalted butter, melted
- 1 can (14 oz) sweetened condensed milk
- 1 cup sweetened shredded coconut
- 1 cup chocolate chips
What to Know Before You Shop.
- all purpose flour This flour provides structure to the crust. Using whole wheat flour gives a denser texture and a nuttier flavor. If substituting, use the same amount, but your bars may be a bit heavier.
- unsweetened cocoa powder Cocoa powder gives the bars their rich chocolate flavor. If you use sweetened cocoa, reduce the sugar in the recipe by about 2 tablespoons to avoid overly sweet bars.
- sweetened condensed milk This ingredient adds creaminess and sweetness. If you substitute evaporated milk with added sugar, you'll need about 2/3 cup to achieve a similar consistency and sweetness.
- sweetened shredded coconut Shredded coconut adds texture and flavor. If using unsweetened coconut, consider increasing the sugar by a tablespoon or two to maintain the sweetness balance.
Here's How I Put It Together.
PREPARE THE CRUST. I start by preparing the crust. I combine the flour, cocoa powder, brown sugar, and granulated sugar in a bowl. I mix them well until everything is evenly distributed.
The blend should look like a dark, sandy mixture. This step sets the foundation for my bars, so I want to make sure there are no clumps. When I feel the texture, it should be fine and uniform.
If I skip this and don't mix well, I might end up with pockets of flour or sugar that won't dissolve properly while baking. That would ruin the crust's consistency.
MELT THE BUTTER. Next, I melt the butter. I place it in a microwave-safe bowl and heat it until it becomes liquid. The butter should bubble slightly but not splatter.
I keep an eye on it to ensure it doesn't burn. I give it a little stir to check if it's fully melted. If it's still solid in places, I microwave it for a few more seconds.
It's important to use melted butter because it helps bind the crust together. If I don't fully melt it, the crust won't hold its shape and might crumble after baking.
COMBINE INGREDIENTS. I then combine the melted butter with the dry ingredients. I pour the butter into the bowl with the flour mixture and stir it with a spatula.
The mixture should start to come together into a thick, slightly sticky dough. As I mix, I listen for a soft squishing sound, which tells me the butter is integrating well.
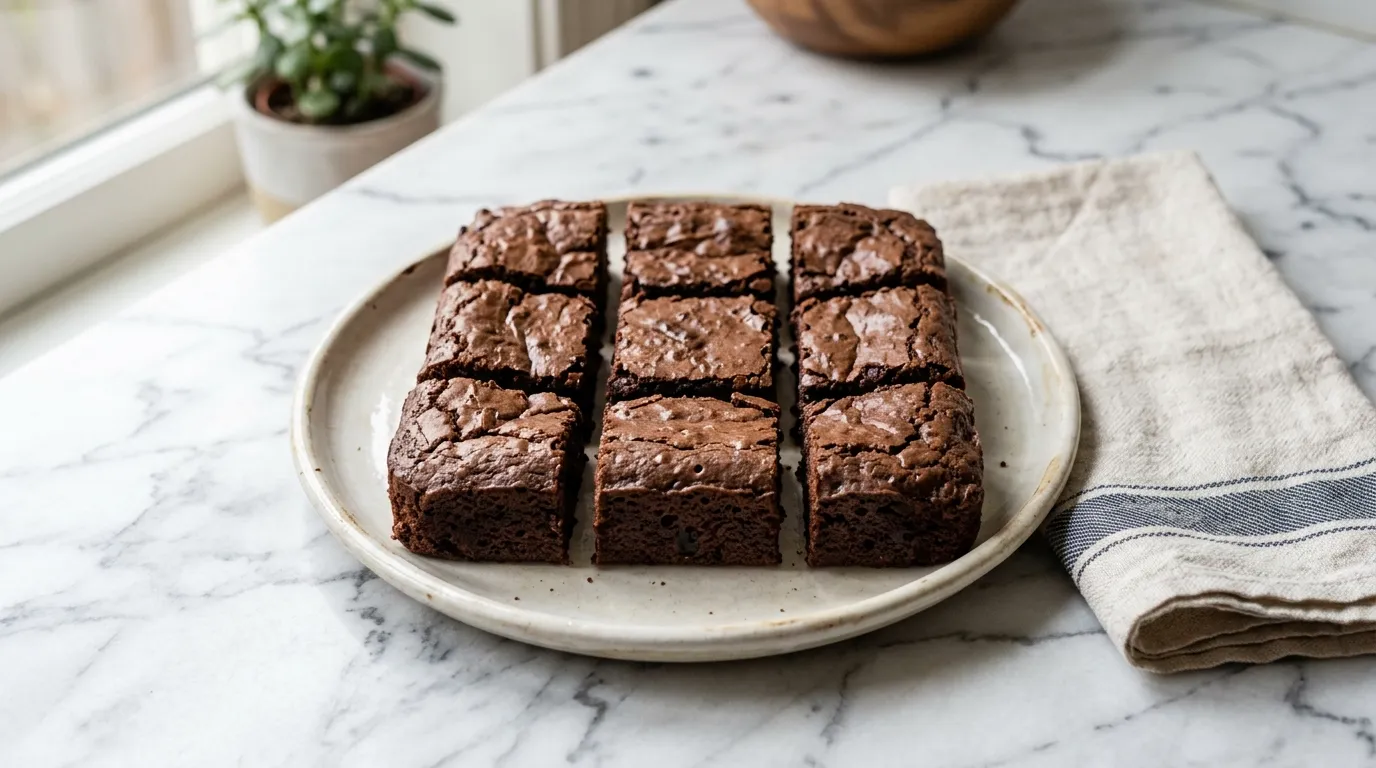
I want to make sure all the dry ingredients are moistened. If I don't mix it enough, the crust won't hold together when I press it into the pan, leading to a crumbly texture.
PRESS INTO PAN. Next, I press the mixture into the bottom of the pan. I use my fingers to spread it evenly across the base, making it compact. The crust should feel firm and slightly sticky to the touch.
I make sure it's not too thick in any area. If I notice uneven spots, I can press down more in those areas. It's crucial that this layer is packed tightly.
If I leave any loose bits, they can separate during baking, and I'll end up with gaps in my bars.
ADD SWEETENED CONDENSED MILK. I then pour the sweetened condensed milk over the pressed crust. I make sure to drizzle it evenly across the surface.
The milk should flow smoothly and coat the crust without pooling in one spot. I look for a nice, even layer.
The sweetness of the milk will seep into the crust, creating a rich flavor. If I pour it too quickly or unevenly, the bars may bake unevenly and lead to a messy texture in the final product.
SPRINKLE COCONUT AND CHOCOLATE. Next comes the coconut and chocolate. I sprinkle the shredded coconut and chocolate chips evenly over the sweetened condensed milk.
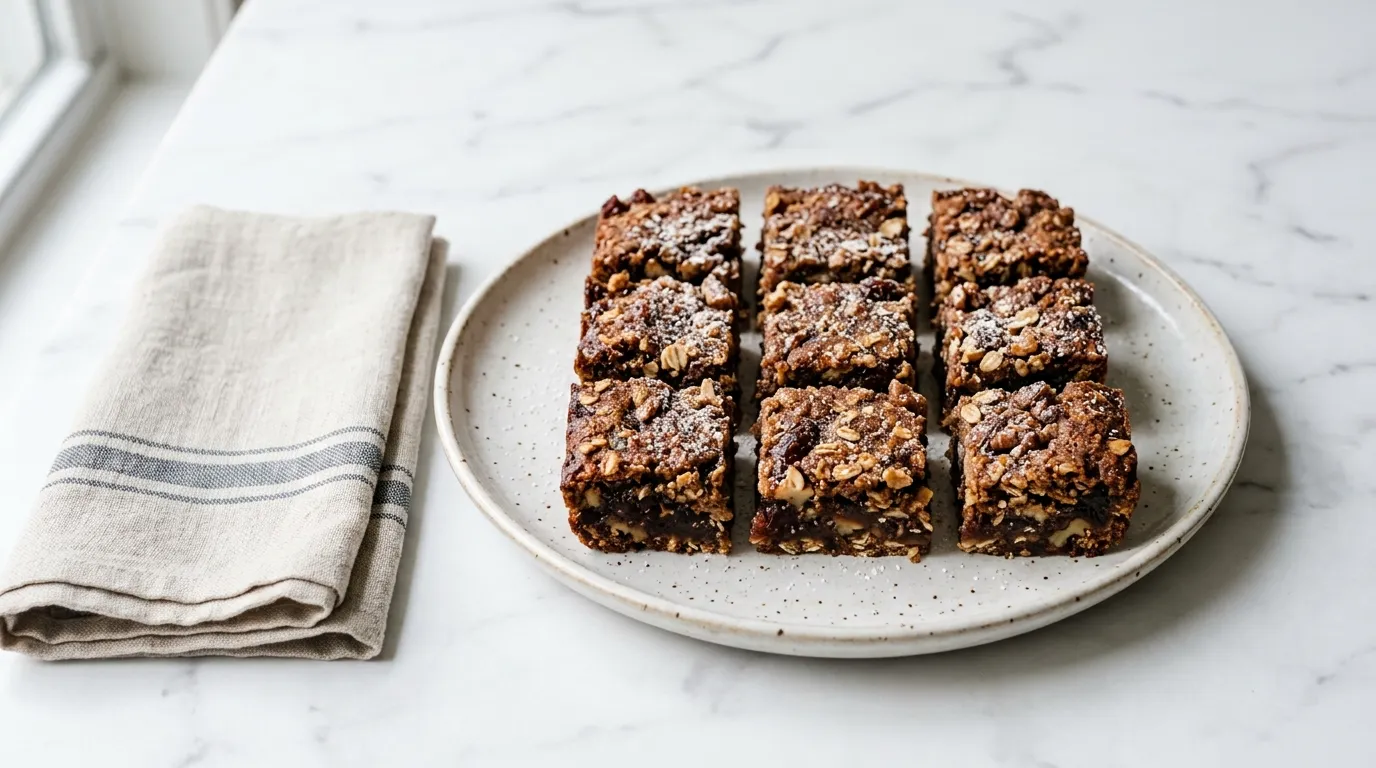
I want a nice balance, so I try to cover every inch. The coconut should sit lightly on top, while the chocolate chips should nestle into the mixture.
This creates a lovely visual contrast. If I don't spread them well, I might end up with bites that are too sweet or too bland, depending on where the flavors land in the bars.
BAKE UNTIL GOLDEN. I bake the bars until they turn golden. I keep an eye on the edges, looking for a slight browning.
The smell wafts through the kitchen, hinting that something delicious is happening. The top should look set but still soft to the touch.
If the edges are hard and the center is still soft, it's time to take them out. If I leave them in too long, they will become too dry and lose that chewy texture I want.
COOL AND CUT INTO BARS. Once they're baked, I let the bars cool in the pan. I wait until they are set but still warm.
The smell is irresistible. I can see the top layer firming up as it cools.
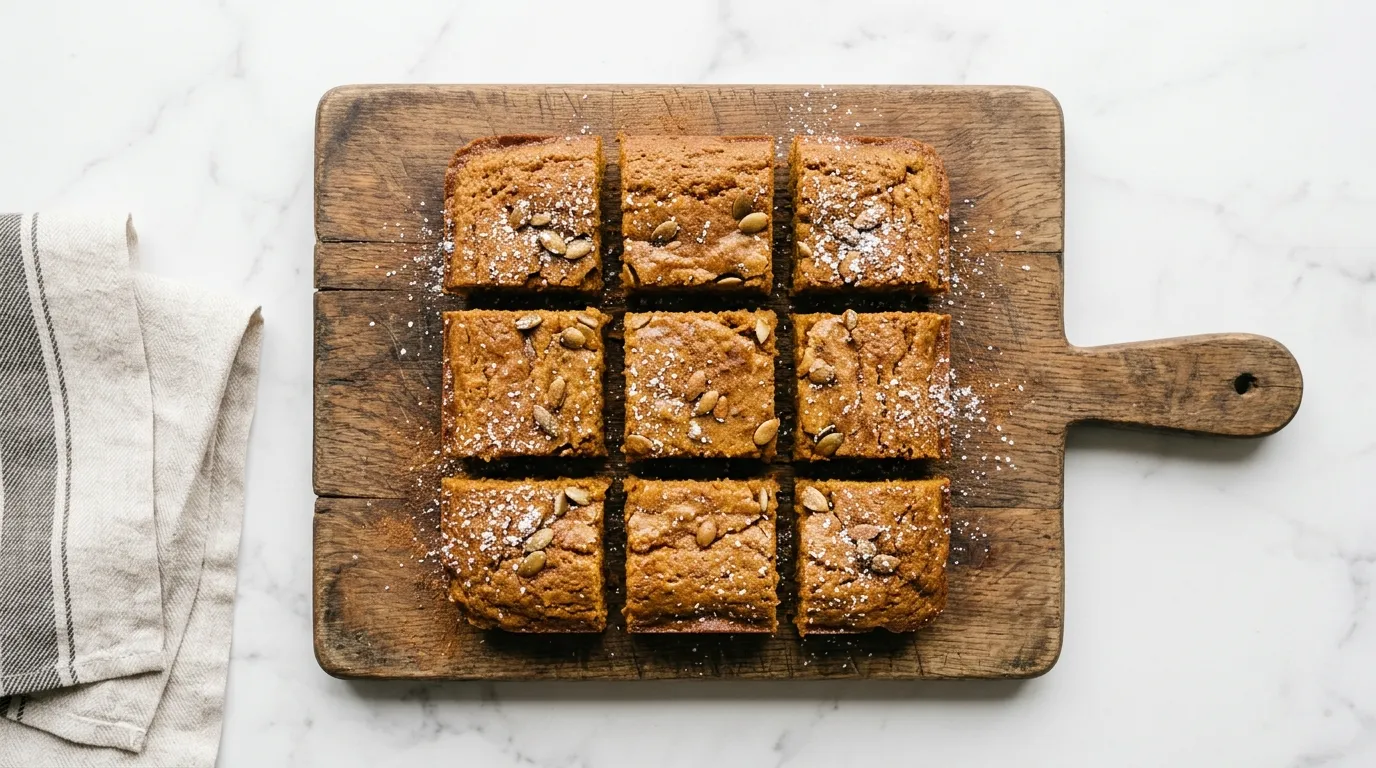
I know they are ready to cut when they feel slightly firm when touched. If I rush this step and cut them while they are still too warm, they may crumble apart, and I won't get those nice, clean bars.
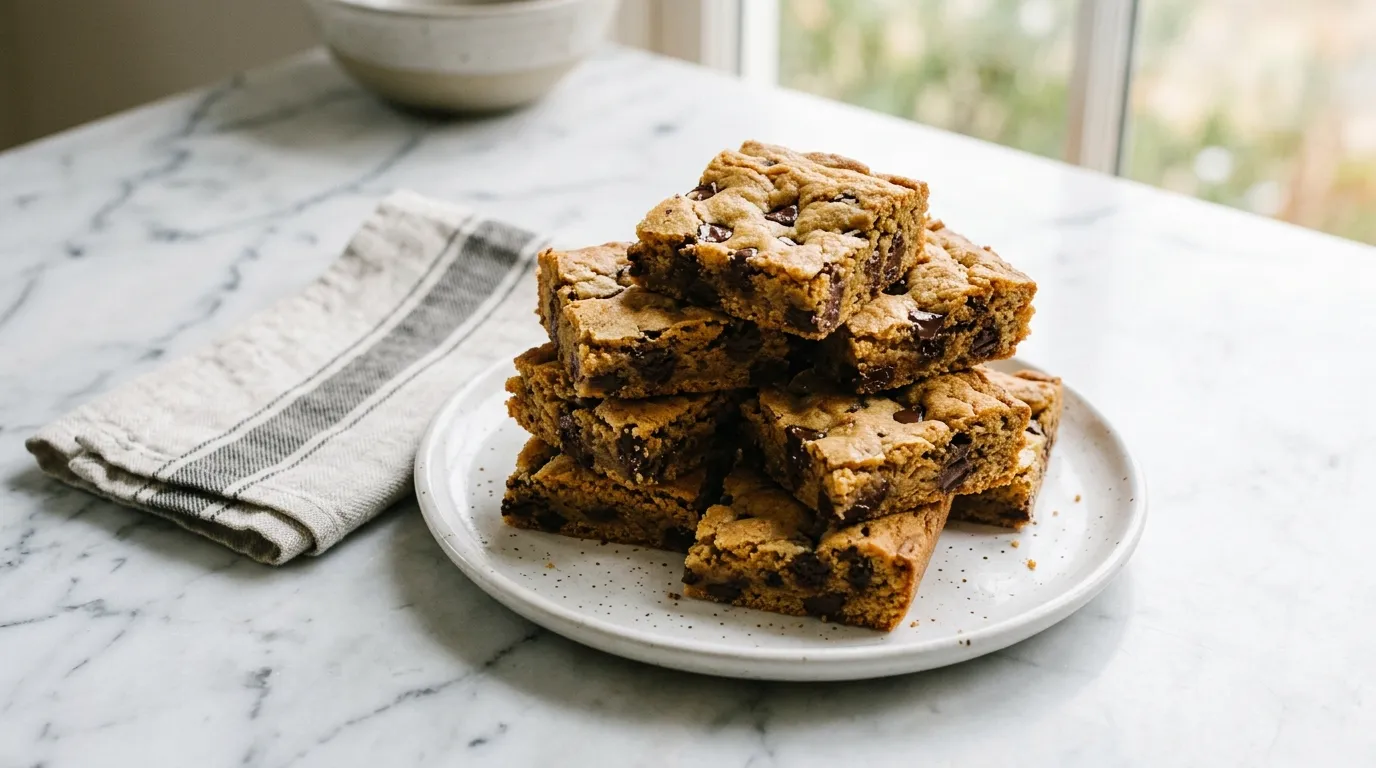
ENJOY YOUR MAGIC BARS. Finally, I enjoy my magic bars. I cut them into squares and take a bite. The combination of coconut, chocolate, and a soft crust is delightful.
The texture is chewy and rich, just how I like it. Each bite has a balance of sweetness and a hint of chocolate. If I don't savor them, I might miss the flavors that come together so nicely.
It's a treat that brings joy with every bite.
Small Things That Made a Big Difference.
- Use fresh ingredients. Stale coconut or old chocolate chips can lead to a flat flavor. Freshness enhances the overall taste, while old ingredients may leave a bland or off-putting aftertaste in your bars.
- Don't skip the cooling stage. Cutting the bars while still warm can cause them to crumble. Waiting until they are set ensures clean edges and a more enjoyable eating experience.
- Check your oven temperature. An inaccurate temperature can lead to undercooked or overcooked bars. If the oven runs hot, the edges may burn while the center remains soft, ruining the texture.
- Pack the crust firmly. A loose crust can crumble apart after baking. When pressed firmly, it holds together better and gives a satisfying bite to your magic bars.
- Watch the baking time closely. Overbaking results in dry bars. Keeping an eye on them ensures they maintain their chewy texture and don't lose their rich flavor.
What to Watch Out For.
- not mixing dry ingredients well This leads to clumps of flour or sugar, resulting in an uneven texture. Mix until the blend is uniform before adding wet ingredients.
- overbaking the bars This causes them to dry out and lose chewiness. Keep an eye on the edges and remove them when the center is still soft.
- pouring condensed milk too quickly Uneven pouring can create unbalanced flavors. Drizzle it slowly and evenly across the crust for the best results.
- cutting bars while too warm They may crumble apart if cut too soon. Wait until they cool slightly and feel firm before slicing.
What Makes It a Whole Meal.
- vanilla ice cream The cold creaminess of vanilla ice cream complements the rich and chewy texture of the magic bars perfectly.
- fresh berries The tartness of berries balances the sweetness of the bars, adding a refreshing touch to each bite.
- coffee A cup of coffee pairs well, enhancing the chocolate flavor and providing a nice contrast to the sweetness.
- whipped cream A dollop of whipped cream adds lightness, making each bite feel less heavy and more delightful.
Storing What You Don't Finish.
- STORING Keep in an airtight container at room temperature for 2 days. The crust becomes softer over time.
- FREEZING Wrap tightly in plastic wrap and store in a freezer-safe container for up to 1 month. Thaw in the fridge overnight; texture may become crumbly.
- REHEATING Reheat in a preheated oven at 350°F for 10 minutes. The chocolate may melt a bit, making it gooier.
Things People Wonder About.
How long should I bake the bars?
Bake the bars for about 25 to 30 minutes. Keep an eye on them as baking times can vary based on your oven.
Can I use dark chocolate chips?
Yes, dark chocolate chips will add a richer taste. Use the same amount as regular chocolate chips for balanced sweetness.
How do I store the magic bars?
Store the bars in an airtight container at room temperature for up to 5 days. They can also be refrigerated for longer freshness.
Can I freeze these bars?
Absolutely. Wrap the bars tightly in plastic wrap and store them in a freezer-safe container for up to 3 months.
- 1 cup all purpose flour
- 1/2 cup unsweetened cocoa powder
- 1/2 cup brown sugar
- 1/2 cup granulated sugar
- 1/2 cup unsalted butter, melted
- 1 can (14 oz) sweetened condensed milk
- 1 cup sweetened shredded coconut
- 1 cup chocolate chips
- 1PREHEAT OVEN TO 350°F.
- 2MIX CRUST INGREDIENTS. In a bowl, whisk together 1 cup all purpose flour, 1/2 cup unsweetened cocoa powder, 1/2 cup brown sugar, 1/2 cup granulated sugar, and 1/2 cup unsalted butter, melted until well combined.
- 3PRESS INTO 9x13 PAN. Press the mixture into a 9x13 inch baking dish evenly.
- 4POUR CONDENSED MILK OVER CRUST. Pour 1 can (14 oz) sweetened condensed milk over the crust, spreading it evenly.
- 5TOP WITH COCONUT AND CHOCOLATE. Top with 1 cup sweetened shredded coconut and 1 cup chocolate chips evenly distributed.
- 6BAKE FOR 25-30 MINUTES. Until set.
- 7COOL BEFORE CUTTING. Allow to cool in the pan before cutting into bars.
- 8SHARE THE LOVE. Please consider leaving a 5-star rating and review.
Reviews
Community Guidelines
We love hearing how this recipe turned out for you. Please keep reviews about the recipe itself, stay kind and helpful to other cooks, and leave out personal details or links. Every review is checked before it appears.