
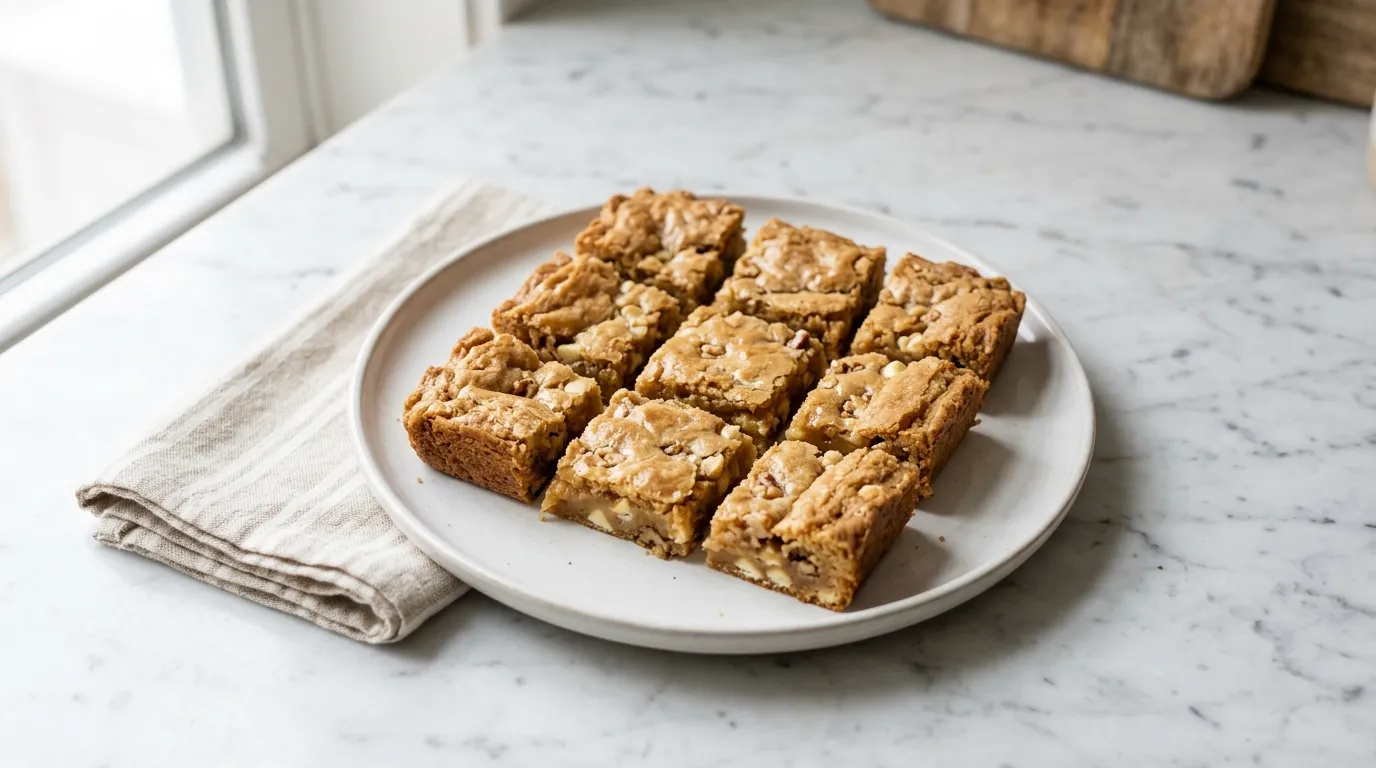
Soft and Chewy Blondies with Vanilla Flavor — Soft and chewy blondies are made with just seven ingredients. I mix butter and brown sugar for a rich base. This recipe highlights the vanilla flavor beautifully.
My Latest Video
A delightful twist on a classic treat.
- These blondies stand out due to the generous amount of vanilla extract, enhancing the sweetness and adding a warm aroma.
- The use of brown sugar gives them a deeper flavor and a moist texture, making each bite rich and satisfying.
- With only one bowl needed, cleanup is quick and easy, perfect for those with limited kitchen space.
Everything That Goes In.
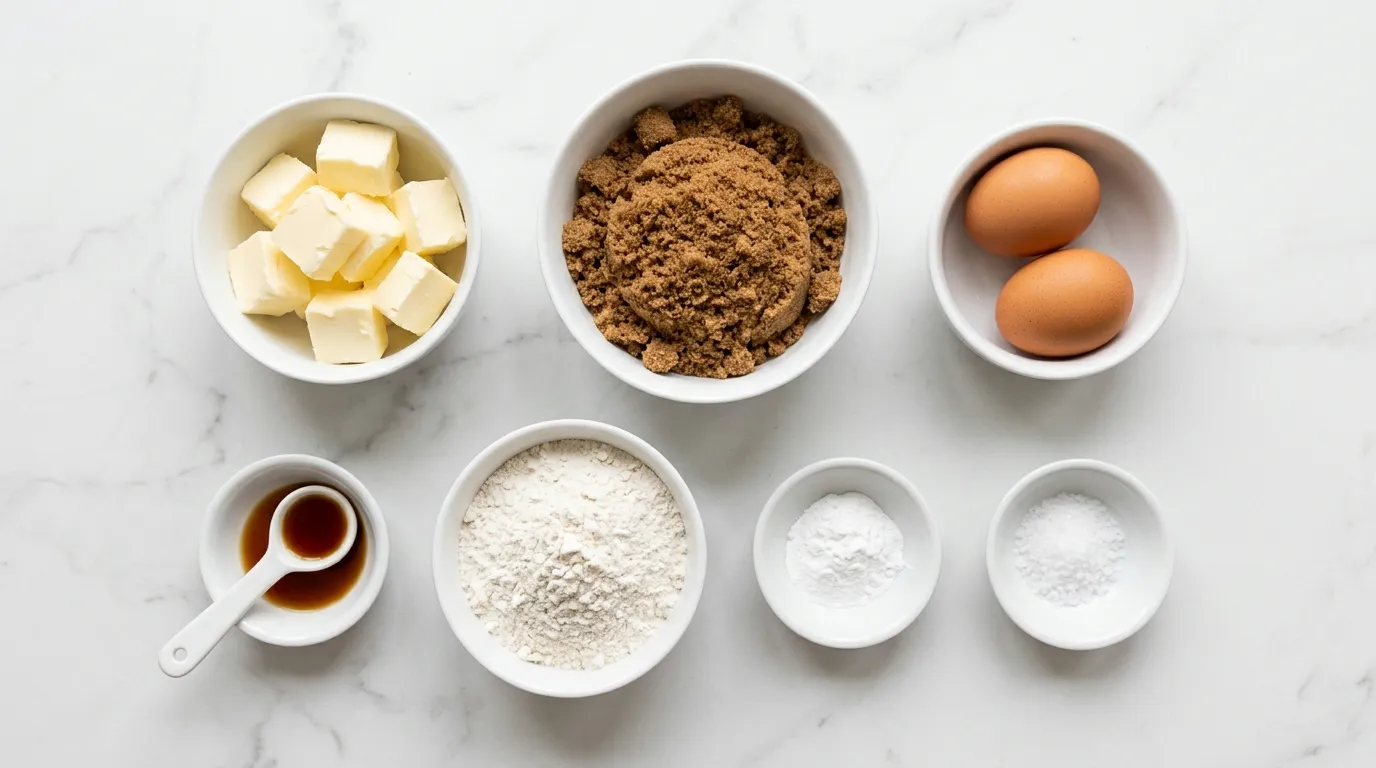
- 1 cup unsalted butter
- 2 cups brown sugar
- 2 large eggs
- 1 tablespoon vanilla extract
- 1 cup all-purpose flour
- 1/2 teaspoon baking powder
- 1/4 teaspoon salt
A Closer Look At What Goes In.
- Unsalted butter Unsalted butter gives the blondies a rich, creamy flavor without added salt. Using salted butter can alter the taste balance, making them overly salty. If using salted butter, reduce added salt by half to maintain the desired flavor.
- Brown sugar Brown sugar adds moisture and a deep caramel flavor. White sugar will make the blondies drier and less flavorful. If substituting white sugar, use the same amount but consider adding a tablespoon of molasses to mimic the flavor and moisture of brown sugar.
- Vanilla extract Vanilla extract enhances the overall flavor profile, making the blondies taste sweeter and richer. Using imitation vanilla can result in a less complex flavor. Stick to the same amount as real vanilla for optimal taste.
- All-purpose flour All-purpose flour provides structure to the blondies. Using cake flour will result in a more tender texture, while whole wheat flour can make them denser. If using whole wheat flour, use slightly less, about 3/4 cup, to avoid heaviness.
Start to Finish.
MELT THE BUTTER. I start by melting the butter in a saucepan over low heat. The butter should melt slowly, creating a smooth, glossy texture. I stir occasionally to ensure it doesn't brown.
If it starts bubbling too much, I lower the heat. Once melted, I remove it from the heat. The butter should look clear and shiny, signaling it's ready.
If I don't melt it properly, the blondies can turn out greasy or unevenly baked. Keeping an eye on it is crucial; I want that perfect melted state without any signs of browning or foaming.
WHISK IN SUGARS. Next, I whisk in the sugars until they blend together. The mixture should turn from a liquid to a thicker, creamy consistency.
I focus on making sure there are no lumps left from the sugar. If I don't whisk long enough, the sugars won't dissolve properly, leading to a grainy texture in the final product.
The sound of the whisk against the bowl should be smooth and consistent, indicating that the sugars are fully incorporated and the mixture is ready for the next step.
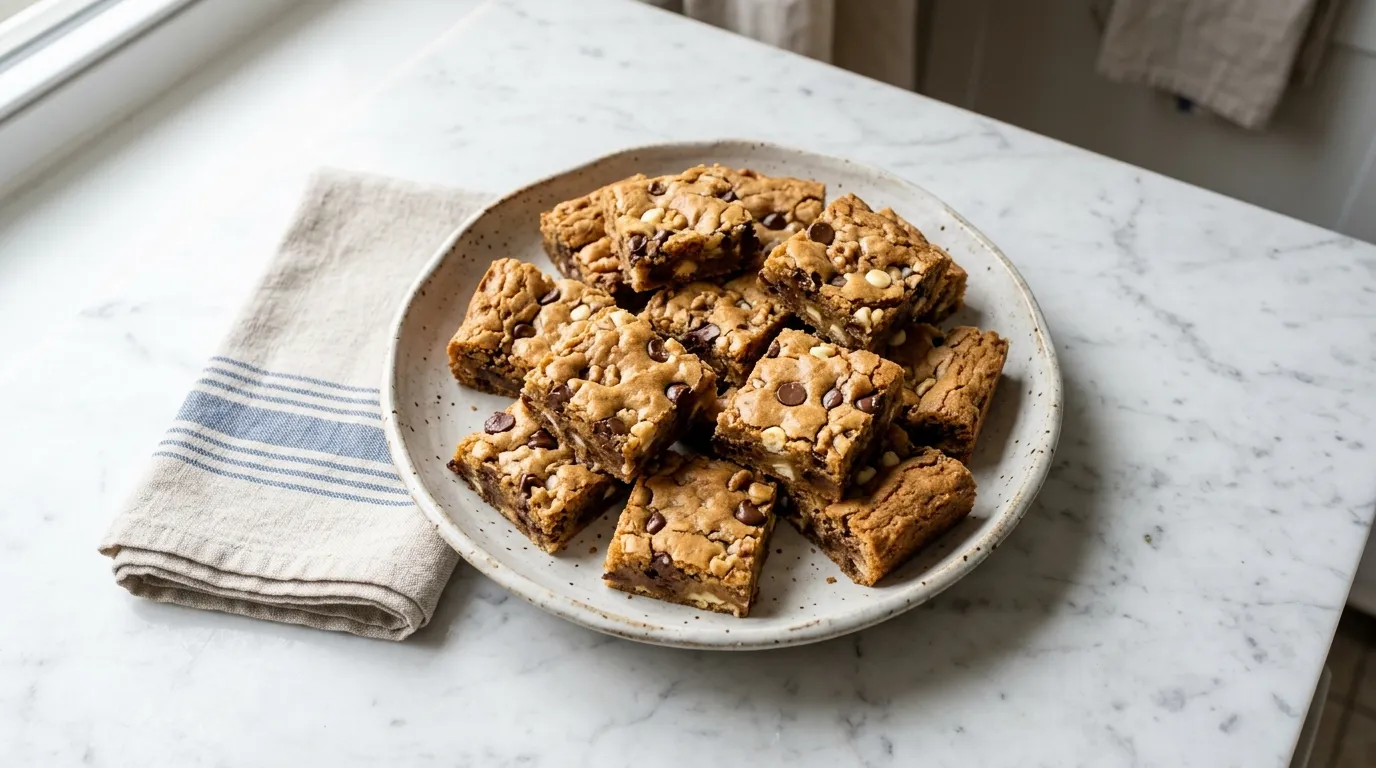
ADD EGGS AND VANILLA. After that, I add the eggs and the vanilla extract to the mixture, stirring vigorously. The eggs should blend seamlessly into the buttery sugar mix, creating a rich, golden batter.
It's important to mix well until everything is fully combined. If I don't take the time to mix thoroughly, I risk having pockets of unmixed ingredients, which could lead to uneven flavor and texture throughout the blondies.
The batter should feel smooth and slightly thick, reflecting the perfect amalgamation of flavors.
MIX IN DRY INGREDIENTS. Now it's time to mix in the dry ingredients. I gently fold in the flour, baking powder, and salt.
The mixture will thicken as the dry ingredients absorb the wet components, creating a cohesive batter. I watch for any dry streaks of flour as I fold, ensuring everything is blended.
If I overmix at this stage, the blondies can become dense and tough. I aim for a smooth, slightly thick batter that still has a bit of elasticity to it, which tells me I'm on the right track.
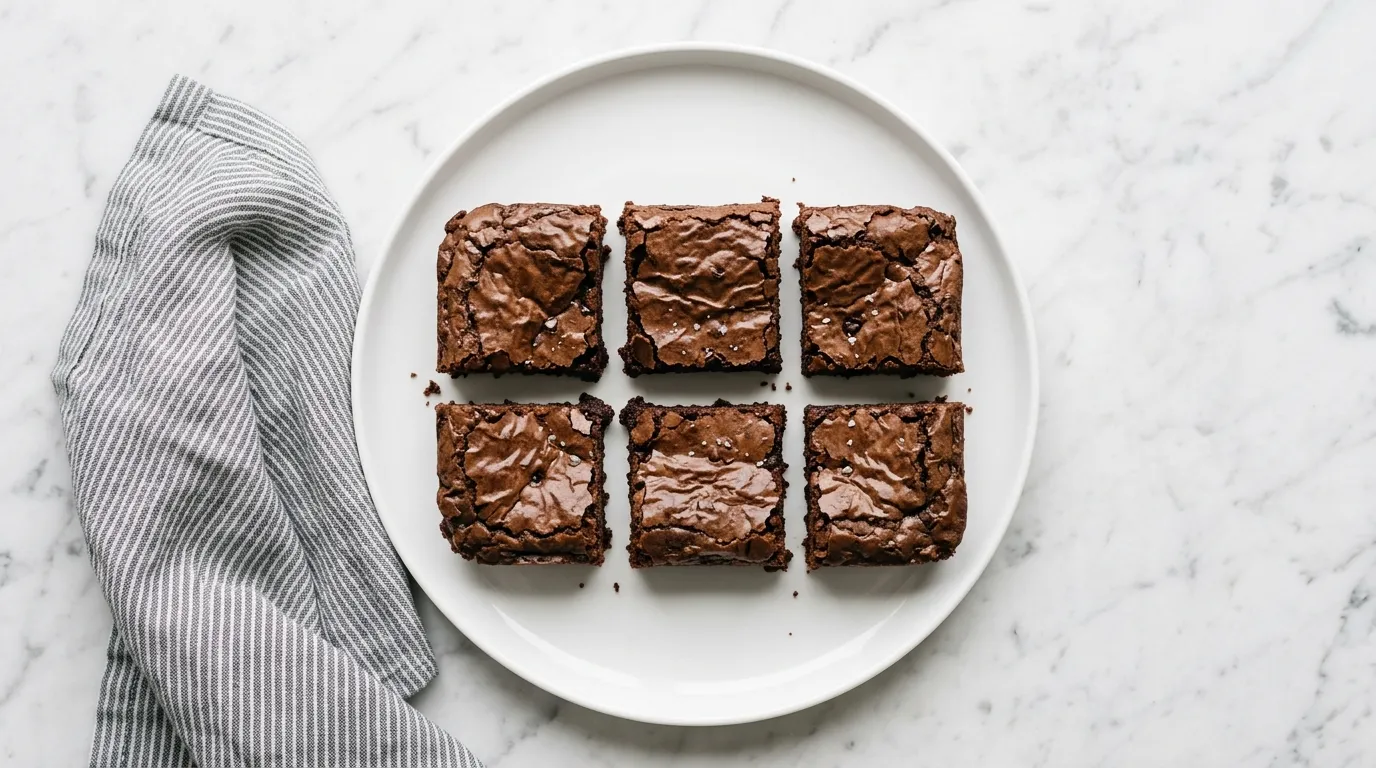
SPREAD IN PAN. The next step involves spreading the batter into a prepared baking pan. I use a spatula to evenly distribute the mixture, smoothing the top for a uniform finish.
This is crucial for even baking, as it helps the blondies rise evenly. When I spread it out, I want to see a nice, even layer across the pan.
If I don't level it out, some parts may bake faster than others, leading to unevenly cooked blondies. The top should look smooth and glossy before heading to the oven.
BAKE UNTIL GOLDEN. Once the batter is spread out, I place the pan in the oven. I keep an eye on it as it bakes, watching for a golden color to develop.
The edges will firm up while the center remains soft. I'll know it's done when a toothpick inserted in the center comes out with just a few moist crumbs.
If I pull it out too soon, the blondies could be undercooked and too gooey. Timing is key, and I want that perfect golden hue to signal readiness.
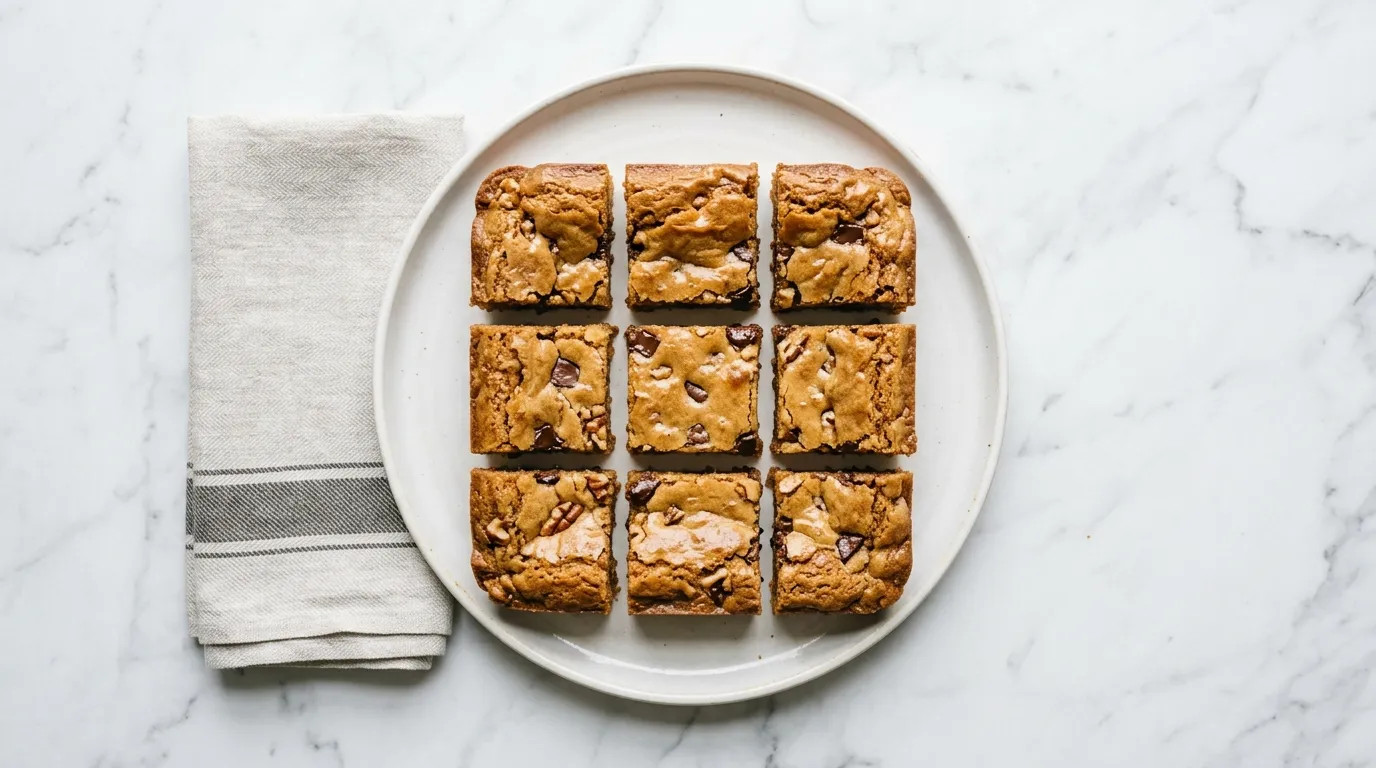
LET COOL BEFORE CUTTING. After baking, I let the blondies cool in the pan. This step is important as it allows the structure to set.
I can see the edges pulling away slightly from the sides of the pan. Waiting is crucial; cutting too soon can result in a messy, crumbled outcome.
I want to feel the surface firm up as it cools, which indicates they are ready to cut. The blondies should look slightly puffy and golden, a signal they've baked well and are now solidifying.
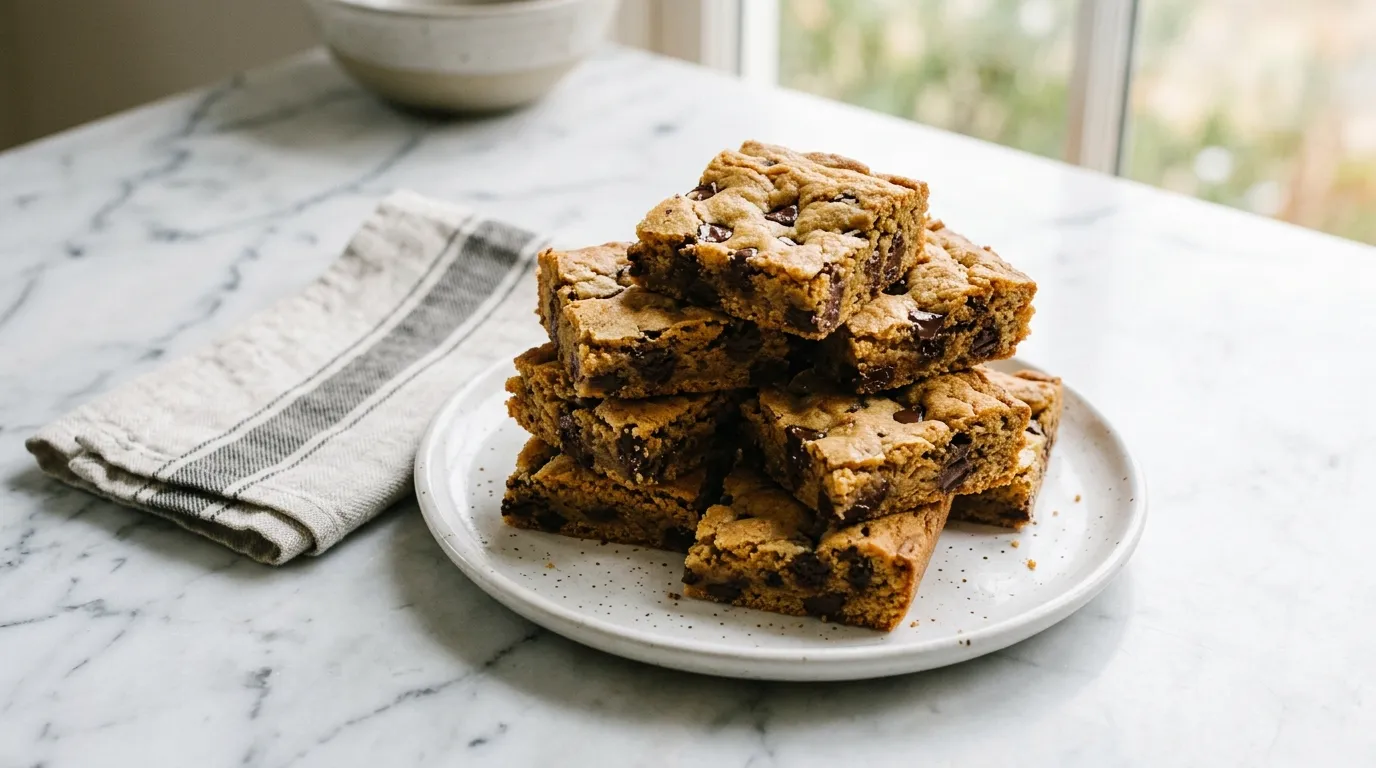
ENJOY YOUR BLONDIES! Finally, it's time to enjoy my blondies. I cut them into squares and take a moment to admire the soft, chewy texture. The top will have a slight crust, while the inside remains gooey and rich.
Each bite should feel satisfying and sweet. If I've followed the steps carefully, the flavors will be perfectly balanced. Sharing is optional, but I find it hard to resist keeping a few for myself.
The experience of baking and enjoying these blondies is rewarding, and I savor every bite.
Things I Learned While Testing This Recipe.
- Use fresh ingredients. Old eggs or stale flour can affect the rise and texture of the blondies. If the ingredients aren't fresh, the final product may turn out dry or fail to develop the right chewiness.
- Don't skip the cooling time. Letting the blondies cool fully is key for setting their structure. Cutting them too soon can lead to a messy, crumbled result that doesn't hold its shape.
- Check your oven temperature. Ovens can vary, and baking at the wrong temperature can result in undercooked centers or burnt edges. A miscalibrated oven can make it challenging to achieve that perfect golden color.
- Store properly. Keeping blondies in an airtight container prevents them from drying out. If I leave them uncovered, they turn stale quickly, losing their soft, chewy texture.
- Use a toothpick wisely. Inserting a toothpick into the blondies should yield moist crumbs, not wet batter. If I misjudge this, I might end up with underbaked or overly dry blondies.
Common Places This Falls Apart.
- Overmixing the batter Overmixing can lead to tough blondies due to gluten development. This results in a dense and chewy texture rather than soft and chewy. Mix just until combined to keep them tender.
- Not cooling before cutting Cutting the blondies too soon can cause them to crumble and lose their shape. The structure needs time to set as they cool. Allow them to cool in the pan for at least 20 minutes before cutting.
- Baking too long Leaving the blondies in the oven too long can make them dry and hard. They should be removed when the center is still slightly soft. Check for doneness around 20 minutes to avoid overbaking.
- Using cold eggs Cold eggs can cause the butter mixture to seize and not blend well. This can lead to uneven baking and texture. Use room temperature eggs to ensure a smooth batter.
What Makes It a Whole Meal.
- Vanilla ice cream The creamy texture of vanilla ice cream contrasts nicely with the chewy blondies. The flavors complement each other, enhancing the dessert experience.
- Chocolate sauce Drizzling warm chocolate sauce over blondies adds richness and a decadent touch. The sweetness of the sauce pairs well with the vanilla flavor of the blondies.
- Fresh berries Serving fresh berries like raspberries or strawberries adds a tartness that balances the sweetness of the blondies. Their freshness brightens the overall dessert.
- Espresso or coffee A cup of espresso or coffee provides a rich, bitter contrast to the sweet blondies. The warm beverage enhances the flavors and makes for a cozy dessert pairing.
If There's Any Left.
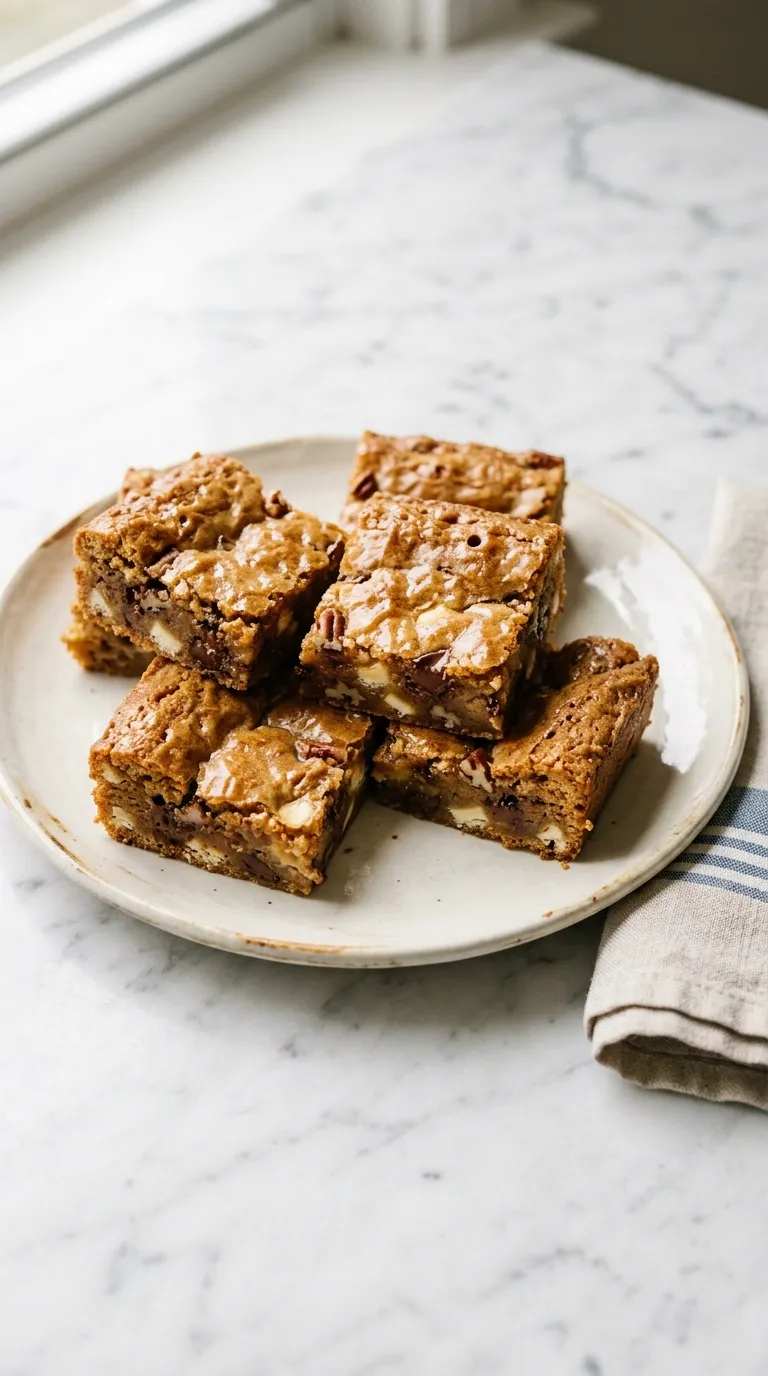
- STORING Store in an airtight container at room temperature for 2 days. A crust may soften.
- FREEZING Do not freeze. Blondies taste best fresh.
- REHEATING Reheat in the microwave at 350°F for 5 minutes. The texture becomes softer.
Frequently Asked Questions
- 1 cup unsalted butter
- 2 cups brown sugar
- 2 large eggs
- 1 tablespoon vanilla extract
- 1 cup all-purpose flour
- 1/2 teaspoon baking powder
- 1/4 teaspoon salt
- 1PREPARE THE PAN. 1. PREPARE THE PAN: Preheat your oven to 350 degrees Fahrenheit. Grease a 9x13 inch baking dish or line it with parchment paper for easy removal. For a smaller 9x9 inch baking dish, reduce the baking time to about 20 minutes.
- 2MELT BUTTER IN A SAUCEPAN. 2. MELT BUTTER IN A SAUCEPAN: In a medium saucepan, melt 1 cup of unsalted butter over low heat, stirring occasionally until fully melted.
- 3COMBINE BUTTER AND SUGARS. 3. COMBINE BUTTER AND SUGARS: Remove the saucepan from the heat and stir in 2 cups of brown sugar until well combined and smooth.
- 4WHISK IN EGGS AND VANILLA. 4. WHISK IN EGGS AND VANILLA: Add 2 large eggs and 1 tablespoon of vanilla extract to the butter and sugar mixture. Whisk until fully incorporated.
- 5INCORPORATE DRY INGREDIENTS. 5. INCORPORATE DRY INGREDIENTS: In a separate bowl, combine 1 cup of all-purpose flour, 1/2 teaspoon of baking powder, and 1/4 teaspoon of salt. Gradually add the dry ingredients to the wet mixture, stirring until just combined.
- 6POUR INTO PAN AND BAKE. 6. POUR INTO PAN AND BAKE: Pour the batter into the prepared 9x13 inch baking dish. Bake in the preheated oven for about 25 minutes, or until a toothpick inserted in the center comes out clean. For a 9x9 inch dish, bake for about 20 minutes.
- 7COOL AND CUT INTO SQUARES. 7. COOL AND CUT INTO SQUARES: Allow the blondies to cool in the pan for at least 10 minutes. Once cooled, cut into squares of your desired size.
- 8SHARE THE LOVE. 8. SHARE THE LOVE: If you enjoyed this recipe, please consider giving it a 5-star rating and sharing your thoughts in a review.
Reviews
Community Guidelines
We love hearing how this recipe turned out for you. Please keep reviews about the recipe itself, stay kind and helpful to other cooks, and leave out personal details or links. Every review is checked before it appears.