
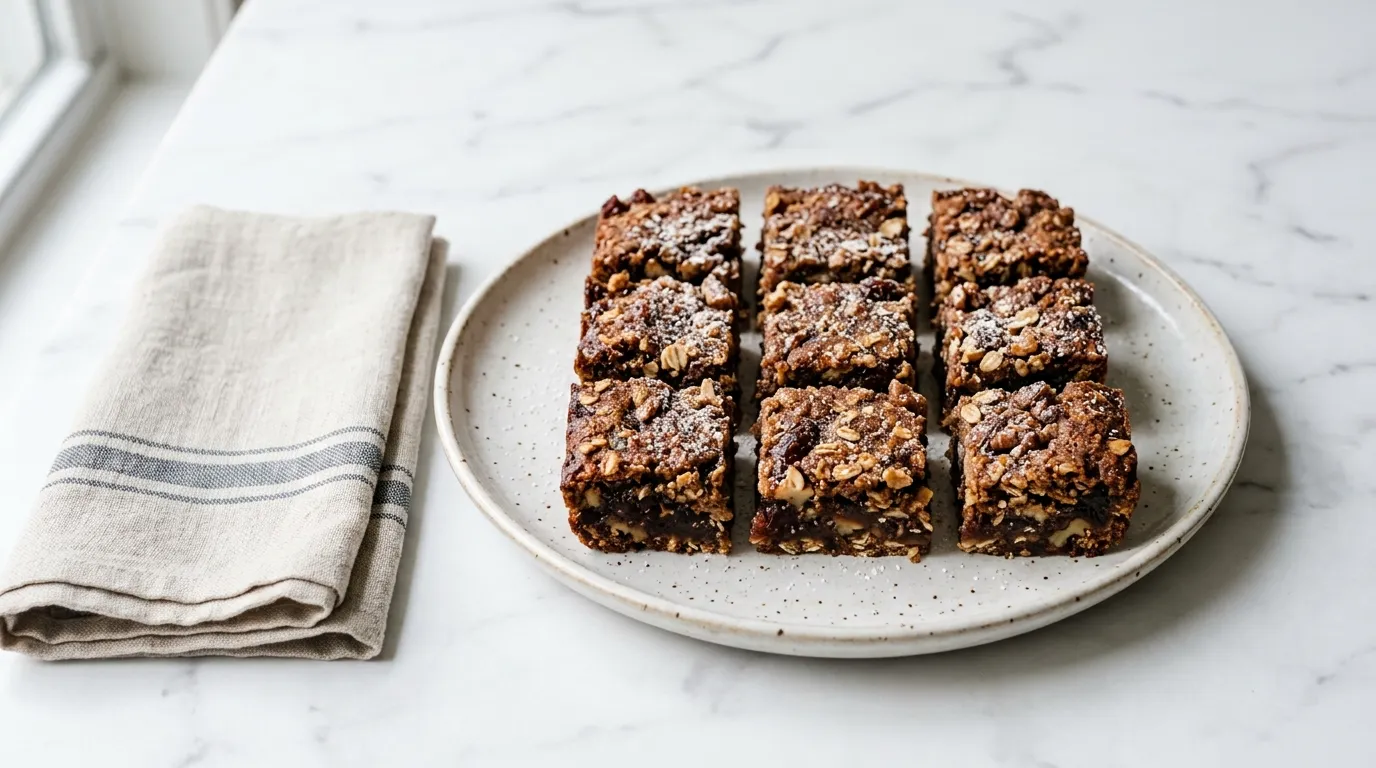
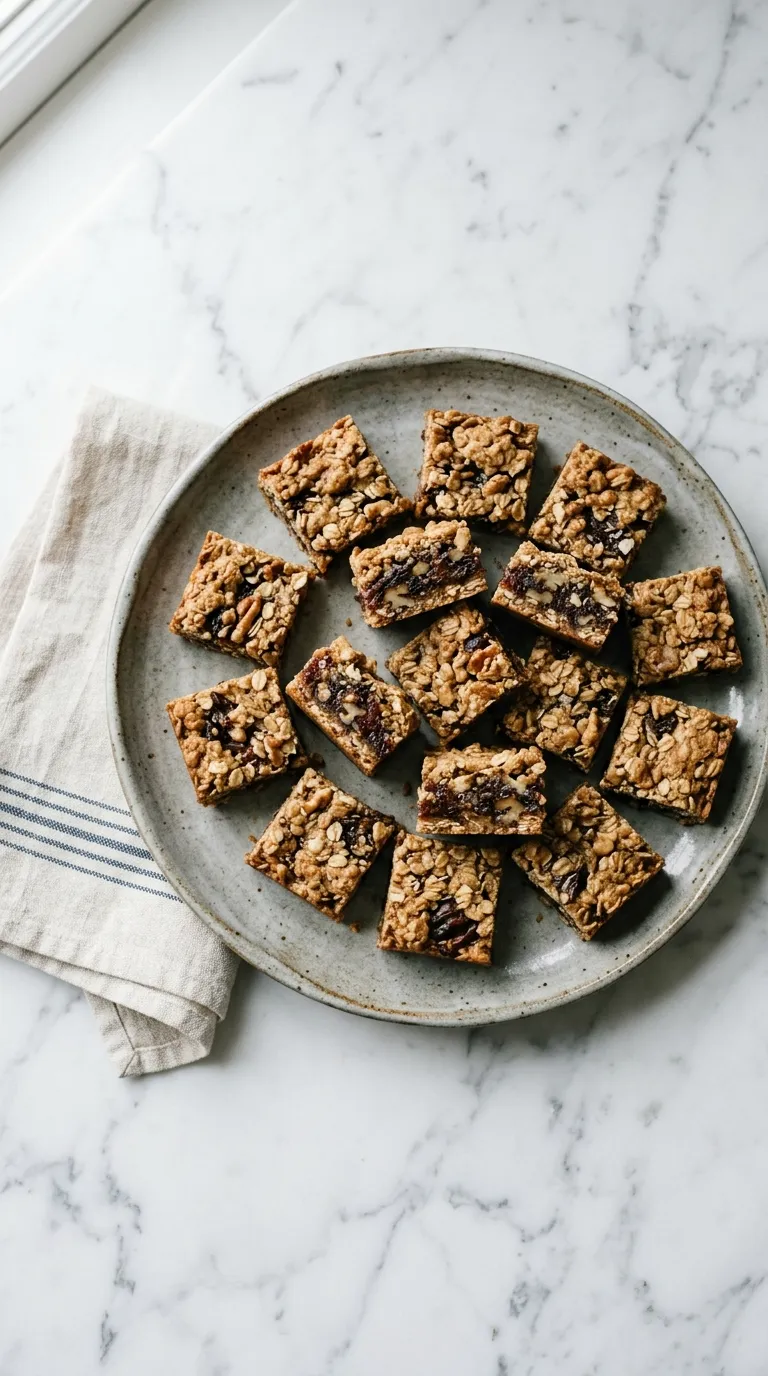
Sweet and Chewy Date Bars for Dessert — Sweet and chewy date bars are made with just eight ingredients. In about 30 minutes, I can prepare a treat that highlights the natural sweetness of dates. This version uses oats for added texture and flavor.
My Latest Video
Sweetness and texture in every bite.
- These date bars feature chewy dates, which provide a rich sweetness that complements the oats and walnuts. The combination creates a satisfying treat that's different from standard cookie recipes.
- Using rolled oats adds heartiness and a pleasant chewiness, making each bar more substantial. They are perfect for an afternoon snack or dessert.
- With just one bowl and a few tools, this recipe is quick to make. It fits perfectly in a small kitchen setup without fuss.
The Short Shopping List.
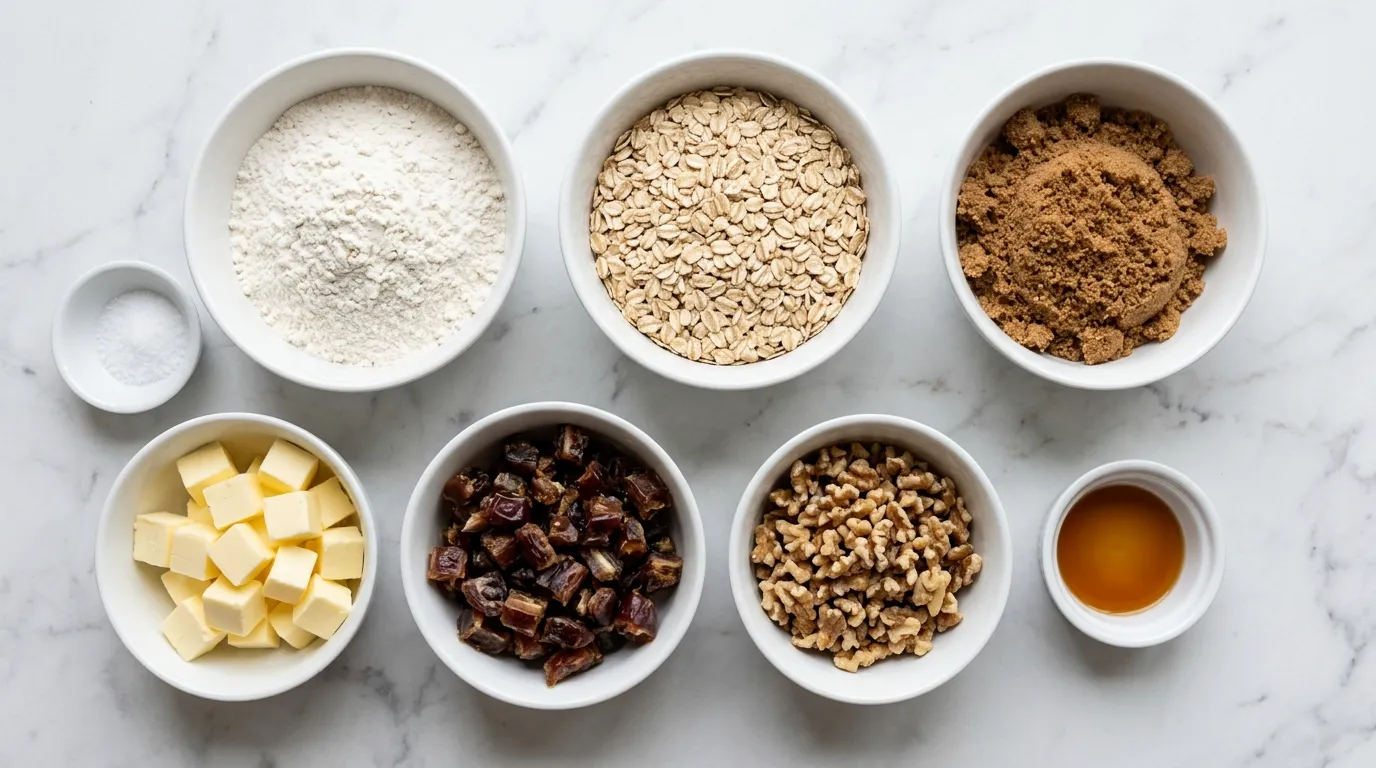
- 1 cup all purpose flour
- 1 cup rolled oats
- 1/2 teaspoon salt
- 1/2 cup unsalted butter, melted
- 1 cup brown sugar, packed
- 1 teaspoon vanilla extract
- 1 cup chopped dates
- 1/2 cup chopped walnuts
The Ingredients That Actually Matter Here.
- All purpose flour This flour provides structure to the bars. It helps bind the ingredients together. If you use whole wheat flour, the bars may become denser and have a nuttier flavor. Use the same amount, but expect a different texture.
- Rolled oats Rolled oats add chewiness and fiber. They help create a hearty texture. Substituting quick oats will result in a softer, less chewy bar. If using quick oats, reduce the amount slightly to about 3/4 cup.
- Chopped dates Dates contribute natural sweetness and a chewy texture. They also provide a rich caramel-like flavor. If you use raisins instead, the bars will be less sweet and lack that unique chewiness. You can use about 3/4 cup of raisins in place of the dates.
- Chopped walnuts Walnuts add crunch and a slightly bitter contrast to the sweetness. They also improve the overall flavor profile. If you prefer a different nut, pecans can be used instead. Use the same amount, but expect a sweeter flavor from pecans.
Here's How It All Comes Together.
PREPARE THE OVEN. I start by turning on the oven. Setting the heat prepares it for baking. I want it warm and ready when I finish mixing. The heat helps the bars rise and develop a nice texture.
A preheated oven also ensures even cooking. If I forget this step, the bars may not bake properly. They could turn out dense and soggy instead of light and chewy. A warm oven makes all the difference.
I can hear the oven click as it reaches the set temperature. The anticipation builds as I move on to the next steps.
MIX DRY INGREDIENTS. Next, I take a bowl and add the dry ingredients. This includes flour, oats, and salt. I mix them together until well combined. The texture changes as I stir.
I can see the oats and flour blend seamlessly. This step is crucial for even distribution of flavor. If I skip or rush this part, some bites may taste bland while others are too salty. A thorough mix gives a uniform texture.
I want it to feel light and airy as I finish. I can see the mixture looking cohesive and ready for the next stage.
COMBINE WET INGREDIENTS. In another bowl, I combine the wet ingredients. This is where I add melted butter, brown sugar, and vanilla extract. I stir until everything blends into a smooth mixture. The butter gives it a glossy sheen.
The brown sugar adds richness and depth. I can smell the vanilla as I mix. This aroma lets me know I'm on the right track. If I don't mix well, the bars may have pockets of sugar or butter.
I want a consistent flavor throughout. The wet mixture should feel silky and inviting when I finish.
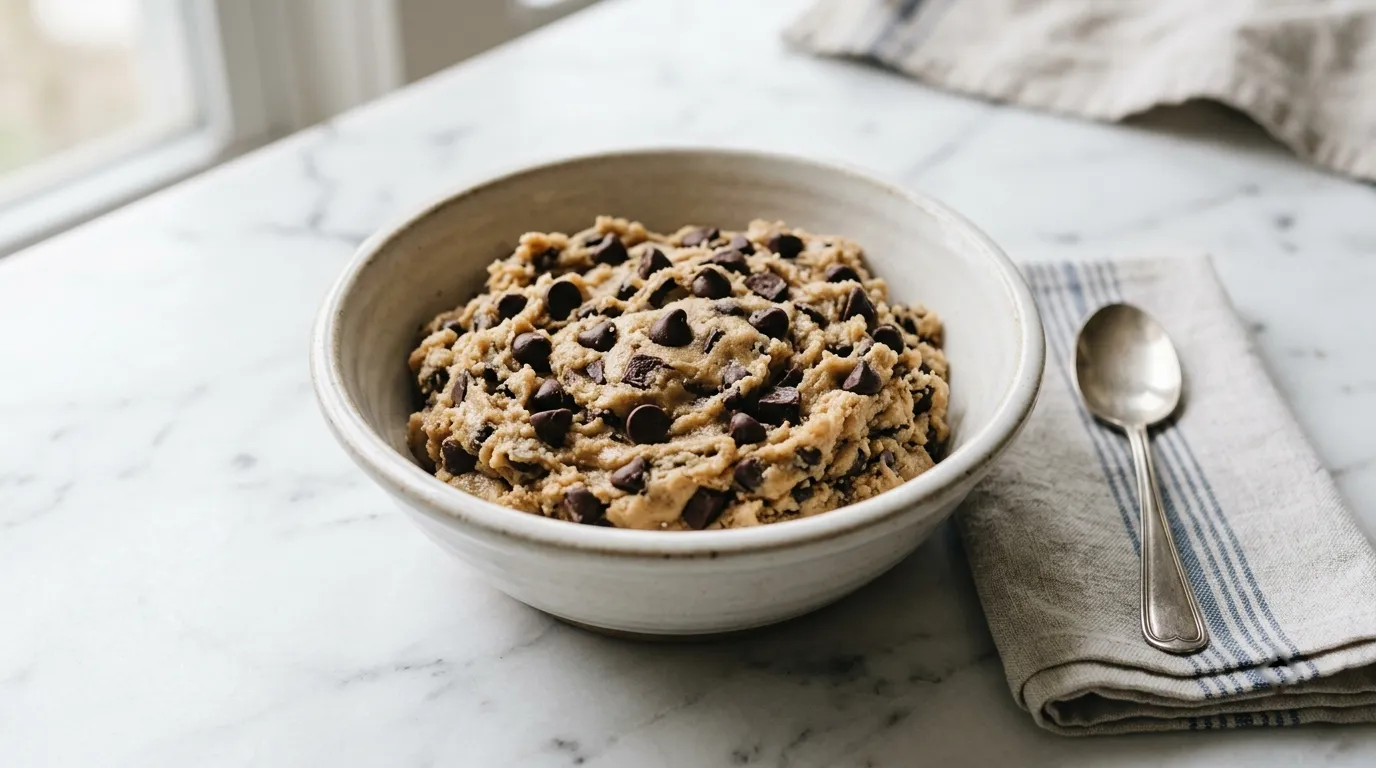
MIX UNTIL COMBINED. I pour the wet mixture into the dry ingredients. I use a spatula to mix until just combined. The batter comes together quickly. I look for a thick, cohesive texture.
It should hold together but not be too dry. If I overmix, the bars may become tough. A gentle fold is key here. I want to keep the mixture light and fluffy.
The batter should feel slightly sticky but not overly wet. I can see it forming a lovely dough that's ready for the next additions.
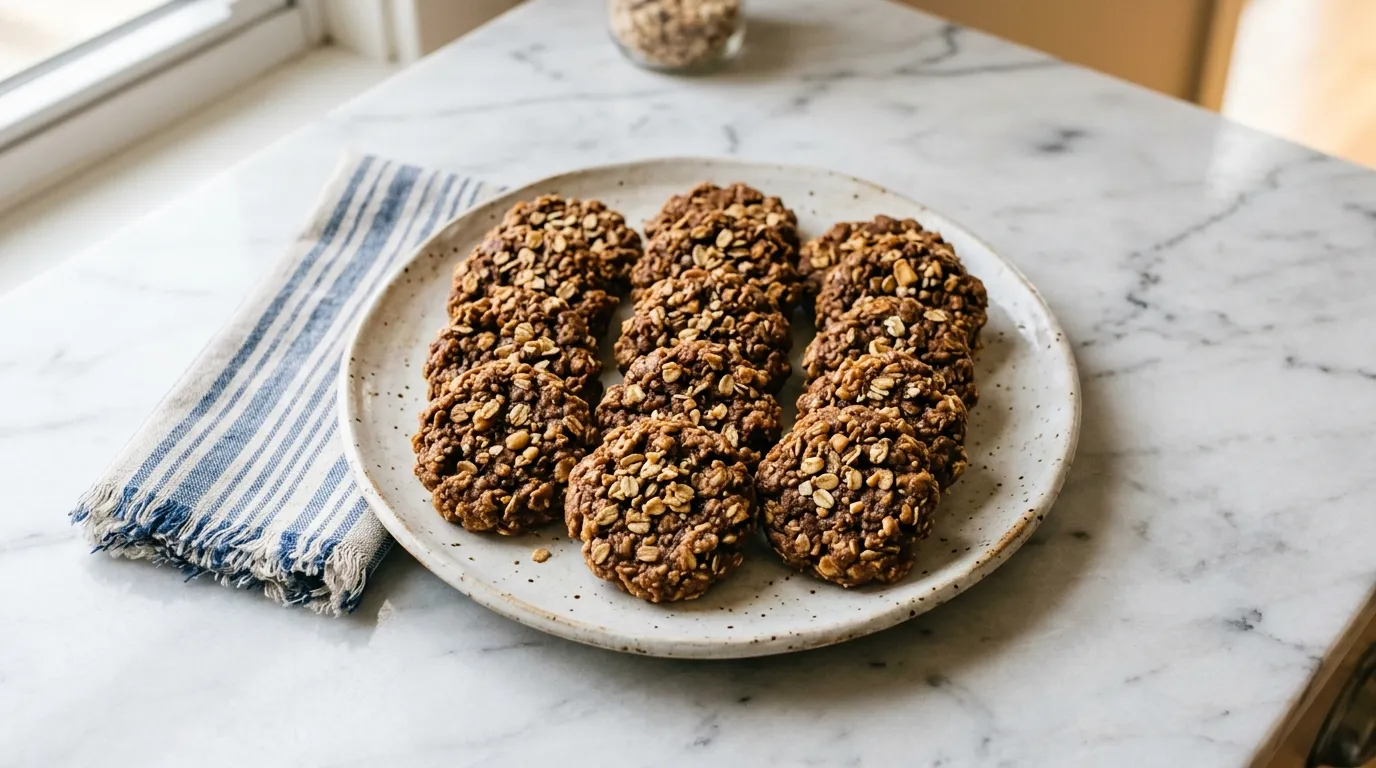
ADD DATES AND NUTS. Now, I add the chopped dates and walnuts to the batter. I fold them in gently. The dates add sweetness and chewiness while the walnuts add crunch.
I want to distribute them evenly throughout the mixture. I can feel the texture change as I mix. The dough thickens and takes on a more varied look.
If I don't fold them in well, some bars may be overloaded with nuts or dates, while others lack them entirely. A good mix ensures every bite is delicious. The dough should look inviting, dotted with bits of fruit and nut.
SPREAD MIXTURE IN PAN. With everything mixed, I spread the batter into a prepared pan. I use a spatula to make it even. The mixture should fill the corners and edges. I press it down slightly to create a smooth top.
This helps with even baking. I know it's ready when the surface is flat and uniform. If I don't spread it out evenly, the bars may bake unevenly. Some parts could burn while others remain raw.
A good surface ensures nice, even edges. I can see the mixture filling the pan perfectly.
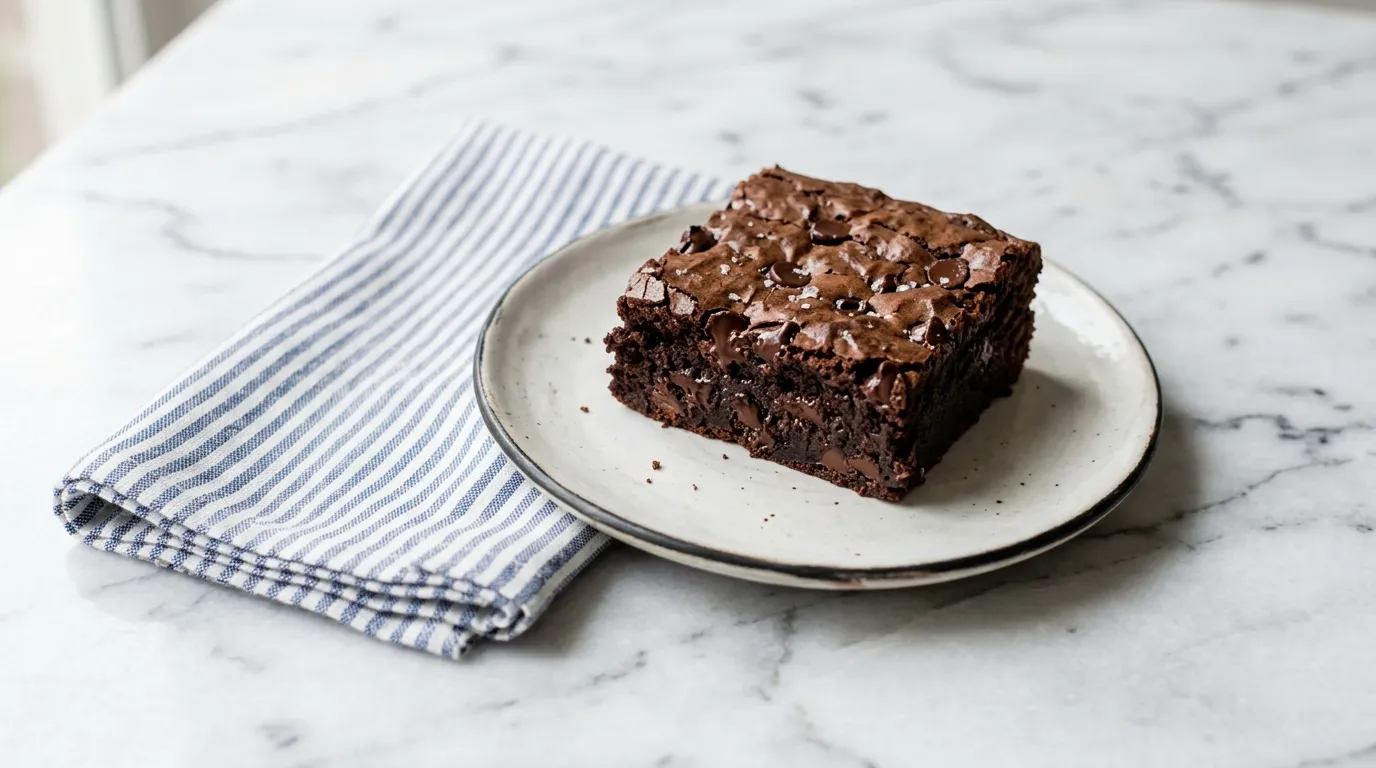
BAKE UNTIL GOLDEN. I place the pan in the oven and set the timer. The bars will bake until they're golden brown and fragrant. I keep an eye on it through the oven window.
The top will start to change color, looking inviting and firm. I also listen for the light bubbling sound. That means the sugars are caramelizing.
If I leave them too long, they might become too dry or hard. A gentle browning indicates they're ready to come out. I want a nice golden hue for the best texture.
COOL AND CUT. Once the baking time is up, I take the pan out and let it cool. This is important for cutting. I can feel the warmth radiating from the pan.
The bars will firm up as they cool. If I try to cut them too early, they might crumble and fall apart. Waiting allows them to set properly.
I know they're ready when they're warm but not hot to the touch. The edges should look firm while the center remains slightly soft. A good cooling period leads to cleaner cuts and a better presentation.
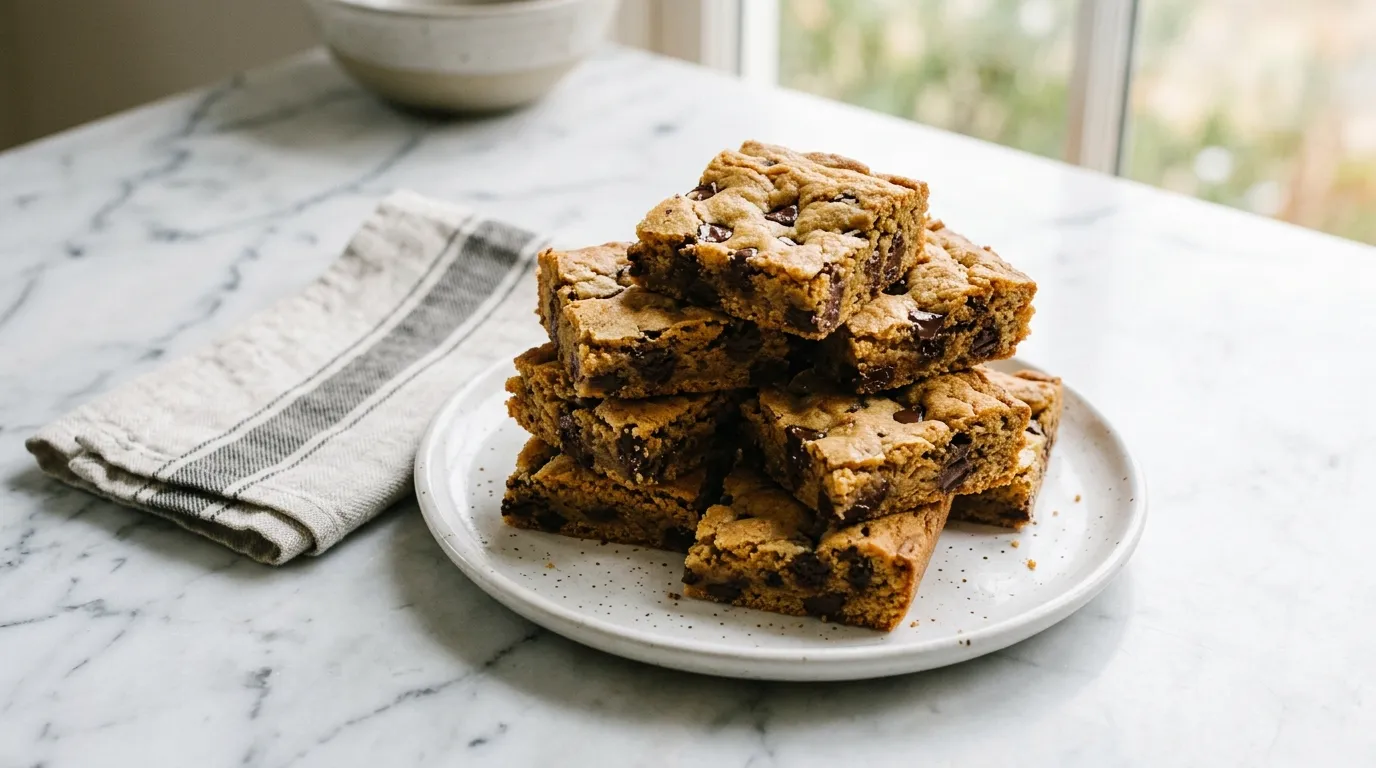
The Details That Changed the Result.
- Use fresh dates. Dried dates can be too tough and chewy. If they are too old, they may not blend well in the mixture. This can lead to uneven sweetness and texture in the bars, affecting the overall enjoyment of each bite.
- Don't skip the cooling step. Allowing the bars to cool completely helps them set properly. If I cut them too soon, they crumble and lose their shape. This results in a messy presentation and makes them harder to handle.
- Check the baking time closely. Ovens can vary greatly in temperature. If I leave the bars in too long, they become dry and lose that chewy texture. This can ruin the final product and make them less enjoyable to eat.
- Use a spatula to spread evenly. An uneven spread can lead to some parts baking faster than others. If the batter is not flat, I risk burning the edges while leaving the center undercooked. This affects the texture and taste of the bars.
- Chop the nuts and dates evenly. Uneven pieces can lead to inconsistent bites. If the pieces are too large or small, some bars might be overloaded with nuts or dates, while others are bland. This can impact the overall flavor and chewiness.
Where It's Easy to Slip.
- Overmixing the batter This can lead to tough bars. Overmixing develops gluten, which makes the texture dense. Instead, mix until just combined to keep them light and chewy.
- Not preheating the oven Baking in a cold oven can lead to uneven cooking. The bars might not rise properly and could end up soggy. Always preheat the oven before baking to ensure even heat distribution.
- Cutting the bars too early Cutting while they are still hot causes them to crumble. They need time to set properly. Allow them to cool until warm to the touch for cleaner cuts.
- Not spreading the mixture evenly An uneven spread can result in some parts burning while others remain raw. Make sure to press the mixture down evenly in the pan for consistent baking.
Turning It Into a Full Meal.
- Vanilla ice cream The creaminess of vanilla ice cream pairs well with the chewy texture of the bars. It adds a cool contrast and enhances the sweetness.
- Greek yogurt with honey The tartness of Greek yogurt balances the sweetness of the date bars. A drizzle of honey enhances the flavor without overpowering it.
- Fresh fruit salad A fruit salad adds freshness and offsets the richness of the bars. Its vibrant flavors complement the sweetness of the dates.
- Coffee or espresso The bitterness of coffee contrasts nicely with the sweetness of the date bars. It enhances the overall flavor experience.
Leftovers, Handled.
- STORING Store in an airtight container at room temperature for up to 5 days. The texture may soften over time.
- FREEZING Wrap in plastic wrap and place in a freezer-safe container. Freeze for up to 2 months. Thawing may make the bars crumbly.
- REHEATING Reheat in a microwave for 10-15 seconds. Enjoy while warm for a chewier texture.
Frequently Asked Questions
- 1 cup all purpose flour
- 1 cup rolled oats
- 1/2 teaspoon salt
- 1/2 cup unsalted butter, melted
- 1 cup brown sugar, packed
- 1 teaspoon vanilla extract
- 1 cup chopped dates
- 1/2 cup chopped walnuts
- 1Preheat the oven to 350°F.
- 2In a bowl, whisk together flour, oats, and salt. In a bowl, whisk together 1 cup all purpose flour, 1 cup rolled oats, and 1/2 teaspoon salt.
- 3In another bowl, combine melted butter, brown sugar, and vanilla. In another bowl, combine 1/2 cup unsalted butter, melted, 1 cup brown sugar, packed, and 1 teaspoon vanilla extract.
- 4Mix the wet ingredients into the dry ingredients until just combined.
- 5Fold in chopped dates and walnuts. Fold in 1 cup chopped dates and 1/2 cup chopped walnuts.
- 6Spread the mixture evenly in a greased 9x13 pan. Spread the mixture evenly in a greased 9x13 inch baking dish.
- 7Bake for 25-30 minutes until golden.
- 8Allow to cool before cutting into bars.
- 9SHARE THE LOVE. Please give a 5-star rating and review.
Reviews
Community Guidelines
We love hearing how this recipe turned out for you. Please keep reviews about the recipe itself, stay kind and helpful to other cooks, and leave out personal details or links. Every review is checked before it appears.