
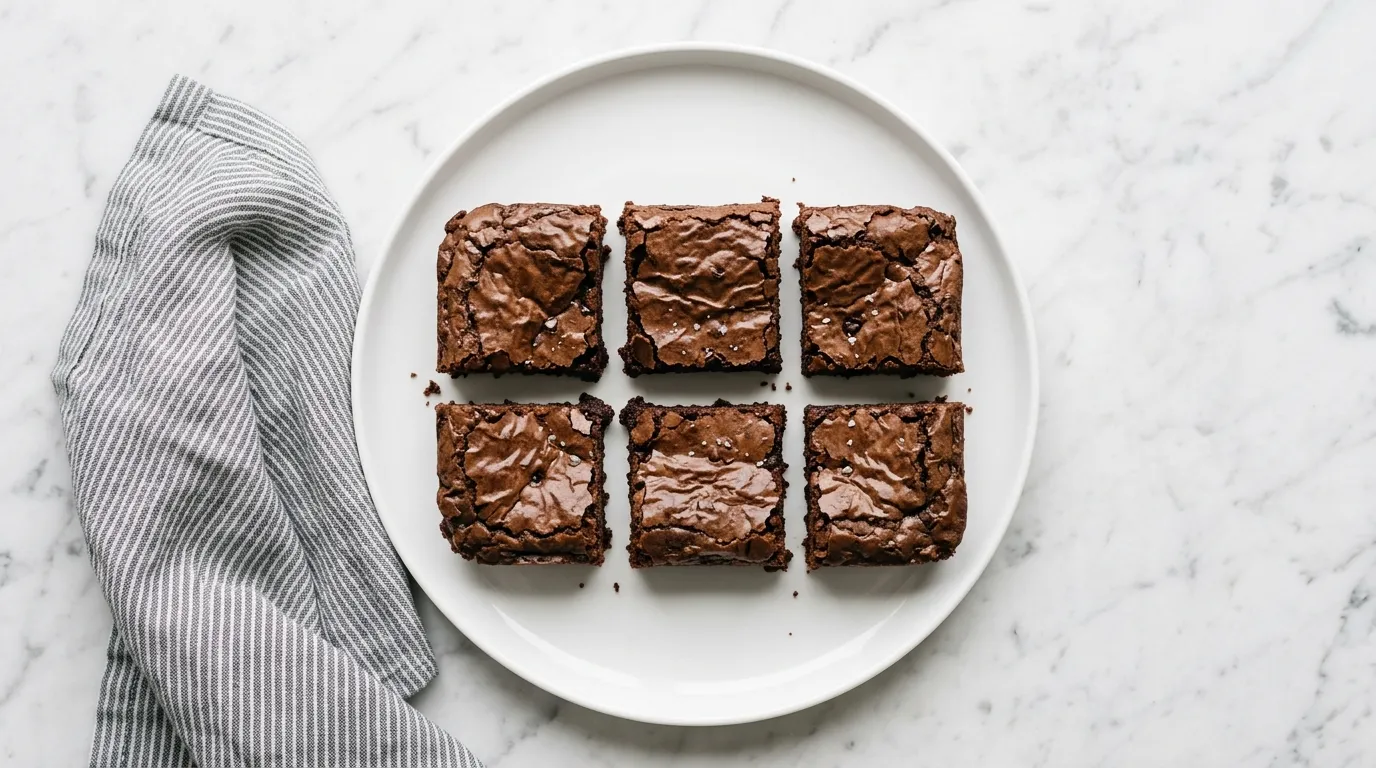
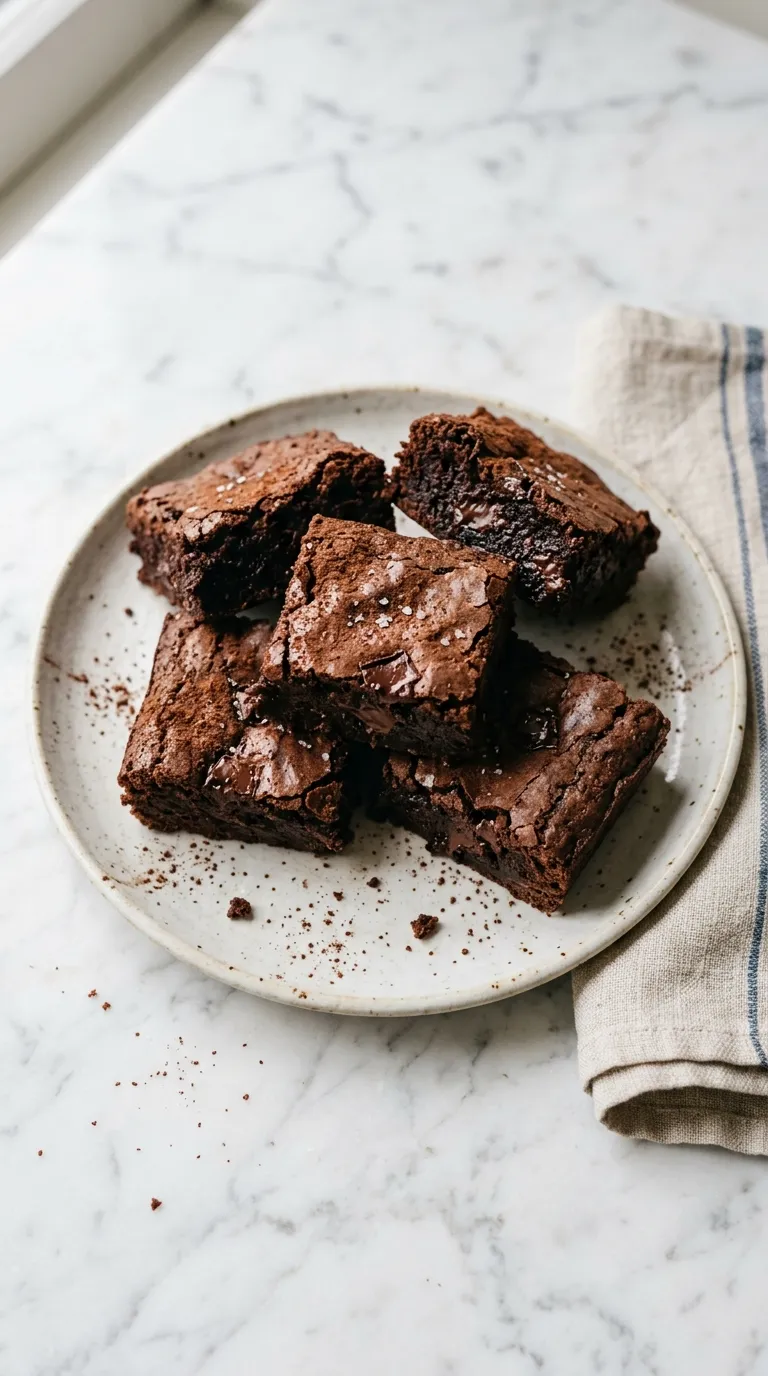
Ultimate Chocolate Brownies That Melt in Your Mouth — Ultimate Chocolate Brownies that melt in your mouth feature eight simple ingredients. I use one bowl for mixing, making cleanup easy. These brownies are rich and fudgy, thanks to the addition of chocolate chips.
My Latest Video
Rich and fudgy chocolate experience.
- These chocolate brownies stand out for their deep, intense flavor. The addition of chocolate chips enhances the chocolate experience, making every bite irresistible.
- Using unsweetened cocoa powder gives these brownies a rich base. Combined with melted butter and sugar, it creates a moist texture that melts in your mouth.
- The simplicity of this recipe means anyone can make it. No fancy equipment is needed, just a bowl and a whisk to mix everything together effortlessly.
What Goes in the Bowl.
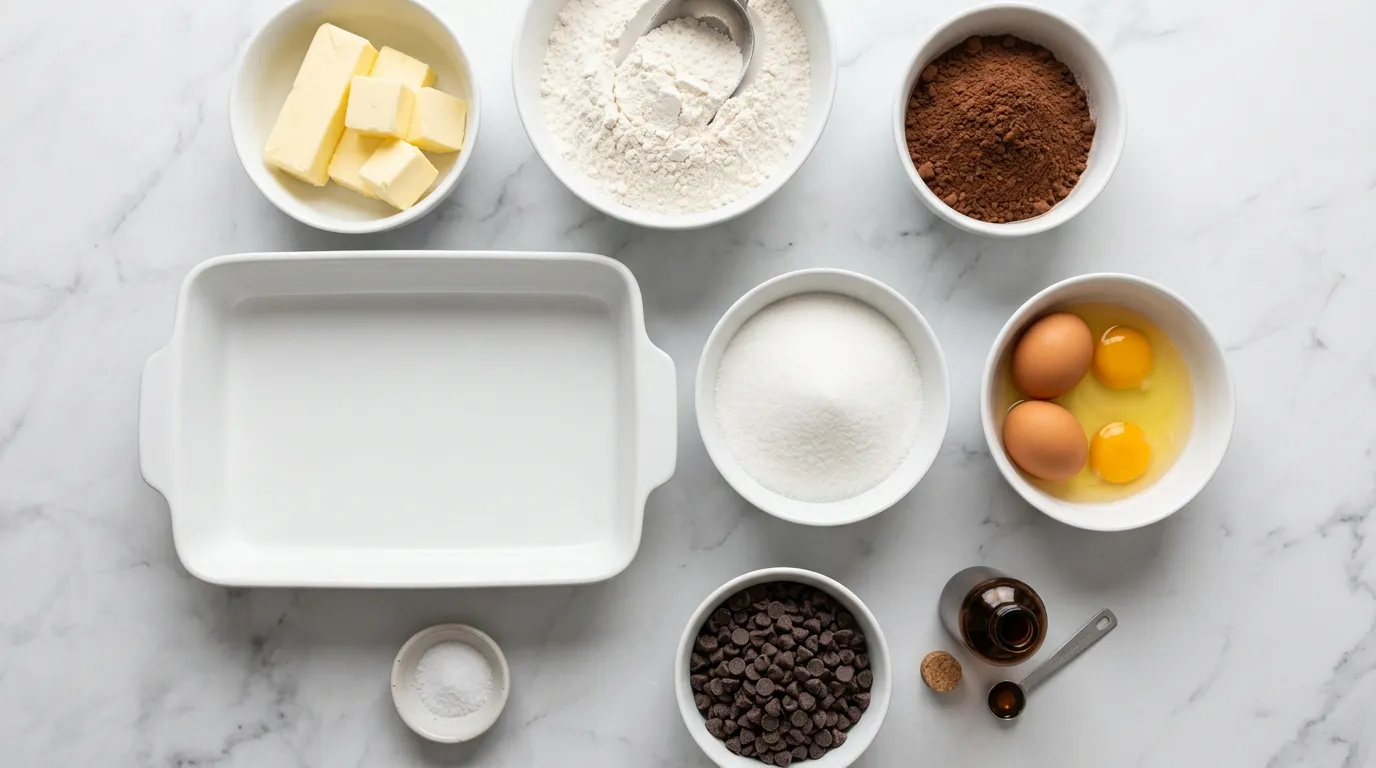
- 1 cup unsalted butter
- 2 cups granulated sugar
- 4 large eggs
- 1 teaspoon vanilla extract
- 1 cup all-purpose flour
- 1 cup unsweetened cocoa powder
- 1 teaspoon salt
- 1 cup chocolate chips
Worth Knowing About a Few of These.
- Unsalted Butter Unsalted butter gives control over the salt level in the brownies. Salted butter can lead to an overly salty taste. Use the same amount, but expect a different flavor profile if you substitute.
- Granulated Sugar Granulated sugar adds sweetness and helps create a crispy top. Brown sugar can add moisture and a slight chewiness, but use 3/4 cup of brown sugar for the same sweetness.
- Eggs Eggs provide structure and moisture. They also help with leavening. If you need a substitute, use 1/4 cup of unsweetened applesauce per egg. This will change the texture slightly, making it denser.
- Vanilla Extract Vanilla extract enhances the overall flavor of the brownies. If unavailable, almond extract can be used for a different taste. Use half the amount since almond extract is stronger.
How I Actually Make It.
MELT BUTTER & CHOCOLATE. I start by melting the butter and chocolate together. I place them in a saucepan over low heat. It's important to stir them gently to avoid burning. I keep an eye on the mixture as it melts, watching for that glossy, smooth texture.
The smell is rich and inviting. Once it's fully melted, I remove it from the heat. It should be warm but not boiling. If it bubbles, I know I've gone too far.
This step is crucial because it creates a smooth base for the brownies. If I let it overheat, the chocolate can seize, leading to a grainy texture in the final product. I make sure to let it cool slightly before moving on so it doesn't cook the eggs in the next step.
WHISK IN SUGAR & EGGS. Next, I whisk in the sugar and eggs. I add the sugar first, mixing it in until it's well combined. The texture changes as the sugar dissolves. Then, I crack in the eggs one at a time.
I whisk vigorously after each addition. I look for a thick and glossy mixture. It should have a slight shine. If it looks dull, I know I need to whisk a little longer.
This step is critical for incorporating air into the batter. If I skip this part or don't whisk enough, the brownies won't rise properly. I aim for a ribbon-like consistency when I lift the whisk. That tells me I'm on the right track.
ADD VANILLA & FLOUR. I add the vanilla extract and flour next. After pouring in the vanilla, I fold it in gently to avoid losing the air I just incorporated. Then, I sift the flour and cocoa powder into the bowl. Sifting helps eliminate lumps and makes for a smoother batter.
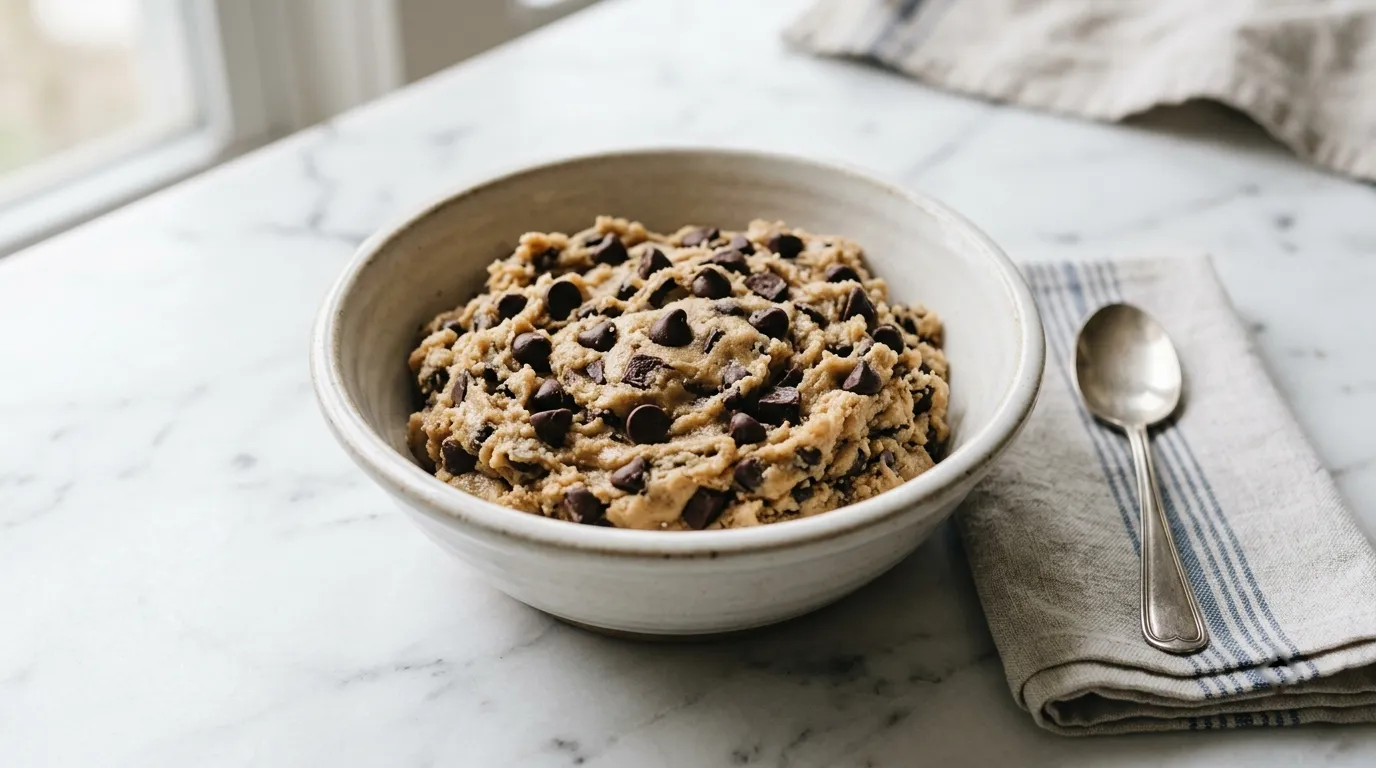
With a spatula, I gently fold the ingredients together. I watch for streaks of flour disappearing into the mixture. It should become thick and fudgy. If I overmix at this stage, I risk developing gluten, which can make the brownies tough.
I stop as soon as I see no dry flour. The texture should feel luxurious and almost velvety as I fold.
FOLD IN CHOCOLATE CHIPS. Now, it's time to fold in the chocolate chips. I sprinkle them over the batter and use the spatula to gently incorporate them. I want to distribute the chips evenly without overmixing.
I look for a batter that has a few visible chocolate chips peeking through. If I see too many chips, it means I've overmixed. This step adds bursts of chocolate flavor throughout the brownies.
If I skip adding the chips, I miss out on that delightful texture contrast. I take care to ensure that each bite will have some chocolate goodness. It's a simple yet essential part of the process.
PREPARE THE PAN. I prepare the pan by greasing it well. I use butter or cooking spray to make sure the brownies won't stick. I spread the grease evenly over the bottom and sides. This ensures easy removal later.
I can tell it's ready when the surface looks shiny. If I skip this step, I risk tearing the brownies when I try to lift them out. That would be a disappointment. I also line the bottom with parchment paper for added security.
This way, I guarantee that even the edges will come out clean. A properly prepared pan sets the stage for easy cutting after baking.
POUR & SMOOTH BATTER. Once the pan is ready, I pour the batter in. I make sure to scrape every bit from the bowl. The batter should flow smoothly into the pan. I use a spatula to spread it evenly.
It should fill the corners without any gaps. I want the surface to be level before baking. If it's uneven, the brownies will bake inconsistently. I smooth the top gently.
At this point, I can see the glossy finish of the batter, which indicates it's well-mixed. I know I'm close to enjoying those brownies. The anticipation builds as I prepare to bake them.
BAKE UNTIL SET. I bake the brownies until they set. I keep an eye on the time, checking for doneness. The edges should pull away slightly from the sides of the pan.
I lightly press the center, and it should spring back. If it feels too soft, I know it needs a bit more time. This is the moment to resist the urge to open the oven door too often.
Each time I do, heat escapes, affecting the baking process. I want a slight crack on top, indicating they are perfectly baked. When they come out, the smell fills the kitchen, hinting at the deliciousness to come.
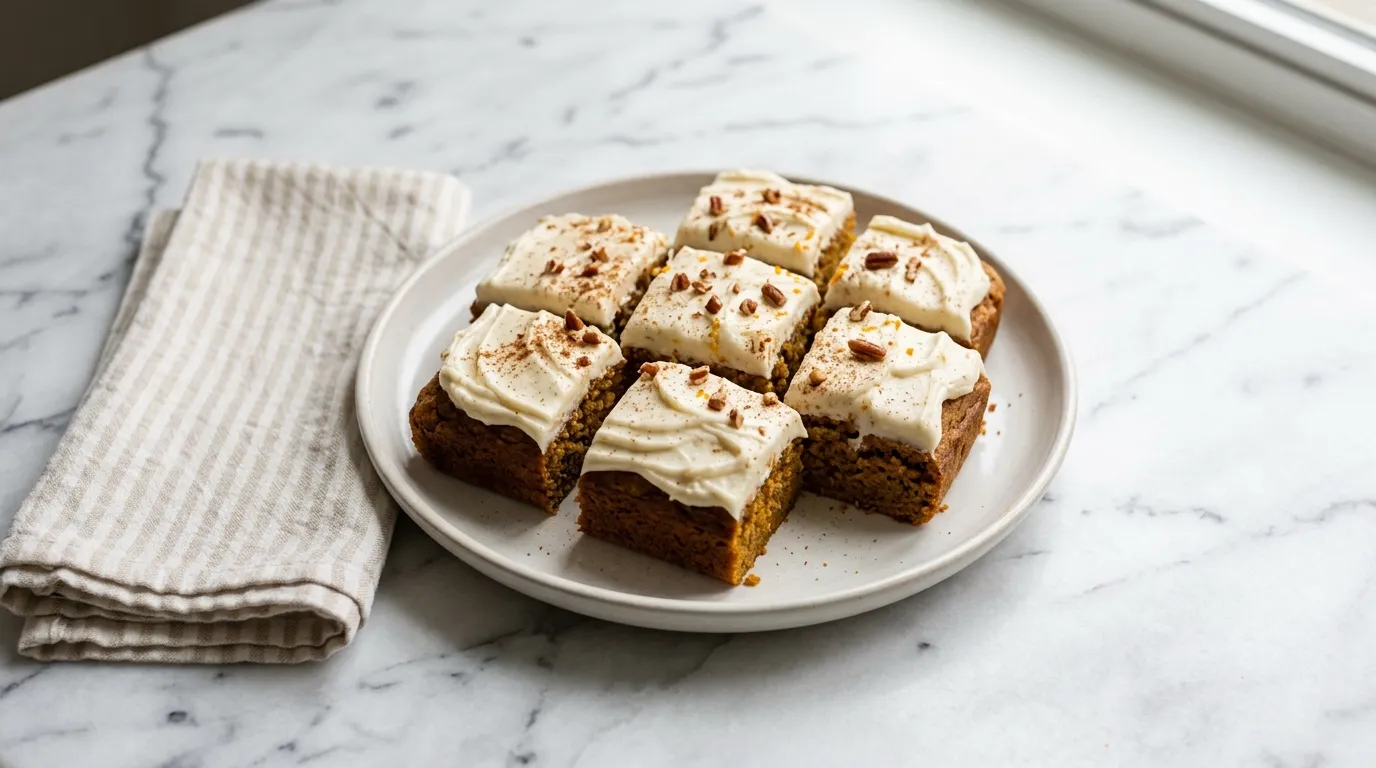
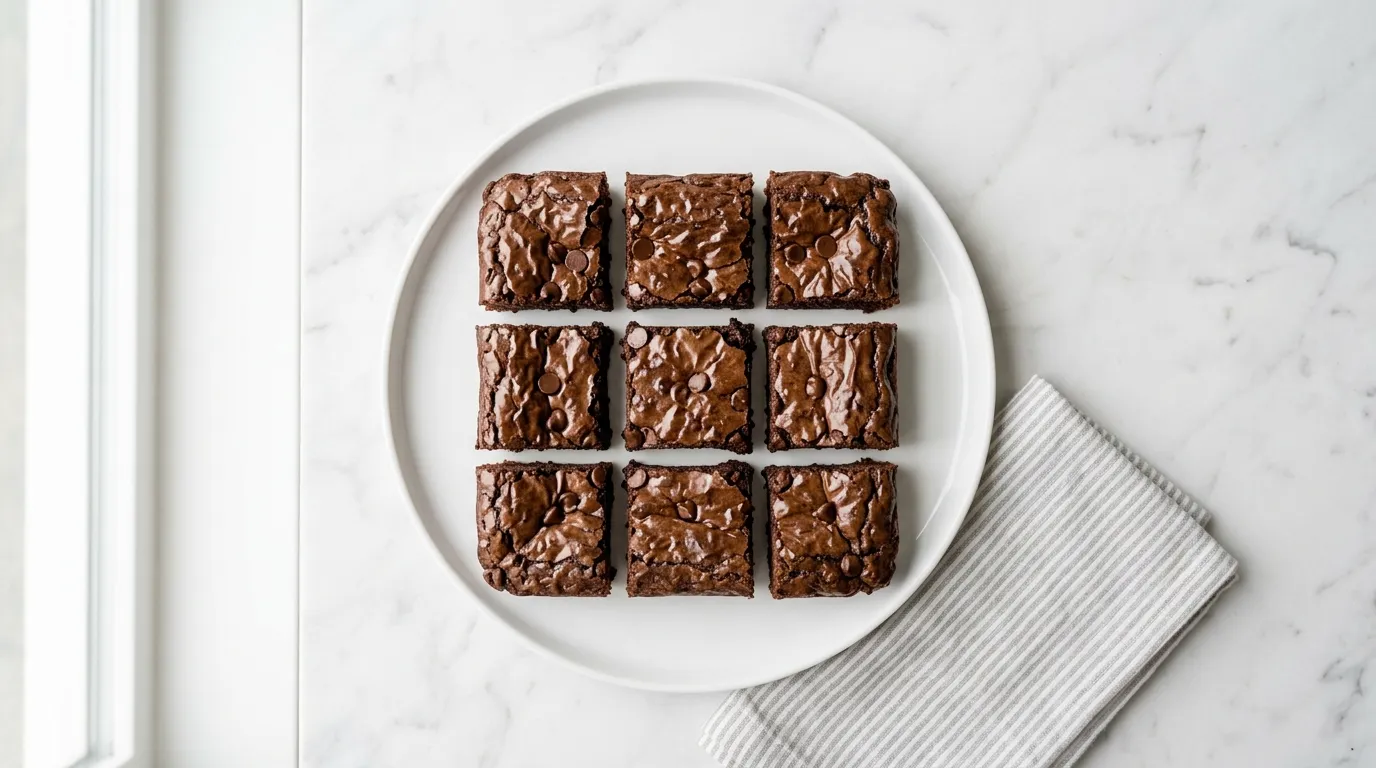
COOL & CUT INTO SQUARES. Finally, I let the brownies cool before cutting them into squares. I place the pan on a wire rack to speed up the cooling. I wait until they are just warm to the touch. If I cut them too soon, they may crumble.
I use a sharp knife to slice into neat squares. Each cut reveals a fudgy interior and a slightly crisp top. I take my time with this step. If I rush, I might end up with uneven pieces.
The square shapes make them easy to serve. As I finish cutting, I feel satisfied. These brownies are ready to be enjoyed.
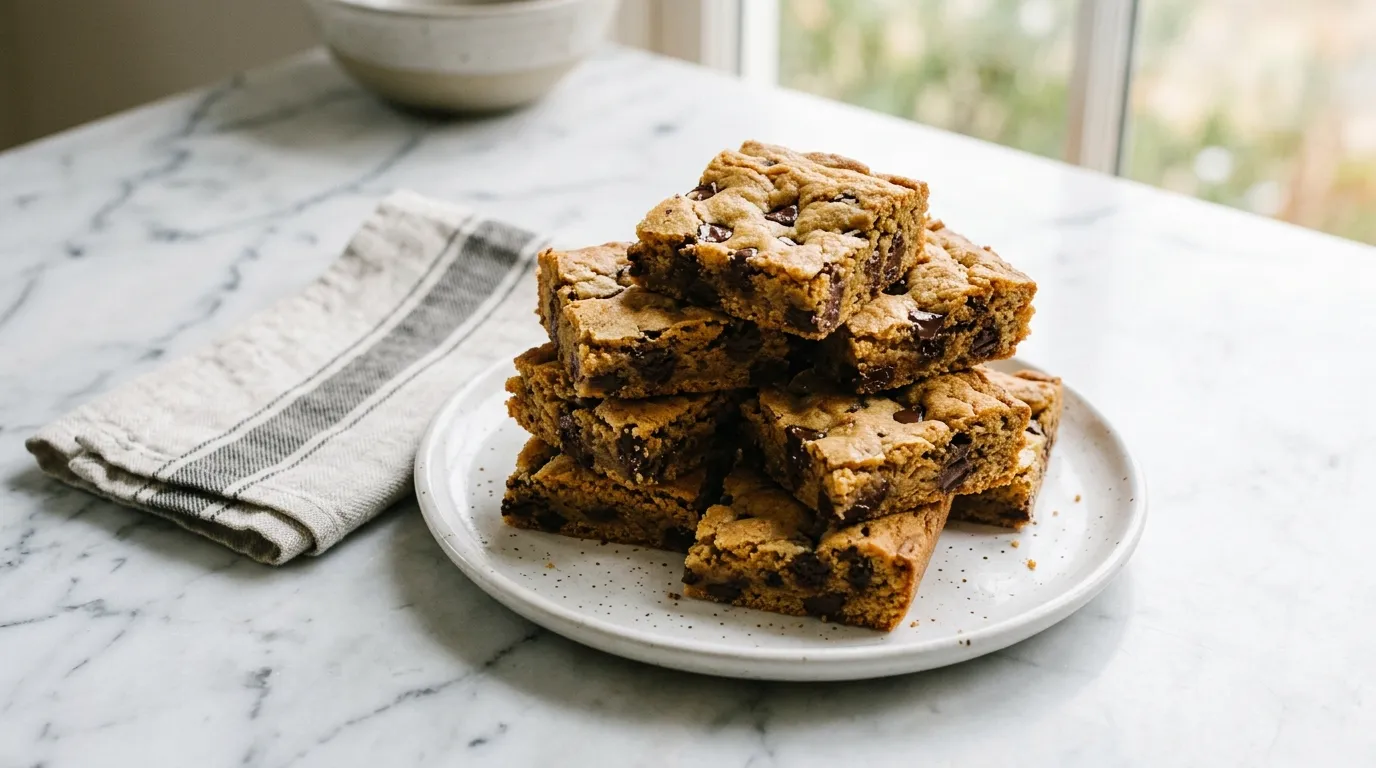
Small Things That Made a Big Difference.
- Watch the cooling time. If you cut the brownies while they are still too warm, they will crumble instead of holding their shape. Allowing them to cool completely helps them firm up and makes for cleaner cuts, ensuring you get those perfect squares.
- Use quality chocolate. Not all chocolate is created equal. Using subpar chocolate can lead to a dull flavor in your brownies. Invest in good chocolate to enhance the richness and depth of flavor, creating a more enjoyable treat.
- Check your oven temperature. An oven that runs too hot can cause the brownies to overbake and dry out. Use an oven thermometer for accuracy. If you skip this step, you risk ending up with brownies that are tough and crumbly instead of fudgy and moist.
- Don't skip the parchment paper. Even if you grease the pan well, brownies can still stick. Lining the pan with parchment paper ensures easy release. Forgetting this step might lead to tearing and a messy presentation.
- Be mindful of mixing time. Overmixing the batter can lead to dense brownies. Mixing just until combined keeps them light and fudgy. Ignoring this can result in a tougher texture that lacks that melt-in-your-mouth quality.
Where It's Easy to Slip.
- Overmixing the Batter Overmixing develops gluten, making the brownies tough. This happens if you stir too vigorously after adding flour. Instead, gently fold until no dry flour remains.
- Not Cooling Enough Before Cutting Cutting too soon can cause the brownies to crumble. They need time to set properly. Allow them to cool until just warm to the touch before slicing.
- Incorrect Oven Temperature Baking at the wrong temperature can lead to unevenly baked brownies. If the oven is too hot, they may burn on the outside and remain raw inside. Always preheat the oven and use an oven thermometer for accuracy.
- Skipping the Parchment Paper Not lining the pan can result in brownies sticking. This makes it hard to remove them without tearing. Always use parchment paper for easy removal and clean edges.
Rounding Out Dinner.
- Vanilla Ice Cream The creamy texture of vanilla ice cream complements the fudgy brownies. The cold ice cream also contrasts nicely with the warm brownies.
- Fresh Berries Fresh berries add a tartness that balances the sweetness of the brownies. Their juiciness also provides a refreshing contrast.
- Espresso A strong cup of espresso enhances the chocolate flavor. The bitterness of the coffee pairs well with the sweetness of the brownies.
- Whipped Cream Light and airy whipped cream adds a fluffy texture that contrasts with dense brownies. It also brings a touch of sweetness to each bite.
What to Do with What's Left.
- STORING Keep brownies in an airtight container at room temperature for up to 4 days. They may lose some crustiness but will remain soft.
- FREEZING Wrap brownies tightly in plastic wrap and then foil. Freeze for up to 2 months. Thaw in the fridge overnight. They may become slightly crumbly.
- REHEATING Heat brownies in the microwave at 50% power for 15-20 seconds. They will become soft and warm but may lose some texture.
A Few Things Worth Answering.
How do I store leftover brownies?
Store them in an airtight container at room temperature for up to 3 days. For longer storage, refrigerate for up to a week or freeze for up to 3 months.
Can I add nuts to the brownies?
Yes, you can add nuts like walnuts or pecans. Fold in about 1 cup of chopped nuts along with the chocolate chips for added texture.
What can I do if my brownies are too dry?
If your brownies turn out dry, they may have been overbaked. Next time, reduce the baking time by a few minutes and keep a close eye on them.
Why did my brownies sink in the middle?
Brownies can sink if they are underbaked or if too much air was incorporated during mixing. Ensure they're fully set before removing them from the oven.
- 1 cup unsalted butter
- 2 cups granulated sugar
- 4 large eggs
- 1 teaspoon vanilla extract
- 1 cup all-purpose flour
- 1 cup unsweetened cocoa powder
- 1 teaspoon salt
- 1 cup chocolate chips
- 1PREHEAT OVEN TO 350°F.
- 2MELT BUTTER AND CHOCOLATE. MELT 1 cup unsalted butter and 1 cup chocolate chips together in a saucepan over low heat, stirring until smooth.
- 3WHISK IN SUGAR AND EGGS. WHISK IN 2 cups granulated sugar and 4 large eggs until fully combined and smooth.
- 4ADD VANILLA AND FLOUR. ADD 1 teaspoon vanilla extract and 1 cup all-purpose flour, mixing until just incorporated.
- 5FOLD IN CHOCOLATE CHIPS. FOLD IN 1 cup chocolate chips gently until evenly distributed.
- 6TRANSFER TO PAN. TRANSFER THE BATTER TO A 9x13 inch baking dish, spreading it evenly with a spatula.
- 7BAKE IN OVEN. For 25 minutes or until a toothpick inserted comes out with a few moist crumbs.
- 8LET COOL BEFORE CUTTING. LET COOL in the pan for at least 20 minutes before cutting into squares.
- 9SHARE THE LOVE. Please leave a 5-star rating and a review!
Reviews
Community Guidelines
We love hearing how this recipe turned out for you. Please keep reviews about the recipe itself, stay kind and helpful to other cooks, and leave out personal details or links. Every review is checked before it appears.