
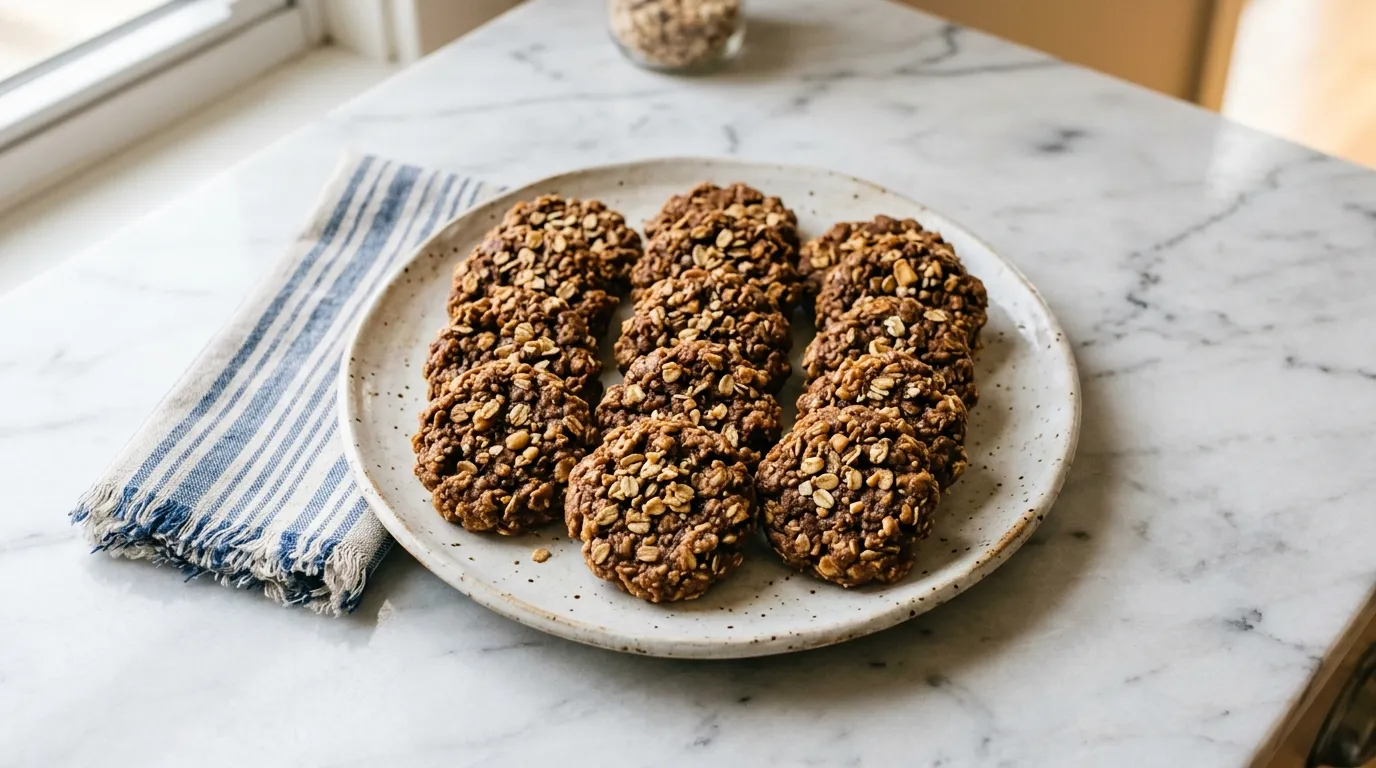
Chewy Peanut Butter No Bake Cookies in Minutes — Peanut Butter No Bake Cookies can be made in just 10 minutes with eight simple ingredients. I mix everything by hand for a quick, satisfying treat. This version is chewy and packed with peanut butter flavor.
My Latest Video
Chewy and satisfying peanut butter treats.
- These cookies focus on peanut butter, making them chewy and rich without added chocolate or flavors.
- With just a saucepan and a bowl, they come together fast, perfect for a small kitchen.
- No baking means no waiting-just chill and enjoy your cookies right away.
Everything That Goes In.
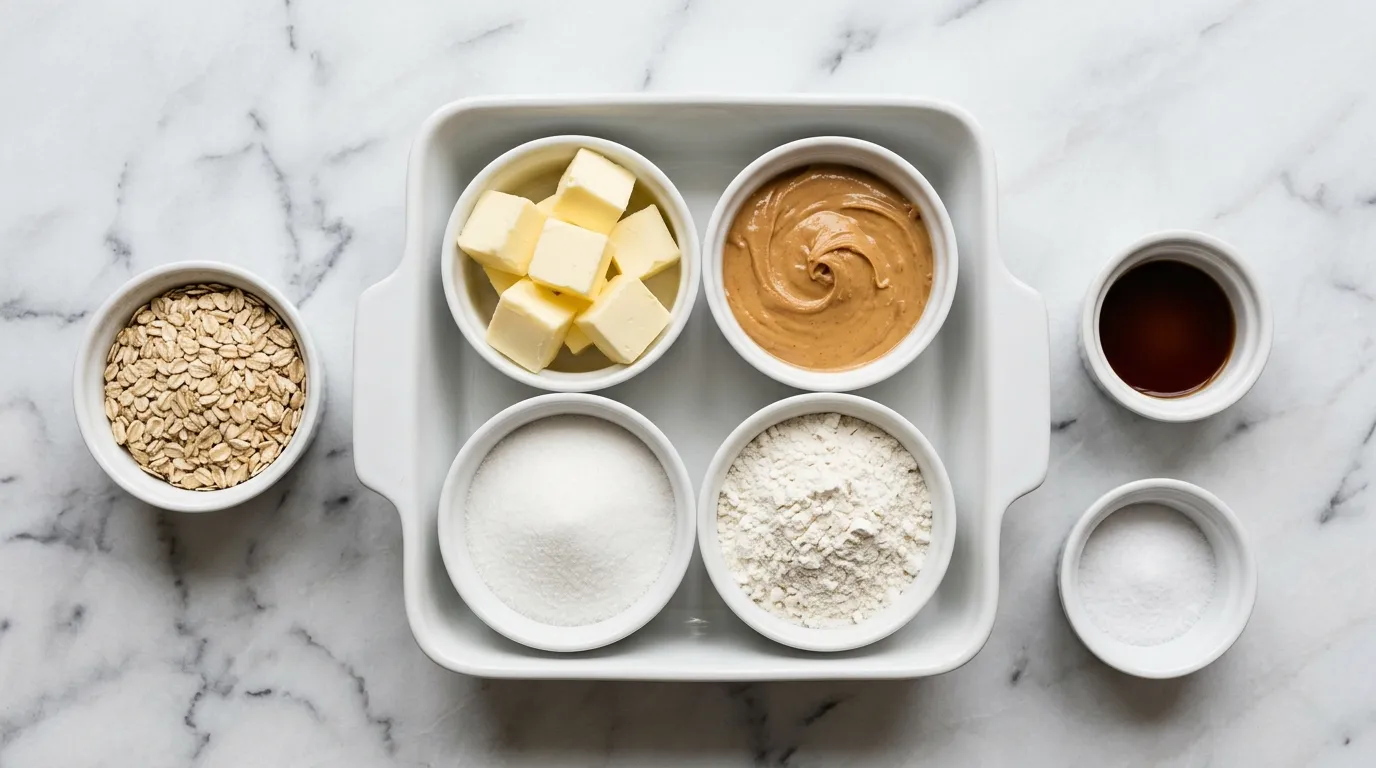
- 1/2 cup unsalted butter
- 1 cup creamy peanut butter
- 2 cups granulated sugar
- 1 cup all-purpose flour
- 3 cups rolled oats
- 1 teaspoon vanilla extract
- 1/4 teaspoon salt
A Closer Look At What Goes In.
- Unsalted Butter Unsalted butter allows me to control the saltiness of my cookies. Using salted butter could make them taste overly salty. If I substitute with margarine, the texture might change slightly. I would use the same amount, but I should ensure it's unsalted for balance.
- Creamy Peanut Butter Creamy peanut butter blends smoothly into the mixture, creating a rich texture. If I use crunchy peanut butter, the cookies will have more texture but may be less cohesive. I can still use the same amount for a delightful crunch.
- Granulated Sugar Granulated sugar gives the cookies their sweetness and helps achieve the chewy texture. Substituting with brown sugar will add moisture and a slight molasses flavor, so I would use the same amount but note that the texture may be softer.
- All-Purpose Flour All-purpose flour provides structure to the cookies. If I replace it with whole wheat flour, the cookies will have a nuttier flavor and denser texture. I would use the same amount, but they might need a bit more mixing to incorporate.
How I Actually Make It.
MELT THE BUTTER. I start by melting the butter in a saucepan over medium heat. The butter slowly transforms from solid to liquid, creating a smooth, golden pool. I watch for it to completely melt without bubbling too much.
If it starts to bubble, I lower the heat. This is crucial because boiling can change the texture of my cookies later. Once melted, it should look glossy and smooth.
I give it a gentle stir to ensure even melting, and I can hear a soft hiss as it hits the hot pan. This sound tells me the butter is ready for the next step.
ADD PEANUT BUTTER. Next, I add the creamy peanut butter to the melted butter. The peanut butter should blend in easily, creating a rich, velvety mixture. As I stir, I look for a uniform color without any streaks of butter or peanut butter remaining.
The texture should become thick and creamy, almost like a sauce. If it doesn't mix smoothly, it might mean the butter was too hot. I keep stirring until it looks consistent, and I can smell the nutty aroma filling the kitchen.
This scent is a good sign that I'm on the right track.
STIR IN SUGAR. I then stir in the sugar. It should dissolve quickly into the mixture, creating a sweet, glossy blend. I keep mixing until I can no longer see any granules.
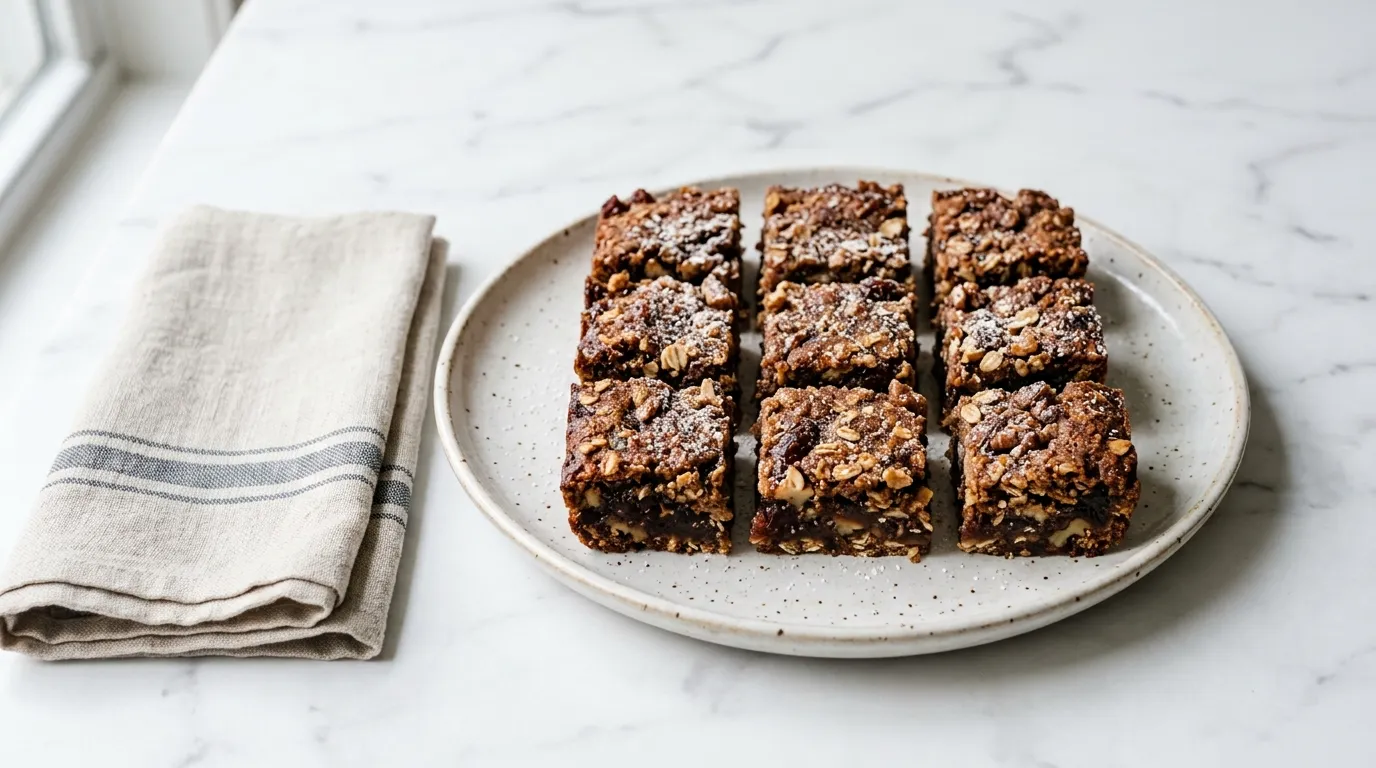
The sound of my spoon scraping against the pan tells me it's time to move on. If I don't mix well enough, the sugar might not fully incorporate, leading to a gritty texture in the final cookies. The mixture should be smooth and shiny, almost like a thick caramel.
This is my cue that the sugar is fully combined and ready for the next ingredient.
INCORPORATE FLOUR. Incorporating the flour comes next. I add it slowly to avoid a cloud of powder. As I mix, I notice the texture changing, thickening considerably.
It should start to look more like dough rather than a batter. The flour should disappear completely into the mixture, leaving no dry spots. If I see any flour left, I know I need to keep stirring.
Proper incorporation is key to achieving the right consistency. The dough should feel heavy and dense, which is exactly what I'm aiming for at this stage.
MIX IN OATS. Now, I mix in the oats. I add them gradually, folding them into the dough until evenly distributed.
The oats will give the cookies their chewy texture, so I make sure they are well combined. I can feel the dough becoming even thicker and more substantial.
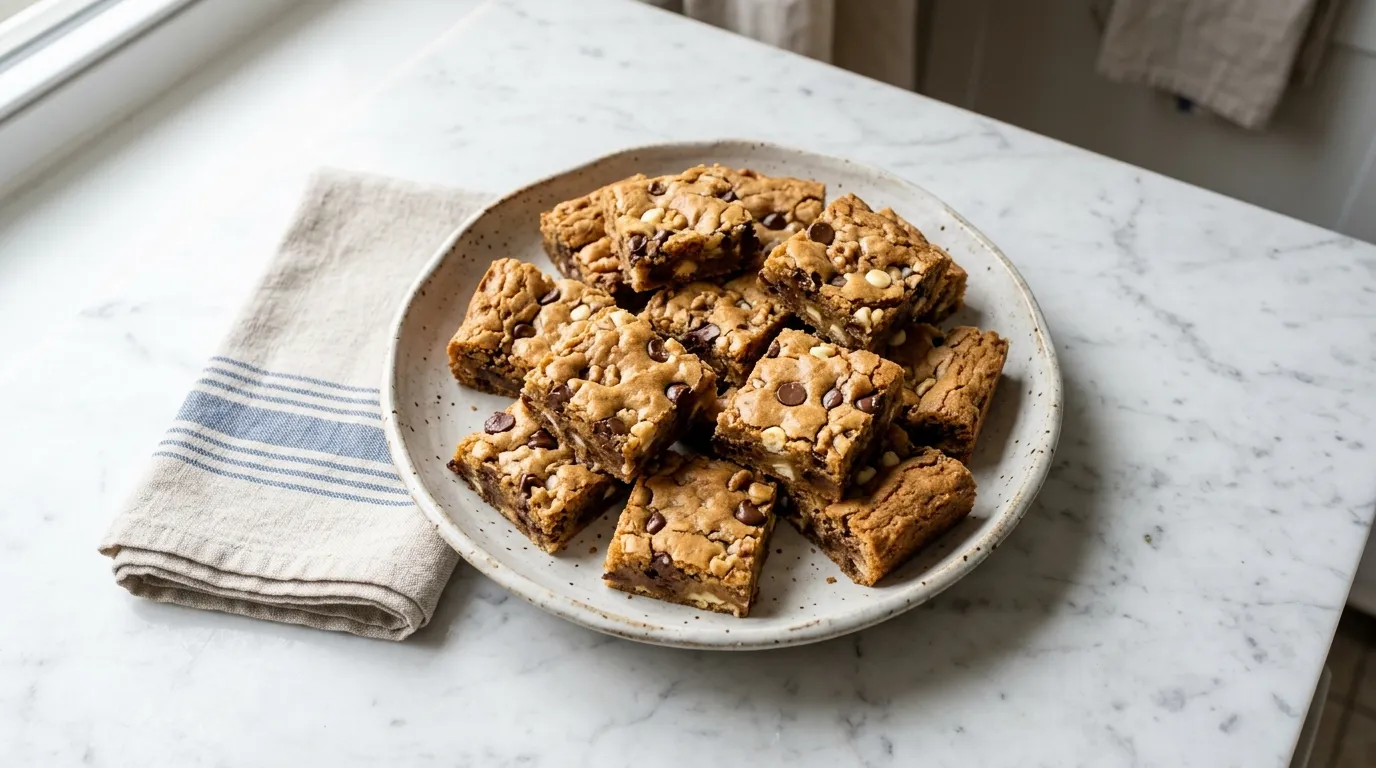
If I don't mix thoroughly, some cookies may end up oat-free, which wouldn't be good. The mixture should look hearty and have a slight bounce when I press it down with my spoon, indicating it's time to drop them onto the sheet.
DROP ON SHEET PAN. I drop spoonfuls of the mixture onto a sheet pan lined with parchment paper. The cookies should hold their shape, not spread out.
I leave enough space between each mound to allow for a little spreading as they set. I can hear the soft plops as the dough hits the pan.
If they flatten out too much, I know I may have overmixed or added too much heat. They should look like little mounds, ready to firm up into cookies as they cool.
ALLOW TO SET. After dropping them on the pan, I allow the cookies to set at room temperature. This usually takes around 10 minutes. I can see them firming up as they cool, becoming less sticky and more solid.
A good indicator that they're ready is when I can gently touch the surface and it feels firm. If I rush this step, the cookies may remain too soft and fall apart later. Patience is key here.
I watch as they lose their shiny appearance and take on a matte finish, signaling they are ready to enjoy.
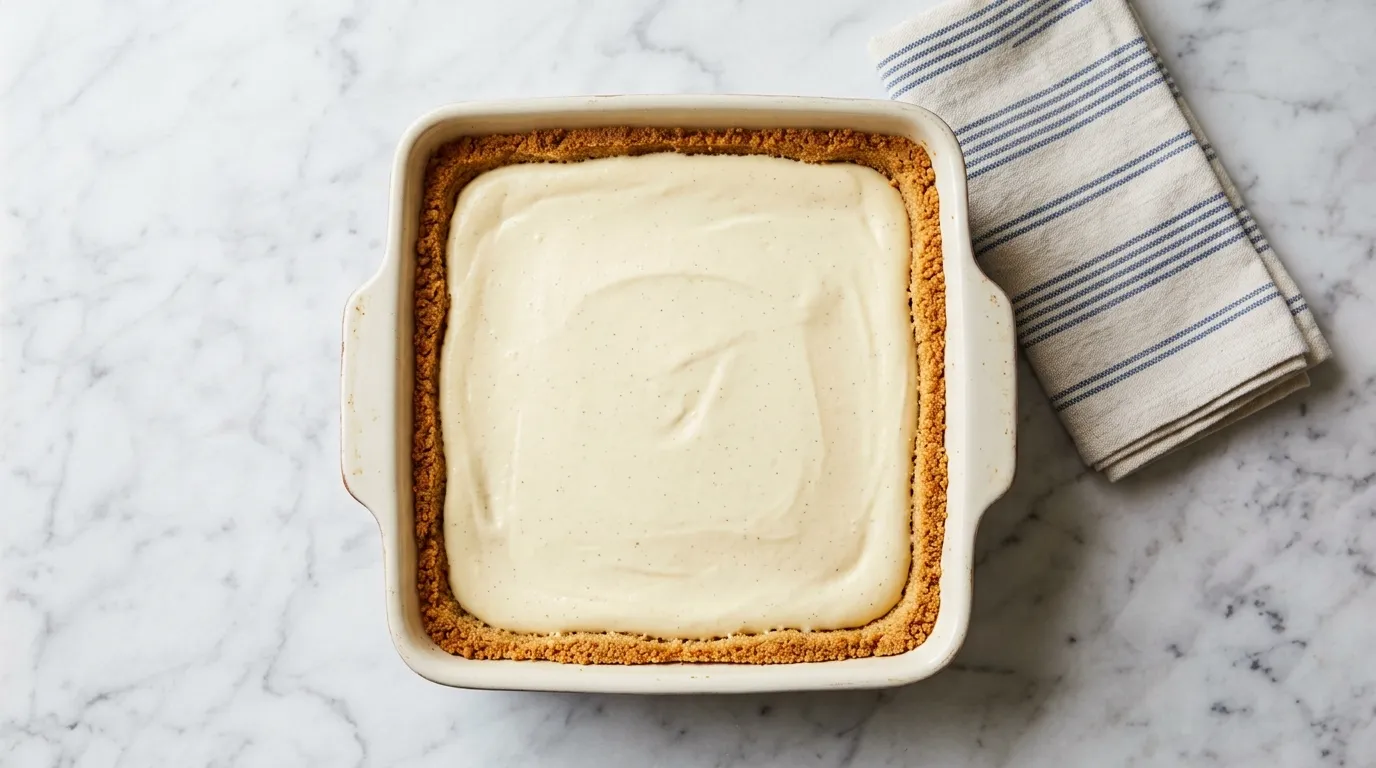
ENJOY YOUR COOKIES. Finally, I enjoy my cookies. I take a moment to appreciate the chewy texture and the perfect balance of peanut butter and sweetness.
Each bite should be satisfying, with the oats adding a delightful chew. If I did everything right, I know these cookies will bring joy.
I savor the rich flavor and the comfort they provide. This is the best part of the process, knowing I've created something delicious and quick.
Notes from My Own Kitchen.
- Use fresh ingredients. Old oats or peanut butter can affect the taste and texture of your cookies. If the ingredients are stale, the cookies may end up tasting bland and dry, ruining the overall enjoyment of the treat.
- Adjust the heat carefully. If the butter bubbles too much while melting, it can lead to a greasy texture in the cookies. Overheating can also compromise the integrity of the mixture, making it hard to achieve the right consistency later.
- Be patient while setting. Rushing the setting time can lead to cookies that are too soft and fall apart when you try to pick them up. Allowing them to cool properly ensures they firm up and maintain their shape for a better eating experience.
- Mix thoroughly but not excessively. Overmixing can make the cookies tough instead of chewy. A heavy hand at this stage may lead to a less enjoyable texture, leaving you with dense, hard cookies instead of the desired chewiness.
- Choose the right size for spooning. If the cookie mounds are too small, they may dry out too quickly. On the other hand, if they are too large, they might not set properly and could remain gooey in the center.
The Steps Worth Slowing Down For.
- Overmixing the Dough If I overmix the dough after adding the oats, the cookies might lose their chewy texture. It could lead to a denser, less enjoyable cookie. To avoid this, I should mix gently until just combined.
- Using Too Much Heat Applying too much heat when melting the butter can lead to a greasy texture in the cookies. If the butter bubbles excessively, it could affect the final product. Keeping the heat medium low is essential to achieve a smooth melt.
- Not Allowing Cookies to Set If I rush the setting time, the cookies may remain soft and fall apart. They need that time to firm up properly. I should be patient and let them sit for around 10 minutes at room temperature.
- Ignoring the Measurement of Ingredients Not measuring ingredients accurately can lead to a poor texture or flavor. If I add too much flour, the cookies may become dry. Using a kitchen scale or measuring cups ensures the right balance.
What Goes Well with This.
- Vanilla Ice Cream The creamy and cold texture of vanilla ice cream perfectly complements the chewy warmth of the cookies. It's a delightful contrast that enhances the overall experience.
- Chocolate Milk Chocolate milk adds a sweet, chocolaty flavor that pairs well with the peanut butter. This drink balances the richness of the cookies, making it a satisfying treat.
- Fresh Berries Serving fresh berries alongside the cookies introduces a refreshing tartness. The fruits provide a bright contrast to the sweetness of the cookies, enhancing the dessert experience.
- Coffee A cup of coffee adds a nice bitterness that balances the sweetness of the cookies. The warm drink complements the chewy texture and rich flavors, creating a cozy pairing.
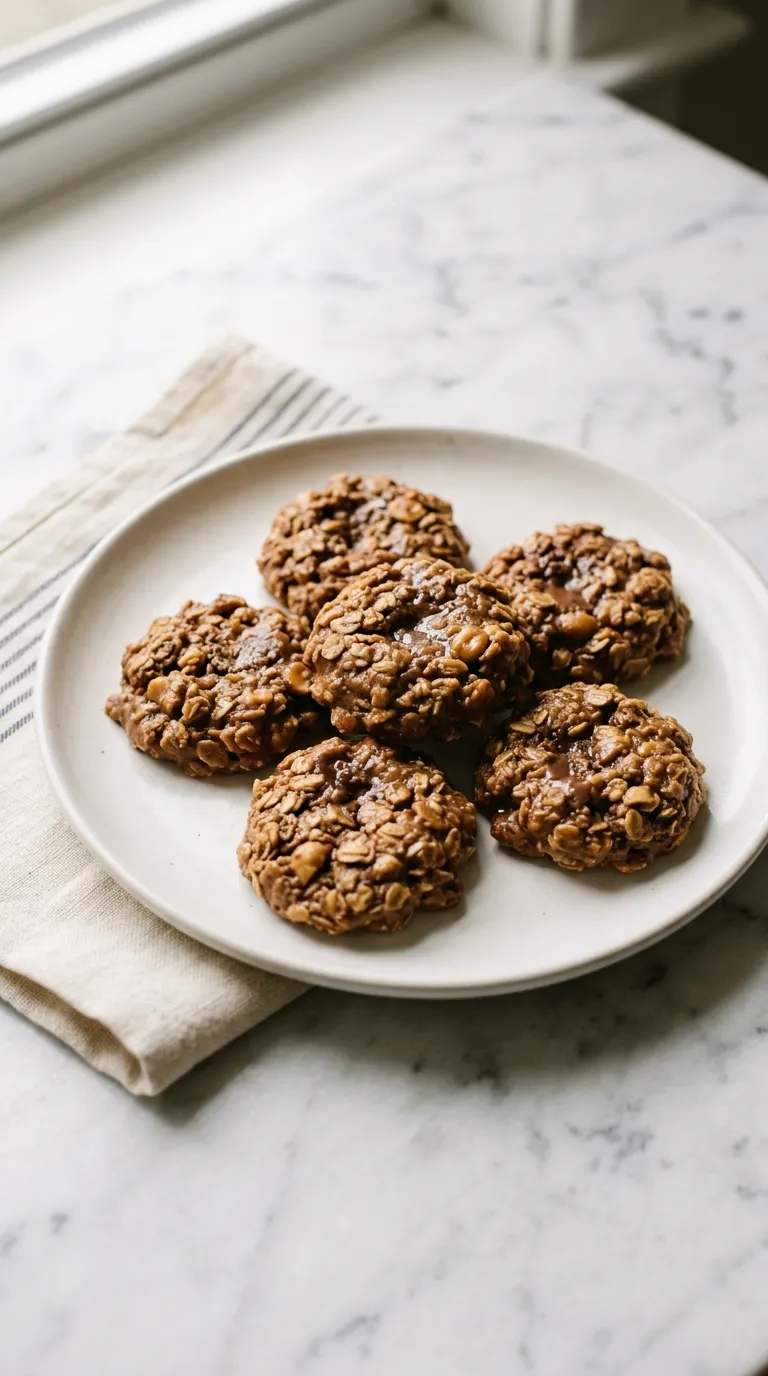
Leftovers, Handled.
- STORING Keep in an airtight container at room temperature for up to 2 days. Cookies may become softer over time.
- FREEZING Do not freeze. The texture will become crumbly and lose its chewy quality after thawing.
- REHEATING Reheat in the microwave for 10-15 seconds to restore some softness. They may still be denser than when fresh.
A Few Things Worth Answering.
Can I store these cookies? How long do they last?
Yes, I can store these cookies in an airtight container at room temperature. They typically last for about a week. If I want them to last longer, I can refrigerate them for up to two weeks.
What if I want to make these cookies chocolate-flavored?
To make chocolate-flavored cookies, I can add 1/2 cup of cocoa powder when mixing in the flour. This will give the cookies a rich chocolate taste while still maintaining the chewy texture.
Can I freeze these cookies?
Absolutely! I can freeze the cookies by placing them in a single layer on a baking sheet until firm, then transferring them to a freezer bag. They can last for up to three months in the freezer.
Is it possible to make these cookies gluten-free?
Yes, I can substitute the all-purpose flour with a gluten-free flour blend. I should ensure the blend is designed for baking to get the right texture. The same amount will work for a seamless swap.
- 1/2 cup unsalted butter
- 1 cup creamy peanut butter
- 2 cups granulated sugar
- 1 cup all-purpose flour
- 3 cups rolled oats
- 1 teaspoon vanilla extract
- 1/4 teaspoon salt
- 1GATHER YOUR INGREDIENTS. You will need one half cup unsalted butter, one cup creamy peanut butter, two cups granulated sugar, one cup all-purpose flour, three cups rolled oats, one teaspoon vanilla extract, and one quarter teaspoon salt.
- 2MELT BUTTER IN A SAUCEPAN. In a saucepan over medium heat, melt one half cup unsalted butter until completely liquefied.
- 3ADD PEANUT BUTTER AND SUGAR. Remove the saucepan from heat and stir in one cup creamy peanut butter and two cups granulated sugar until well combined.
- 4STIR IN FLOUR AND OATS. Add one cup all-purpose flour, three cups rolled oats, one teaspoon vanilla extract, and one quarter teaspoon salt to the mixture. Stir until fully incorporated.
- 5DROP MIXTURE ON SHEET PAN. Using a spoon, drop rounded tablespoons of the mixture onto a sheet pan lined with parchment paper, spacing them apart.
- 6ALLOW TO COOL AND SET. Let the cookies cool at room temperature for about thirty minutes, or until they are set.
- 7SHARE THE LOVE. If you enjoyed this recipe, please leave a 5-star rating and a review!
Reviews
Community Guidelines
We love hearing how this recipe turned out for you. Please keep reviews about the recipe itself, stay kind and helpful to other cooks, and leave out personal details or links. Every review is checked before it appears.