
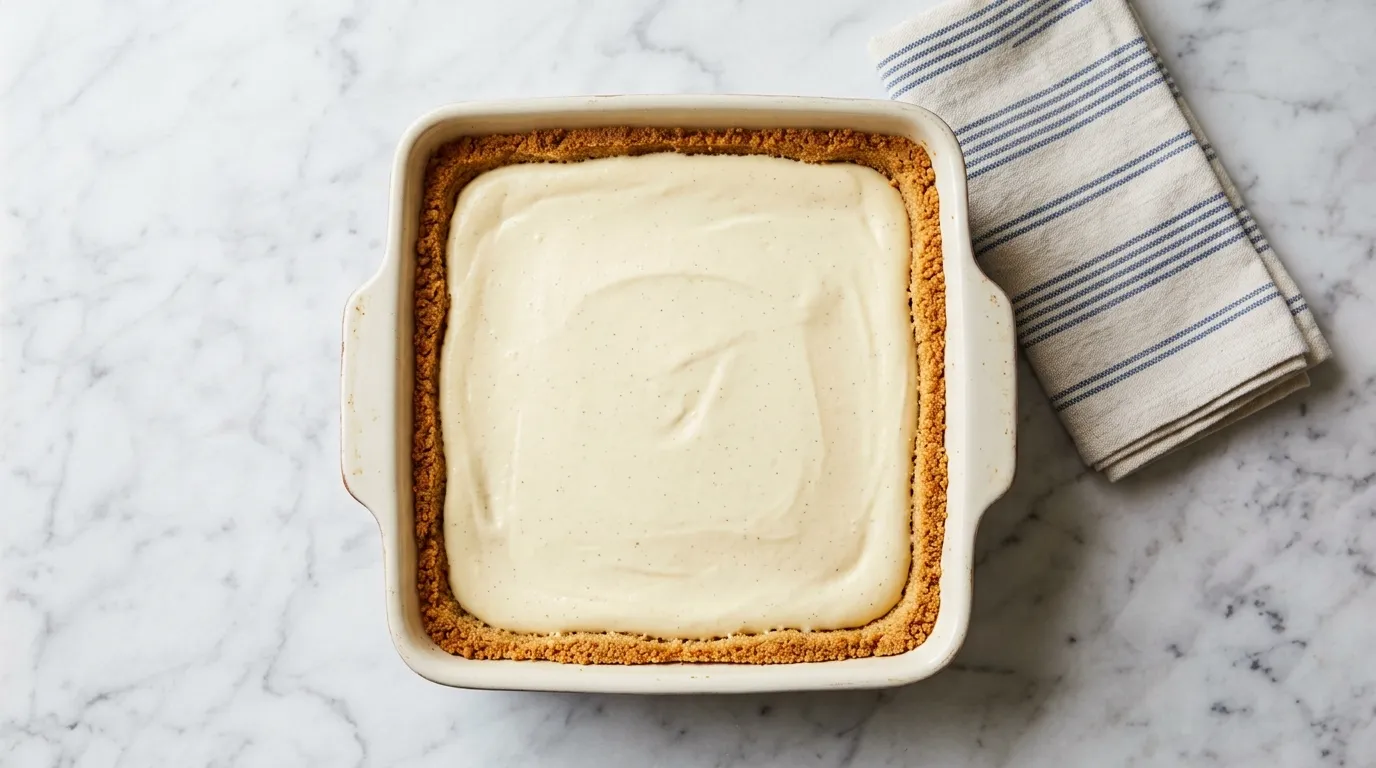
Creamy No Bake Cheesecake Filling for Any Crust — This creamy no bake cheesecake filling requires just five ingredients and takes about 15 minutes to prepare. It delivers a rich, smooth texture that pairs well with any crust, making it versatile for various desserts.
My Latest Video
Simple and adaptable dessert option.
- This filling is easy to mix and can be made without a stand mixer. It requires only a bowl and a whisk, ideal for small kitchens.
- Using whipped cream adds a lightness to the filling, making it less dense than traditional cheesecake recipes.
- The filling can be used in various crusts, from graham cracker to chocolate, allowing for creativity in flavor combinations.
- You can adjust the sweetness by varying the powdered sugar, catering to different preferences.
What You'll Be Working With.
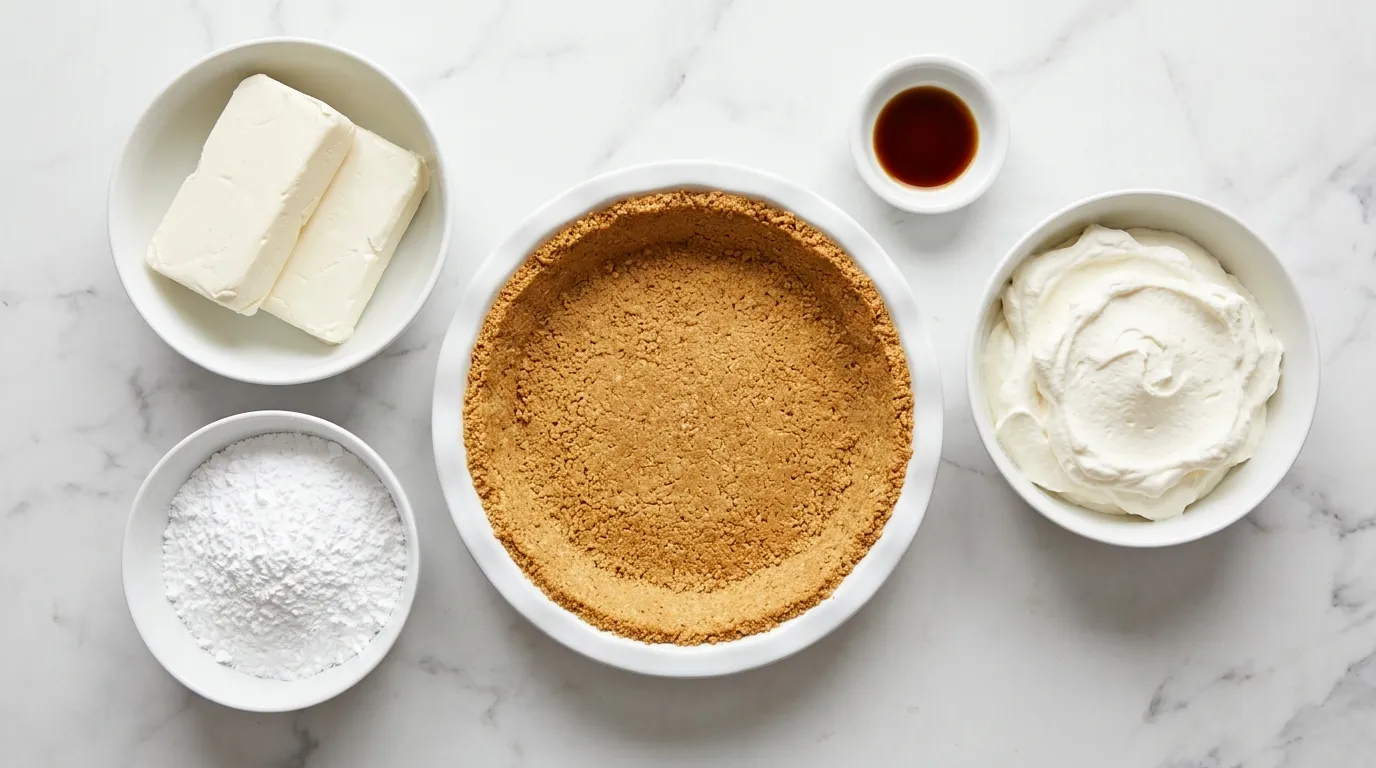
- 16 oz cream cheese, softened
- 1 cup powdered sugar
- 1 teaspoon vanilla extract
- 2 cups whipped cream
- 1 prepared graham cracker crust (9x13 pan)
Worth Knowing About a Few of These.
- Cream cheese Cream cheese adds richness and creaminess to the filling. It's essential for achieving that classic cheesecake texture. If using mascarpone, the filling will be smoother but may have a slightly different flavor. For each 8 oz of mascarpone, use the same amount as cream cheese.
- Powdered sugar Powdered sugar dissolves easily, providing sweetness without granules. It helps create a smooth filling. If you use granulated sugar instead, the filling may end up gritty. For a similar sweetness, use about 3/4 cup of granulated sugar for every cup of powdered sugar.
- Vanilla extract Vanilla extract enhances the flavor of the cheesecake. It adds depth and aroma. Substituting with imitation vanilla can work, but it may lack the richness of real vanilla. If using imitation, use the same amount; however, consider adjusting to taste.
- Whipped cream Whipped cream lightens the filling, making it airy and fluffy. It adds texture and volume. If you replace it with cool whip, the taste will be slightly different, but the consistency will remain similar. Use the same volume of cool whip to maintain the recipe's balance.
Walking Through It.
PREPARE THE CREAM CHEESE. Start by softening the cream cheese. Leave it at room temperature for a bit. I use a spatula to check if it's pliable. It should be easy to stir and spread.
If it feels firm, it needs more time. Softened cream cheese blends better, creating a smoother filling. If you skip this step, you might end up with lumps in your cheesecake. That's not what we want.
Take your time with this first step. It sets the foundation for everything else.
COMBINE THE INGREDIENTS. Next, I grab a mixing bowl. I add the softened cream cheese, the sugar, and the vanilla extract. Mixing these ingredients together begins to build the flavor.
The smell of vanilla will fill the air. I like to use an electric mixer for this. It speeds up the process and ensures everything combines well.
If you just stir by hand, you might not get an even mixture. It's important to incorporate everything thoroughly for the best taste.
WHIP UNTIL SMOOTH. Once everything is in the bowl, I switch the mixer to medium speed. I whip the mixture until it's completely smooth. The sound of the mixer tells me it's working.
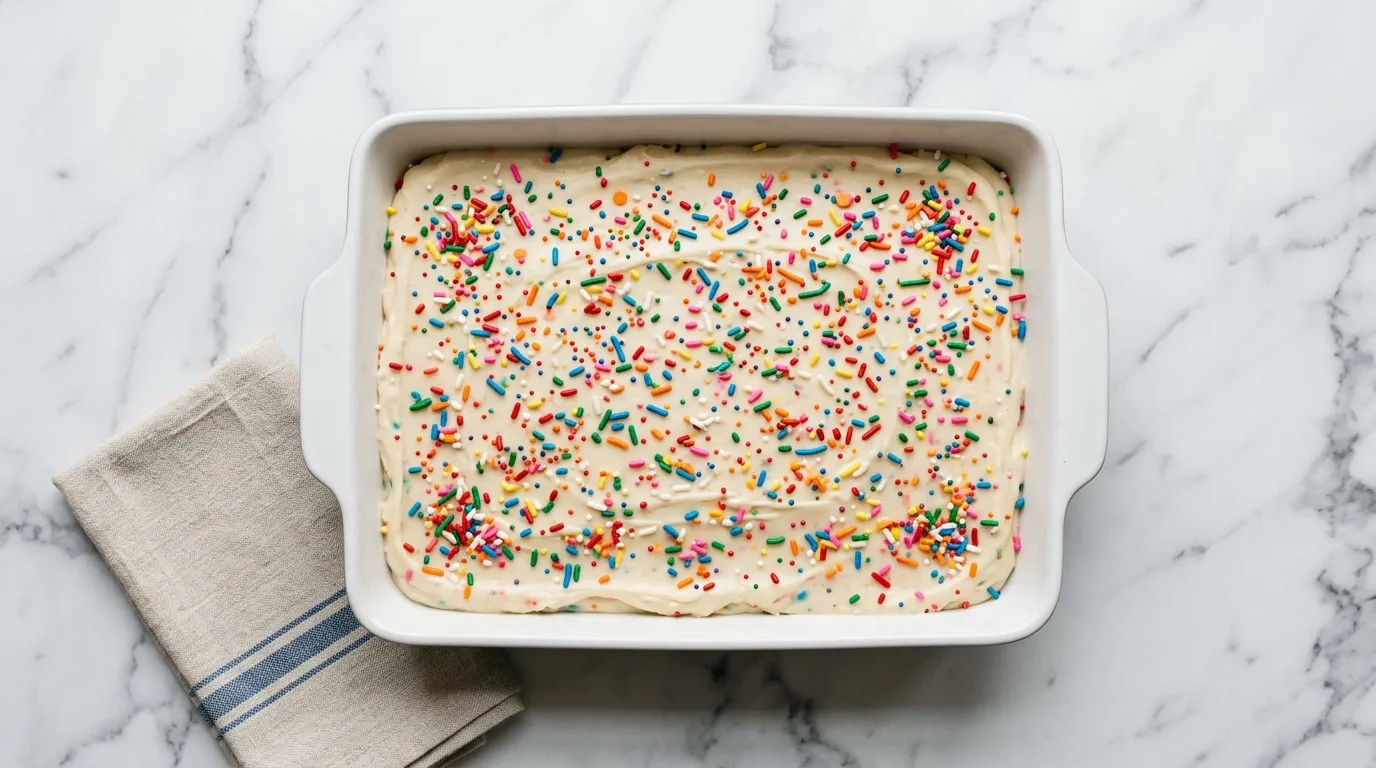
I watch for any lumps to disappear. The texture should be creamy and free of any gritty bits. If it's not smooth, I keep mixing a bit longer.
Rushing this step can lead to a chunky filling. Patience pays off here; a smooth mixture is key to a good cheesecake.
ADD FLAVORING OPTIONS. Now it's time to add flavoring options. I might consider lemon juice or a bit of chocolate. This is where I can get creative.
I fold in the flavors gently so the mixture remains light. The consistency should stay fluffy as I mix. If I overmix at this stage, it might become too dense.
I want just enough of the flavor to shine through without losing that airy quality. Taste as you go to find the right balance that suits your preference.
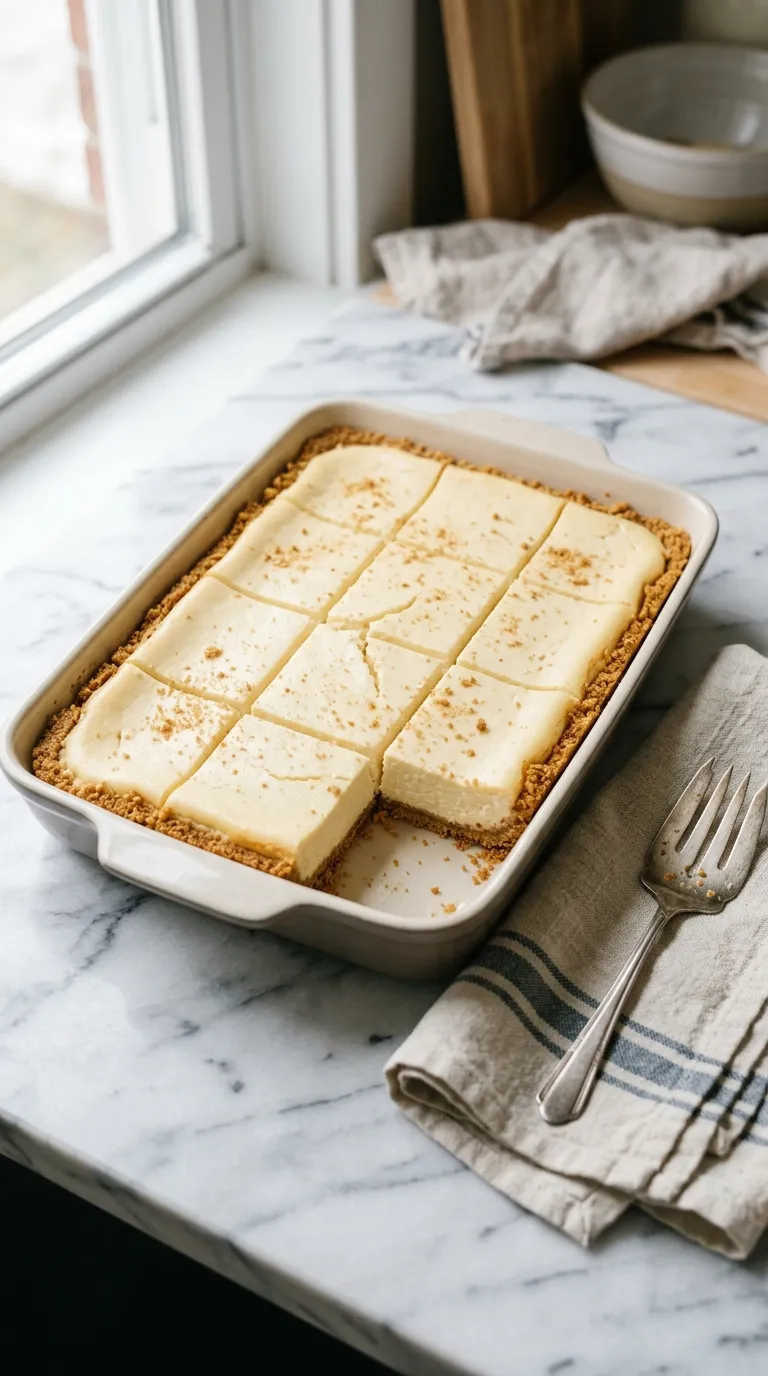
SCOOP INTO THE CRUST. With the mixture ready, I scoop it into the prepared crust. Using a spatula helps to spread it evenly. I press it down gently to eliminate any air pockets.
The filling should fill the crust nicely, creating a smooth top. As I work, I check that there are no gaps. If there are, I simply add more filling to those areas.
Ignoring this can lead to uneven slices later. A well-filled crust makes for a better presentation.
CHILL FOR AT LEAST 4 HOURS. I cover the cheesecake with plastic wrap and place it in the fridge. It needs to chill for at least four hours. During this time, the filling firms up and sets.
I can hear the quiet hum of the fridge, reassuring me it's working. When I take it out, it should feel firm but still slightly springy to the touch. Skipping the chilling time can lead to a runny filling.
This step is critical for achieving the right texture when slicing.
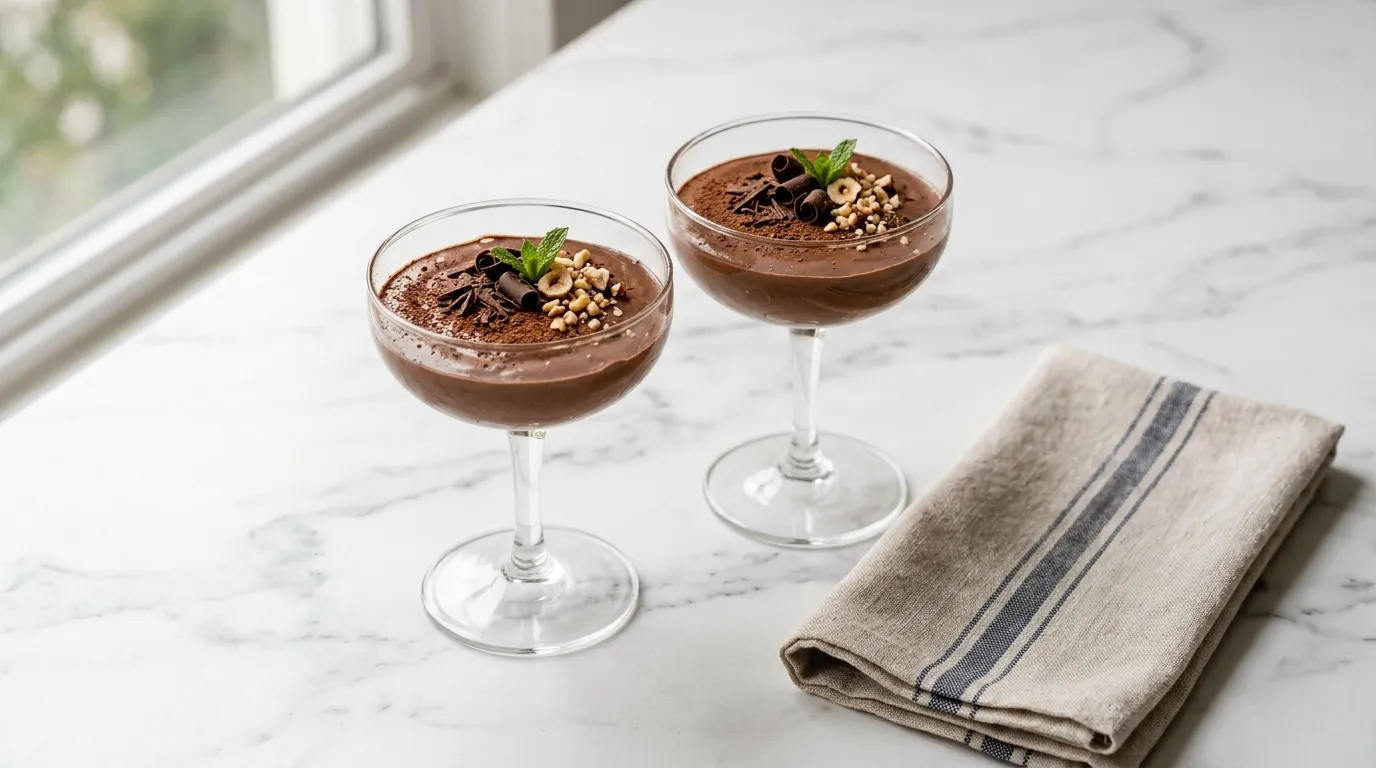
GARNISH IF DESIRED. When it's time to serve, I might consider garnishing the cheesecake. Fresh fruit, chocolate shavings, or whipped cream all make lovely additions.
I place them on top with care, arranging them to make it look inviting. The colors should pop against the creamy filling.
If I skip this step, the cheesecake might look plain. A little garnish can elevate the visual appeal and add extra flavor.
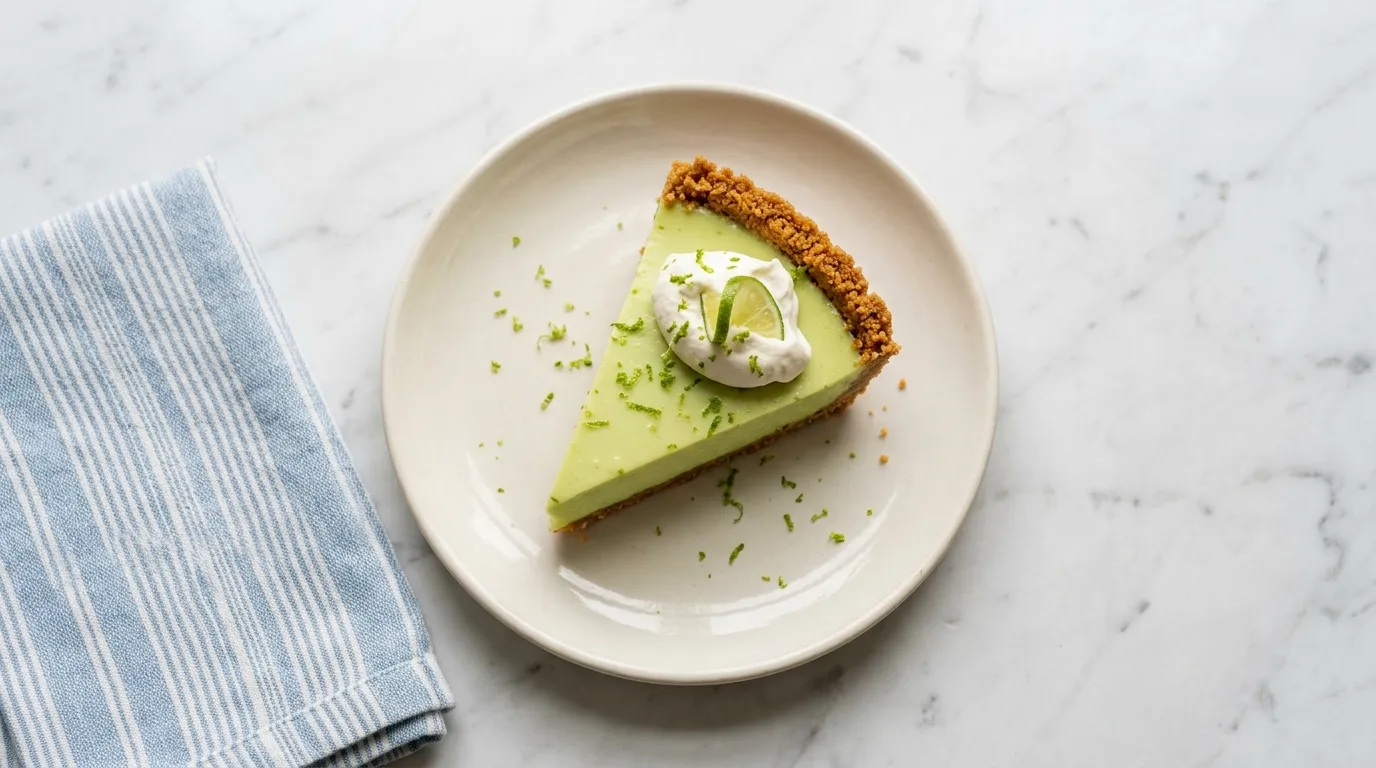
ENJOY YOUR CHEESECAKE. Finally, it's time to enjoy the cheesecake. I slice it carefully, ensuring each piece has a smooth edge. The first bite should be creamy and flavorful.
As I savor it, I appreciate the textures. The crust should provide a nice crunch. If I did everything right, the filling will be silky.
Sharing this treat with others makes it even better. Everyone will appreciate the effort put into making this delightful dessert.
What I'd Tell a Friend Making This.
- Use room temperature ingredients. Cold cream cheese can lead to a lumpy filling. It won't blend well with sugar and vanilla, resulting in a gritty texture that detracts from the creaminess you want in a cheesecake.
- Be patient when mixing. If you rush the whipping process, you risk ending up with a chunky filling. A smooth mixture is crucial for a silky texture. Take the time to ensure everything is well blended before moving on.
- Check the crust for gaps. Ignoring any gaps in the crust can result in uneven slices. Filling those gaps helps create a uniform look when serving. A well-filled crust not only looks better but also enhances the overall experience.
- Don't skip the chilling time. If you remove the cheesecake too soon, the filling may not set properly. This can lead to a runny texture that makes slicing difficult. Firmness is key for that perfect slice.
- Garnish thoughtfully. Skipping the garnish can make your cheesecake look plain and less appealing. A little color and texture on top can enhance the visual presentation and add extra flavor to each bite.
What I Got Wrong the First Time.
- Using cold cream cheese Cold cream cheese does not blend well, resulting in lumps. This can ruin the texture of your filling. Always soften the cream cheese at room temperature before starting.
- Overmixing the filling Overmixing can cause the filling to become too dense and lose its airy quality. This makes for a heavy cheesecake. Mix just until smooth and fluffy, and stop once you achieve that consistency.
- Not chilling long enough Insufficient chilling time leads to a runny filling that won't slice well. The cheesecake needs time to firm up. Always chill for at least four hours, or overnight for the best results.
- Ignoring gaps in the crust Leaving gaps can lead to uneven slices and a messy presentation. Filling these gaps ensures every slice has the same delicious filling. Carefully check for air pockets and fill them before chilling.
Good Company for This One.
- Fresh berries Fresh berries complement the creamy cheesecake with their sweetness and acidity. They add a pop of color and freshness to each bite.
- Chocolate sauce Drizzling chocolate sauce over the cheesecake adds richness and depth. It creates a beautiful contrast with the creamy filling and enhances the dessert experience.
- Coffee Serving coffee alongside the cheesecake balances the sweetness. The bitter notes of coffee contrast nicely with the creamy filling, making for a delightful pairing.
- Caramel sauce Caramel sauce provides a sweet, buttery flavor that enhances the cheesecake's richness. It adds a luxurious touch when drizzled on top or served on the side.
Storing What You Don't Finish.
- STORING Keep in an airtight container in the fridge for 2 days. The filling may become slightly firmer.
- FREEZING Do not freeze. The texture will change and become watery upon thawing.
- REHEATING This filling is best served cold. Do not reheat.
Answering the Usual Ones.
Can I use a different type of crust?
Yes, you can use a cookie crust like Oreo or a nut crust. Each will give a different flavor and texture. Just ensure it's firm enough to hold the filling.
How long can I store the cheesecake?
The cheesecake can be stored in the fridge for up to five days. Make sure to cover it tightly with plastic wrap to keep it fresh.
Can I freeze the cheesecake?
Yes, you can freeze it for up to three months. Wrap it well in plastic wrap and foil to prevent freezer burn. Thaw it in the fridge before serving.
What can I substitute for whipped cream?
You can use whipped topping or make your own whipped coconut cream for a dairy-free option. Use the same volume to maintain the recipe's texture.
- 16 oz cream cheese, softened
- 1 cup powdered sugar
- 1 teaspoon vanilla extract
- 2 cups whipped cream
- 1 prepared graham cracker crust (9x13 pan)
- 1Prepare the crust in a 9x13 pan. Prepare the crust in a 9x13 inch baking dish according to package instructions.
- 2Beat cream cheese until smooth. In a bowl, beat 16 ounces of softened cream cheese until smooth using a whisk.
- 3Mix in powdered sugar and vanilla. Mix in 1 cup of powdered sugar and 1 teaspoon of vanilla extract until well combined.
- 4Fold in whipped cream gently. Gently fold in 2 cups of whipped cream until the mixture is uniform.
- 5Spread filling into the crust. Spread the filling into the prepared crust evenly.
- 6Chill for 4 hours or overnight. Chill in the refrigerator for 4 hours or overnight to set.
- 7SHARE THE LOVE. If you enjoyed this recipe, please SHARE THE LOVE by leaving a 5-star rating and review.
Reviews
Community Guidelines
We love hearing how this recipe turned out for you. Please keep reviews about the recipe itself, stay kind and helpful to other cooks, and leave out personal details or links. Every review is checked before it appears.