
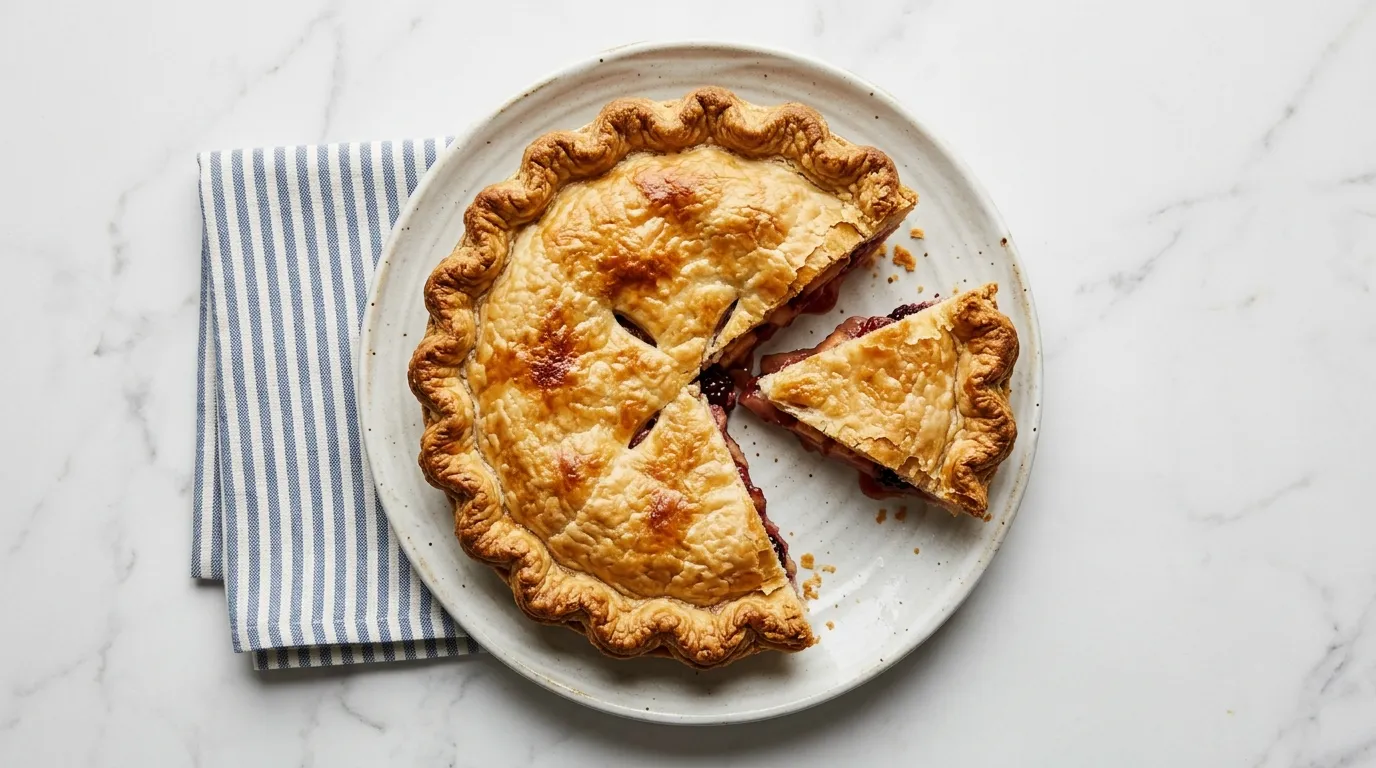
Flaky Pie Crust for Perfectly Baked Pies — This flaky pie crust recipe uses four ingredients. I prepare it in one bowl, keeping it simple. The cold butter and minimal handling create a tender crust that holds up well in baking.
My Latest Video
A tender base for your favorite fillings.
- This pie crust uses cold butter and minimal mixing, making it flakier than many standard recipes. It is designed to be easy to prepare in a small space.
- By using just four ingredients, I keep the process straightforward. This makes it accessible for anyone cooking in a limited kitchen.
- The recipe requires only a bowl and a pastry cutter, fitting perfectly in a small kitchen setup. It avoids any complex machinery, ensuring ease of use.
What You'll Be Working With.
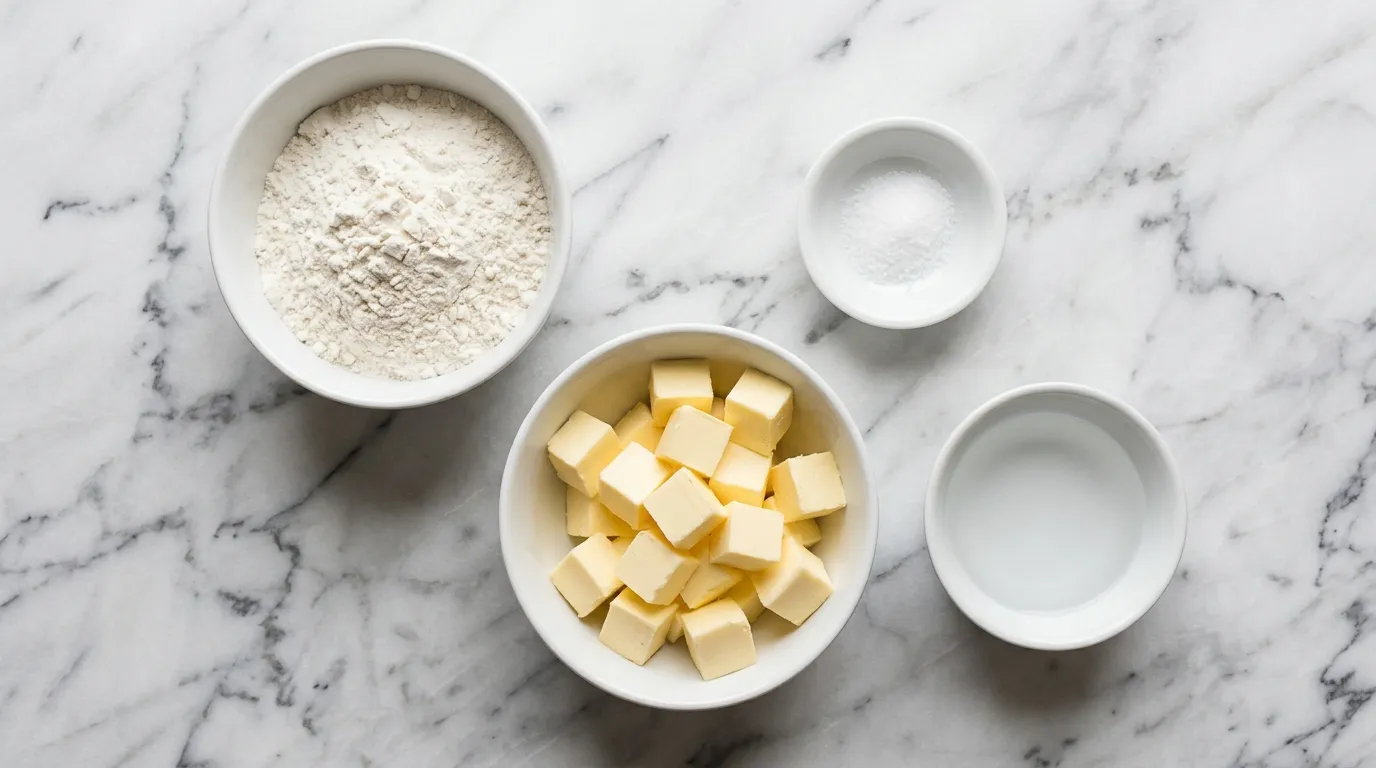
- 1 cup all purpose flour
- 1/4 teaspoon salt
- 1/2 cup cold unsalted butter, cubed
- 3 to 4 tablespoons cold water
Worth Knowing About a Few of These.
- All purpose flour This flour provides the right balance of protein for structure. Using cake flour will yield a softer crust, while bread flour creates a chewy texture. If substituting, use 1 cup of cake flour for a lighter crust.
- Salt Salt enhances the flavor of the crust. Without it, the crust can taste bland. If you need a substitute, use 1/4 teaspoon of garlic powder or onion powder for a different flavor profile.
- Cold unsalted butter Unsalted butter allows for better control of the salt content in the crust. Using salted butter may lead to an overly salty crust. If substituting, stick to the same amount, but reduce the added salt to 1/8 teaspoon.
- Cold water Cold water helps keep the butter solid, contributing to flakiness. Warm water can melt the butter, making the crust tough. If you need a substitute, use ice-cold vodka in the same amount for added flakiness.
Walking Through It.
COMBINE DRY INGREDIENTS. I start by mixing the flour and salt in a bowl. This combination lays the foundation for my crust. I use a whisk to blend them well.
I want to see the flour take on a uniform color. It should look a little fluffy, indicating good incorporation. If I miss this step, the salt might not distribute evenly, leading to bland spots in my pie.
Making sure to get this right sets me up for success later on.
CUT IN COLD BUTTER. Next, I take the cold, cubed butter and add it to the flour mixture. Using a pastry cutter, I cut the butter into the flour until it resembles coarse crumbs. The texture is key here.
I want to hear a slight crunch as I cut. It should look like small pebbles, not melted or overly blended. If the butter warms up too much, the crust won't be flaky.
Cold is crucial for that perfect texture.
ADD COLD WATER GRADUALLY. I then add cold water to the mixture, a little at a time. I mix gently with a fork, just until the dough begins to come together.
I stop when it clumps but still looks a bit shaggy. I can feel the moisture in my hands.
If I overwork it, the dough will become tough. Patience is essential; I want just enough moisture to bind it without making it sticky.
FORM DOUGH INTO DISK. Once I see the dough forming, I turn it out onto a floured surface. I gently press it into a disk shape.
This helps me know I have the right consistency; it should hold together without crumbling. I avoid overhandling it, as that can develop the gluten.
If I don't shape it into a disk, it may be harder to roll out later, risking uneven thickness.
CHILL DOUGH FOR EASY ROLLING. After shaping the dough, I wrap it in plastic wrap. I place it in the fridge to chill for some time.
This step relaxes the gluten and makes rolling easier. When I take it out, I want it to feel firm but not rock hard.
If I skip this part, rolling will be a struggle, and the crust may shrink while baking. Chilling is crucial for a smooth roll and a nice texture.
ROLL OUT DOUGH EVENLY. Rolling out the dough comes next. I flour my surface and my rolling pin to prevent sticking.
I begin in the center and roll outward, turning the dough frequently. I aim for an even thickness throughout, about the same as my pinky nail.
If I notice uneven areas, I can always patch them. If I roll too thin, the crust might tear, leading to an uneven bake.
PLACE IN PIE PAN. Now, I carefully lift the rolled dough and place it in my pie pan. I let it hang over the edges slightly.
I press it gently into the bottom and sides. I can see it fit snugly against the pan, which is what I want.
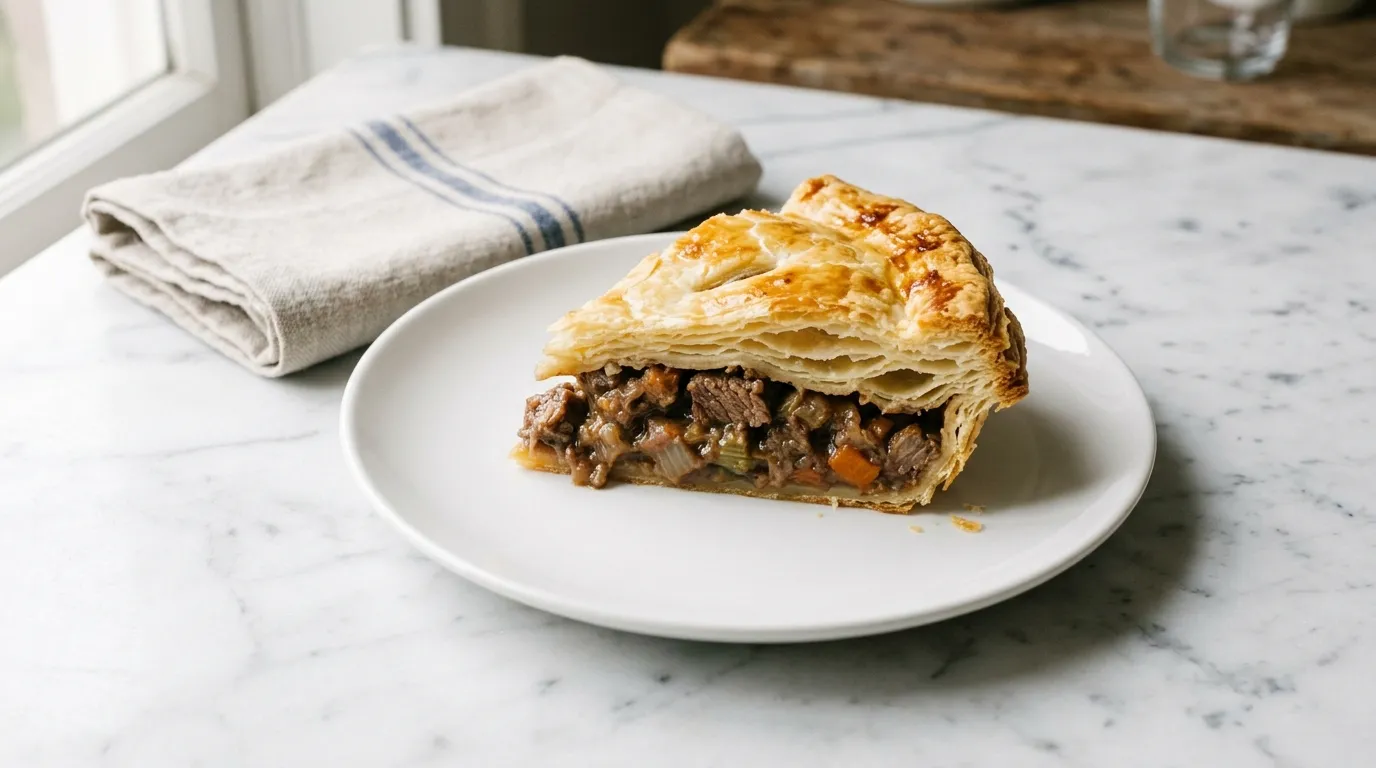
If it's too loose, it can shrink back while baking, ruining my efforts. A good fit ensures a stable crust for my pie's filling.
PRICK THE CRUST. Next, I prick the crust with a fork. This step allows steam to escape while baking.
I make several small holes, especially along the bottom. I can hear a slight crunch as I pierce the dough.
This is crucial; if I forget to do this, my crust might puff up and lose its shape, leading to a less appealing pie. These little holes help maintain the integrity of my crust.
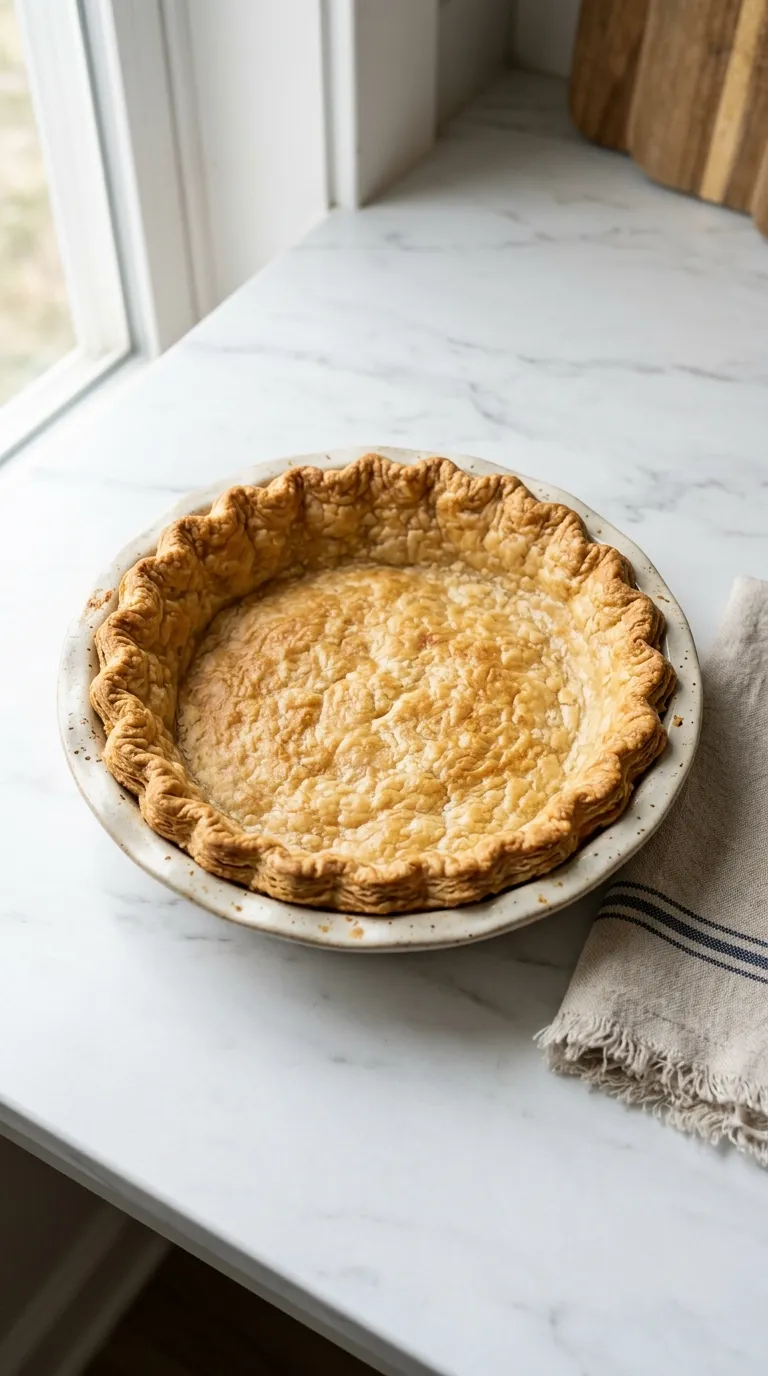
BAKE UNTIL GOLDEN. Finally, I place the pie crust in the oven to bake. I watch for it to turn a beautiful golden color.
It should be crisp and firm to the touch. I can smell the warm, buttery scent filling the kitchen.
If I remove it too early, it may end up soggy. Timing is everything; I want that perfect balance of color and texture for my pie.
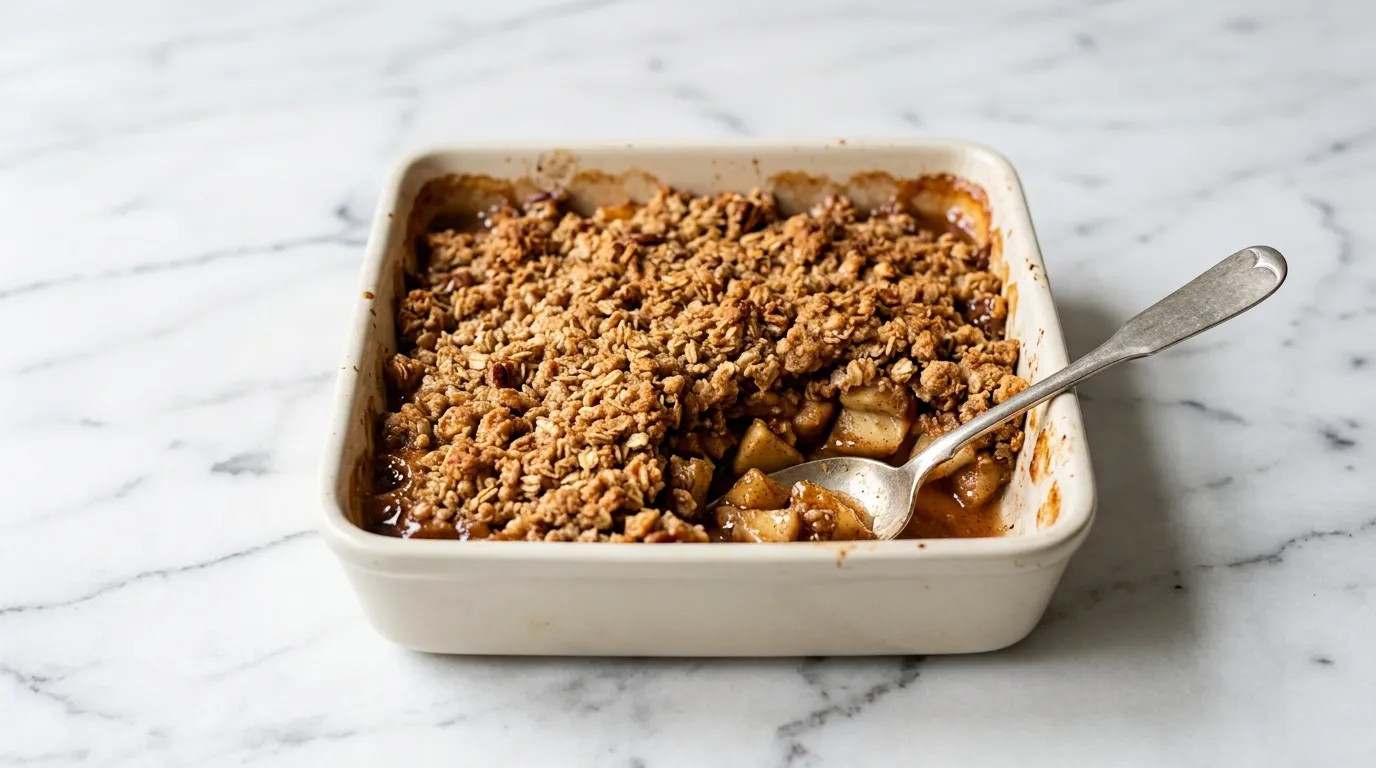
What I'd Tell a Friend Making This.
- Use the right flour. All-purpose flour works well, but using pastry flour gives a more tender crust. Skipping this choice can lead to a tougher texture, making your pie less enjoyable to eat.
- Don't skip the chilling step. Chilling the dough is vital for a flaky crust. If you skip this, the gluten won't relax, resulting in a crust that shrinks and becomes difficult to handle while rolling.
- Check your butter temperature. Make sure your butter is properly cold. If it's too warm, it will blend too much into the flour, leading to a dense crust instead of the desired flakiness.
- Be careful with the water. Adding too much water will make the dough sticky and hard to roll. This leads to tough crusts that don't bake evenly. Gradually is the way to go.
- Watch the baking time. Overbaking can quickly turn your crust from golden to burnt. If you miss this, you risk ruining the entire pie, making it unpleasant to taste and serve.
- Keep your surfaces floured. Flour your rolling surface and pin well to prevent sticking. If you forget this, the dough can tear and create an uneven crust, which affects the final presentation.
Mistakes I Made So You Don't Have To.
- Overmixing the dough Overmixing develops gluten, leading to a tough crust. This happens when the dough is worked too much after adding water. Instead, mix until just combined for a tender texture.
- Not chilling the dough Skipping the chilling step can result in a crust that shrinks while baking. This occurs because the gluten is not relaxed. Always refrigerate the dough to maintain its shape.
- Rolling out the dough too thin Thin dough can tear and will not hold the filling well. It also bakes unevenly. Aim for a thickness similar to your pinky nail to ensure a sturdy crust.
- Forgetting to prick the crust Not pricking allows steam to build up, causing the crust to puff and lose shape. This disrupts the intended texture. Always prick with a fork before baking to maintain the crust's integrity.
How I Round Out the Plate.
- Apple pie The flaky texture of the crust pairs perfectly with the sweet and tart apple filling. This classic dessert highlights the crust's buttery flavor.
- Quiche Lorraine The savory filling of eggs, cheese, and bacon complements the flaky crust. This dish showcases the crust's versatility beyond sweet pies.
- Cherry tart The tartness of cherries contrasts beautifully with the buttery crust. This combination makes for a delightful dessert experience.
- Pumpkin pie The rich, spiced pumpkin filling works well with the flaky crust. This pairing creates a comforting dessert, especially during the fall season.
How It Holds Up the Next Day.
- STORING Keep in an airtight container at room temperature for 1 day. The crust will soften if left longer.
- FREEZING Wrap tightly in plastic wrap and then foil. Store for up to 2 months. Thaw in the fridge overnight before use.
- REHEATING Reheat in a 350°F oven for 10-15 minutes. The crust will regain some flakiness but can soften if reheated too long.
Frequently Asked Questions
- 1 cup all purpose flour
- 1/4 teaspoon salt
- 1/2 cup cold unsalted butter, cubed
- 3 to 4 tablespoons cold water
- 1PREHEAT OVEN TO 425°F.
- 2MIX FLOUR AND SALT. MIX 1 cup all purpose flour and 1/4 teaspoon salt in a bowl.
- 3INCORPORATE BUTTER BY HAND. INCORPORATE 1/2 cup cold unsalted butter, cubed, into the flour mixture by hand using a pastry cutter or your fingers until it resembles coarse crumbs.
- 4ADD WATER AND MIX. ADD 3 to 4 tablespoons cold water, one tablespoon at a time, mixing gently with a whisk until the dough comes together.
- 5CHILL DOUGH FOR 30 MINUTES. In the refrigerator.
- 6ROLL OUT AND FIT INTO PAN. ROLL OUT DOUGH on a lightly floured surface and FIT INTO a 9x13 inch baking dish, trimming the edges as needed.
- 7PRICK AND BAKE. PRICK the bottom of the crust with a fork and BAKE for 20 minutes at 425°F until lightly golden.
- 8LET COOL BEFORE FILLING. With your desired pie filling.
- 9SHARE THE LOVE. If you enjoyed this recipe, please give it a 5-star rating and review!
Reviews
Community Guidelines
We love hearing how this recipe turned out for you. Please keep reviews about the recipe itself, stay kind and helpful to other cooks, and leave out personal details or links. Every review is checked before it appears.