
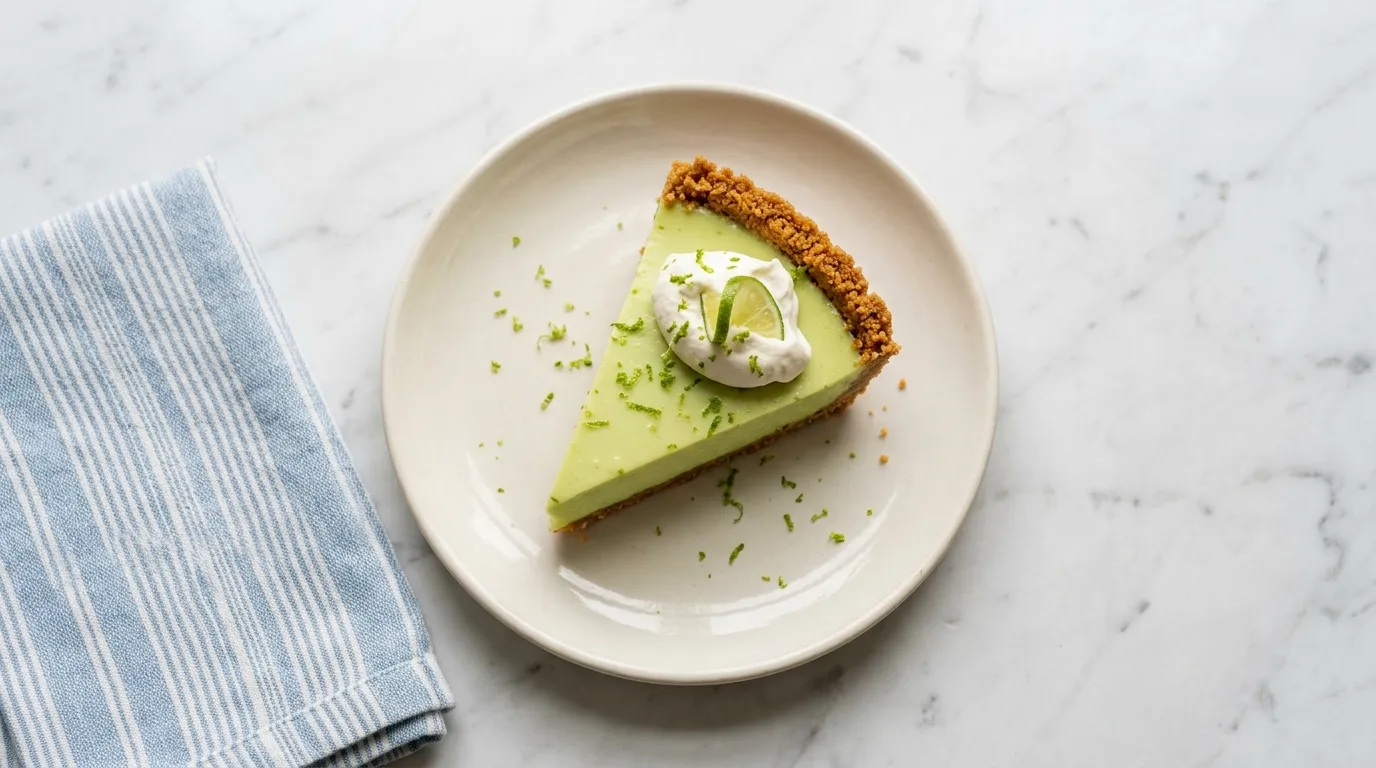
Tart Key Lime Pie with Graham Cracker Crust — Key Lime Pie features just six ingredients. I make it with a tart filling and a buttery graham cracker crust. This version balances the sweetness of condensed milk with fresh lime juice for a refreshing dessert.
My Latest Video
A refreshing twist on a classic dessert.
- This tart version uses fresh key lime juice to brighten the flavor, unlike the more commonly sweetened versions that may rely more on sugar.
- The graham cracker crust adds a crunchy texture that complements the creamy filling, creating a satisfying contrast in each bite.
- This recipe is designed for a small kitchen, using simple tools and minimal space for easy preparation and cleanup.
What Goes in the Bowl.
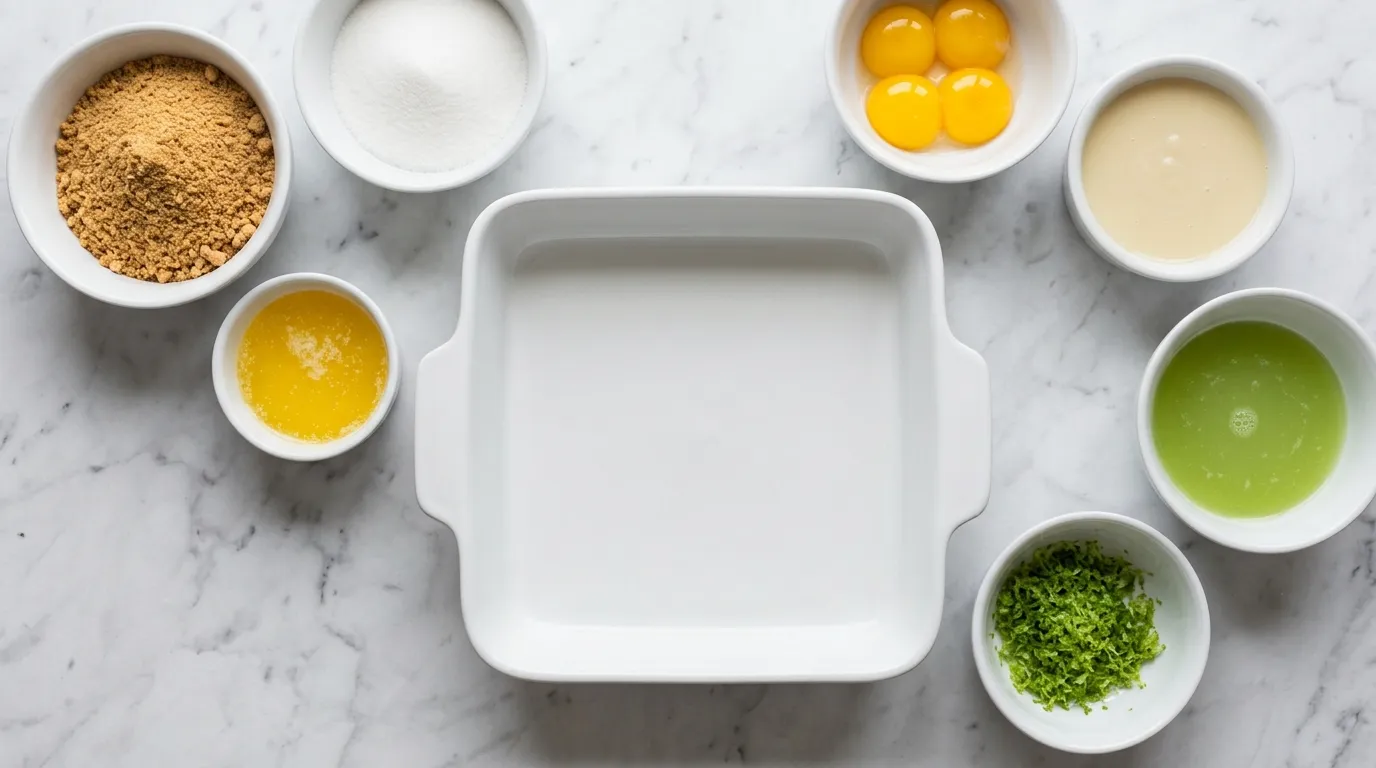
- 1 1/2 cups graham cracker crumbs
- 1/3 cup sugar
- 1/2 cup unsalted butter, melted
- 4 large egg yolks
- 1 can (14 oz) sweetened condensed milk
- 1/2 cup fresh key lime juice
- 1 tablespoon lime zest
Worth Knowing About a Few of These.
- Graham cracker crumbs Graham cracker crumbs form the base of the crust. They provide a sweet, slightly nutty flavor. If you substitute with digestive biscuits, the taste will be different, and the texture may not hold as well. Use the same amount, about 1 1/2 cups.
- Unsalted butter Unsalted butter controls the saltiness in the crust. It adds richness and helps bind the crumbs. If you use salted butter, reduce any added salt in the recipe. Stick to the same amount of 1/2 cup.
- Fresh key lime juice Fresh key lime juice gives the pie its signature tartness and flavor. Bottled juice often lacks the bright taste and can be more acidic. If using bottled juice, you may want to reduce the amount slightly to 1/3 cup.
- Lime zest Lime zest enhances the pie's flavor, adding a fragrant citrus note. Without it, the filling may taste flat. If you don't have lime zest, lemon zest can be a substitute for a similar bright flavor, using the same amount of 1 tablespoon.
How I Actually Make It.
MAKE THE GRAHAM CRACKER CRUST. I start by making the graham cracker crust. First, I crush the graham crackers until they resemble fine crumbs. I combine the crumbs with the sugar and melted butter in a mixing bowl. This mixture should have a sandy texture and hold together when pressed.
I spread it evenly into a pie dish, pressing firmly to create a solid base. The crust needs to be compact to hold the filling. I know it's ready when I see an even layer across the bottom and up the sides. If I don't press it firmly enough, the crust may crumble when I slice the pie later.
I bake this in the oven for a few minutes until it turns golden brown. The aroma of toasting graham crackers fills the kitchen. I take it out and let it cool while I prepare the filling.
PREPARE THE KEY LIME FILLING. Next, I prepare the key lime filling. I separate the egg yolks from the whites, ensuring no whites slip in. This step is crucial as the yolks provide richness to the filling. I whisk the yolks until they lighten in color and become slightly frothy.
The sound of the whisk against the bowl tells me I'm on the right track. I then add the sweetened condensed milk, mixing until smooth. I know it's combined well when the mixture appears creamy and homogeneous. Then I pour in the fresh key lime juice and lime zest.
The tart aroma wafts through the air as I stir. If I skip this step or don't mix thoroughly, the filling might have lumps, affecting the texture. I make sure everything is well blended before moving on to the next step.
COMBINE INGREDIENTS IN A BOWL. Combining the ingredients is next. I pour the creamy mixture into a larger bowl for easier mixing. I take care to scrape down the sides to incorporate everything.
Stirring gently, I focus on maintaining a smooth texture. The filling should look glossy and free of lumps. I know it's ready when I can see a uniform consistency and the color is vibrant.
If it looks grainy or uneven, I may not have whisked enough, which could lead to a less pleasant mouthfeel. I want this filling to be velvety and rich. Once satisfied with the mixture, I move on to the next step, excited to see how it will transform during baking.
POUR FILLING INTO CRUST. I pour the filling into the prepared crust. I do this slowly, allowing the filling to settle into the crust without spilling. I watch as it fills the pie dish, reaching the edges evenly.
The surface should be smooth and level. I know I've done this right when it appears glossy and inviting. If I rush this step or pour too quickly, I risk splashing filling outside the crust, which can make a mess and affect the final presentation.
I take my time, ensuring every part of the crust is filled. Once the filling is in, I place the pie in the oven to bake. I can already imagine how good it will taste once it's done.
BAKE UNTIL SET. Baking the pie is where the magic happens. I keep an eye on it as it cooks. I look for the filling to set, which means it should be slightly firm but still jiggle just a little in the center. That jiggle is a good sign.
If it looks too liquid, I know it needs more time. I listen for the gentle bubbling sounds that indicate it is cooking properly. The aroma of lime fills the air, making my mouth water. If I don't let it bake long enough, the filling may be runny, ruining the texture.
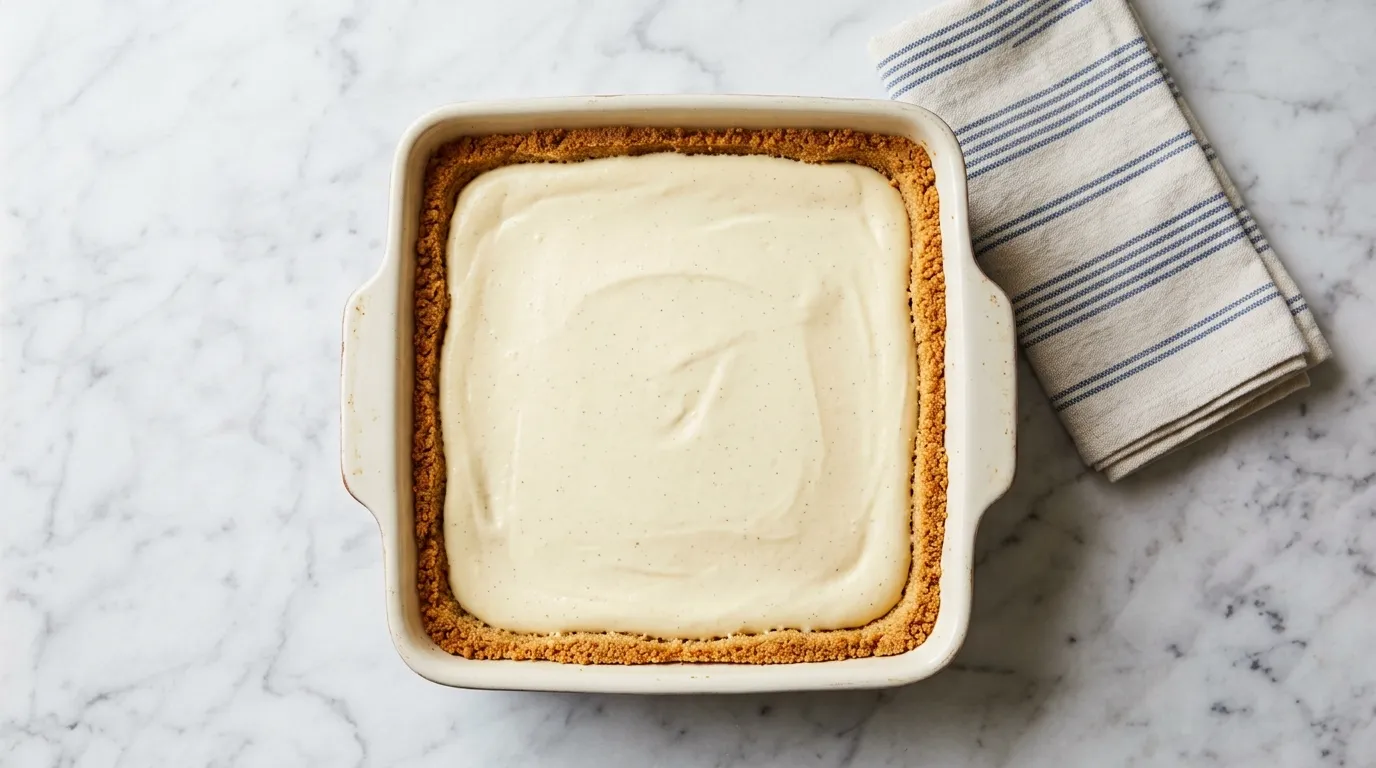
Once it's set to my satisfaction, I take it out and let it cool on the counter. I feel accomplished as I see the transformation from a liquid to a solid.
CHILL BEFORE SERVING. Chilling the pie is essential for the best flavor and texture. I cover it with plastic wrap and place it in the fridge. I let it sit for a while, allowing the flavors to meld together.
The cooling process helps the filling firm up even more. I know it's ready to serve when I feel the firmness when I gently press on the surface. If I skip this step or don't chill it long enough, the pie may not hold its shape when I slice it.
I want that clean, beautiful slice when serving. I can hardly wait to taste it, but patience is key!
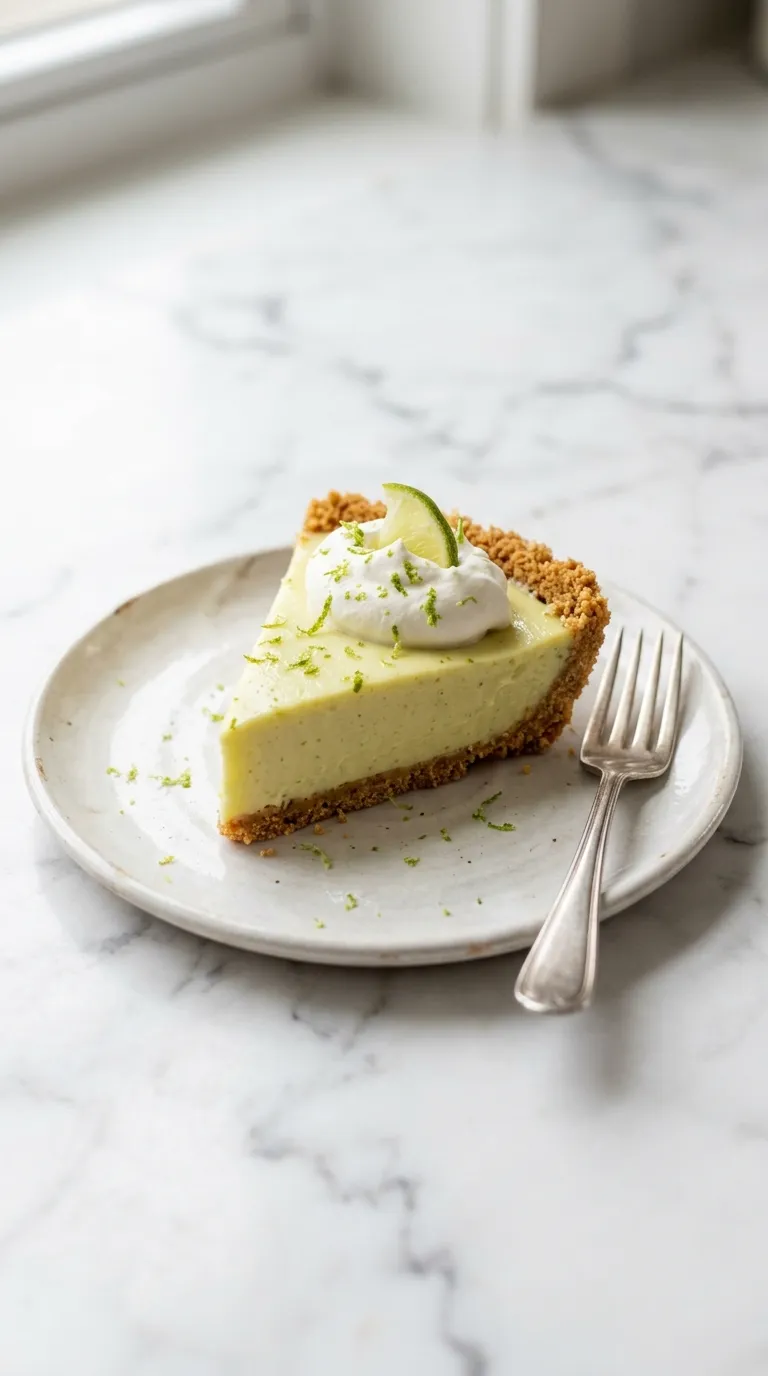
GARNISH IF DESIRED. Garnishing the pie adds a nice touch. I decide to whip some cream for the top. I beat the cream until soft peaks form, ensuring it holds its shape.
I know it's perfect when it's fluffy and light. I then spread or pipe it over the cooled pie. The contrast of the white cream against the vibrant lime filling looks appealing.
If I don't whip the cream enough, it may not hold up and could collapse. I could also sprinkle some lime zest on top for an extra burst of flavor and color. This step makes the pie look more inviting, and it's a nice finishing touch that enhances the overall presentation.
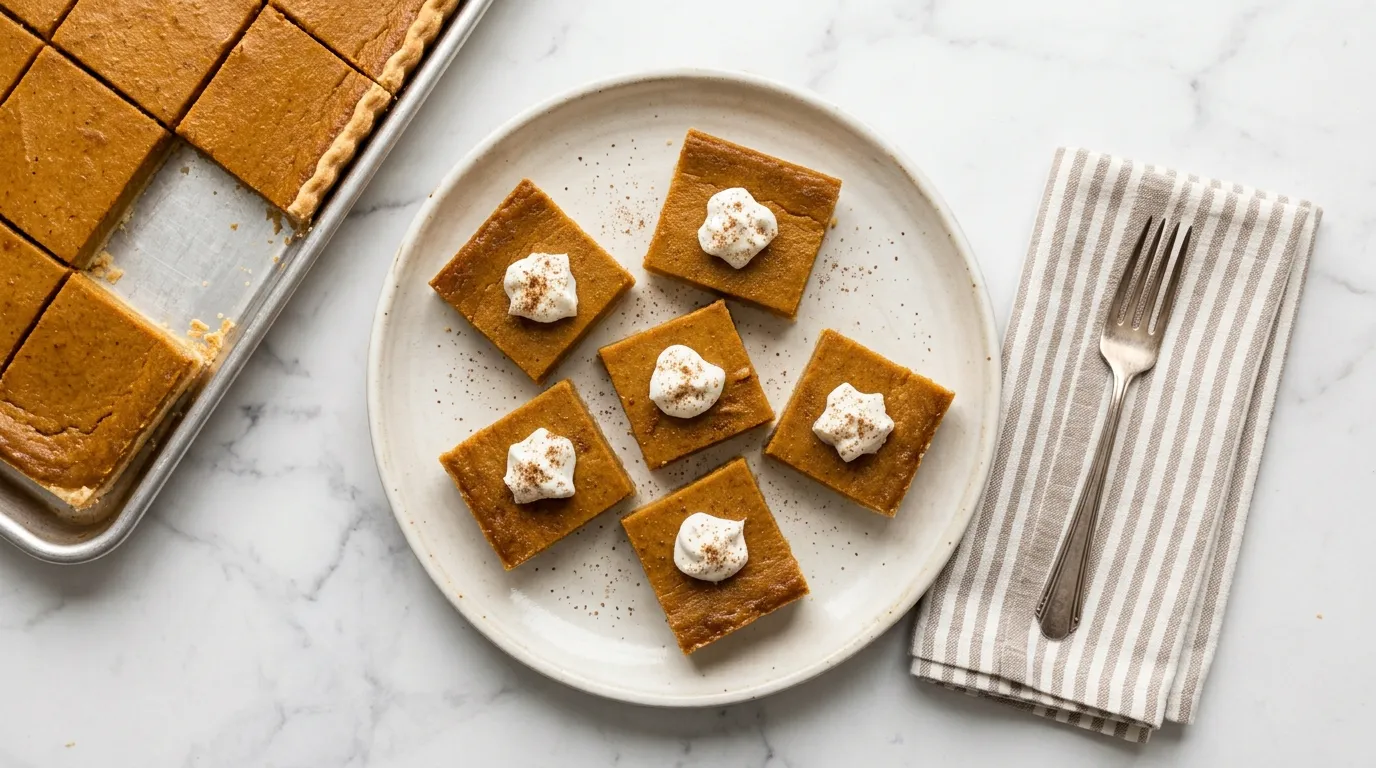
ENJOY EVERY BITE. Finally, I enjoy every bite of this delicious pie. I slice it carefully, making sure to get both crust and filling in each piece. The first taste is refreshing and tart, with a perfect balance of sweetness from the filling.
I savor the creamy texture against the crunchy crust. Each bite is a delightful experience. I notice how the lime zest adds a nice brightness, enhancing the overall flavor.
If I have leftovers, I store them in the fridge, knowing they'll still be delicious for the next day. Sharing this pie with friends or family makes it even better. I appreciate the effort that went into making it, and I feel proud to serve something so delightful.
Things I Learned While Testing This Recipe.
- Use fresh key limes. Fresh key limes have a brighter flavor than bottled juice. Skipping this step results in a dull taste that won't impress anyone. Sourcing fresh limes is worth the effort for a vibrant pie.
- Allow pie to cool completely. Letting the pie cool fully before chilling helps the filling set properly. If you rush this step, the filling may remain too runny, leading to sloppy slices later on.
- Adjust sweetness to taste. Not everyone likes the same level of sweetness. Failing to taste the filling before baking might result in a pie that's too sweet or too tart for your preference.
- Check oven temperature. Ovens can vary in temperature accuracy. If you bake at the wrong temperature, the pie may not set correctly, leading to a disappointing texture or undercooked filling.
- Chill long enough. Giving the pie ample time to chill enhances the flavor and texture. If you don't chill it sufficiently, the pie may not hold its shape when served, ruining the presentation.
The Steps Worth Slowing Down For.
- Underbaking the filling If the filling is underbaked, it will be runny and not set properly. This happens when you don't allow it to firm up in the oven. To avoid this, watch for a slight jiggle in the center.
- Not cooling the pie Skipping the cooling step can result in a filling that doesn't hold its shape when sliced. The filling needs time to firm up. Always chill it in the fridge for at least 2 hours before serving.
- Overmixing the filling Overmixing can incorporate too much air, leading to a less smooth texture. The filling should be creamy, not frothy. Mix just until combined to ensure a velvety consistency.
- Poor crust pressing If the crust isn't pressed firmly enough, it may crumble when sliced. This occurs when the crumbs are too loose. Make sure to press evenly and firmly into the pie dish for a solid base.
What I Put Next to It.
- Grilled shrimp tacos Their savory flavor complements the tartness of the key lime pie. The freshness of the shrimp balances the dessert nicely.
- Coconut sorbet The creamy texture and mild sweetness of coconut sorbet serve as a delightful contrast to the tart pie. It adds a tropical feel to the meal.
- Fresh fruit salad A fruit salad adds a refreshing touch after the pie. The sweetness of the fruits enhances the overall dessert experience.
- Pineapple upside-down cake This cake offers a sweet, caramelized flavor that pairs well with the tangy lime. It creates a balanced dessert table.
Leftovers, Handled.
- STORING Keep in an airtight container in the fridge for 1-2 days. The crust will soften if left longer.
- FREEZING Do not freeze. The texture will be ruined when thawed.
- REHEATING This pie should be enjoyed cold. Do not reheat.
What Readers Write in About.
Can I use regular limes instead of key limes?
Yes, you can use regular limes. However, the flavor will be slightly different. Regular limes are more acidic and less fragrant. You can use the same amount of juice, about 1/2 cup.
How long can I store leftovers?
Leftovers can be stored in the fridge for up to 3 days. Make sure to cover the pie well to preserve its freshness and texture.
Can I freeze key lime pie?
Yes, you can freeze key lime pie for up to 2 months. Wrap it tightly in plastic wrap and then in foil. Thaw it in the fridge before serving for best results.
What can I use instead of whipped cream for garnish?
You can use a dollop of Greek yogurt or whipped coconut cream as an alternative. Both provide a creamy texture that complements the pie well.
- 1 1/2 cups graham cracker crumbs
- 1/3 cup sugar
- 1/2 cup unsalted butter, melted
- 4 large egg yolks
- 1 can (14 oz) sweetened condensed milk
- 1/2 cup fresh key lime juice
- 1 tablespoon lime zest
- 1PREHEAT OVEN TO 350°F.
- 2MIX GRAHAM CRACKER CRUMBS. MIX 1 1/2 cups graham cracker crumbs in a bowl until evenly combined.
- 3ADD BUTTER AND SUGAR. ADD 1/2 cup unsalted butter, melted, and 1/3 cup sugar to the bowl. Mix until combined using a whisk or a pastry cutter.
- 4PRESS MIXTURE INTO PAN. PRESS mixture into a 9x13 inch baking dish evenly across the bottom and up the sides. For a smaller 9x9 inch pan, press mixture into the bottom only, baking time will remain the same.
- 5WHISK TOGETHER LIME JUICE. WHISK TOGETHER 4 large egg yolks, 1 can (14 oz) sweetened condensed milk, 1/2 cup fresh key lime juice, and 1 tablespoon lime zest in a clean bowl until smooth.
- 6POUR INTO CRUST. POUR mixture into the crust in the 9x13 inch baking dish.
- 7BAKE FOR 15 MINUTES. In the preheated oven.
- 8CHILL FOR 2 HOURS. In the refrigerator before serving.
- 9SHARE THE LOVE. Please consider leaving a 5-star rating and review!
Reviews
Community Guidelines
We love hearing how this recipe turned out for you. Please keep reviews about the recipe itself, stay kind and helpful to other cooks, and leave out personal details or links. Every review is checked before it appears.