
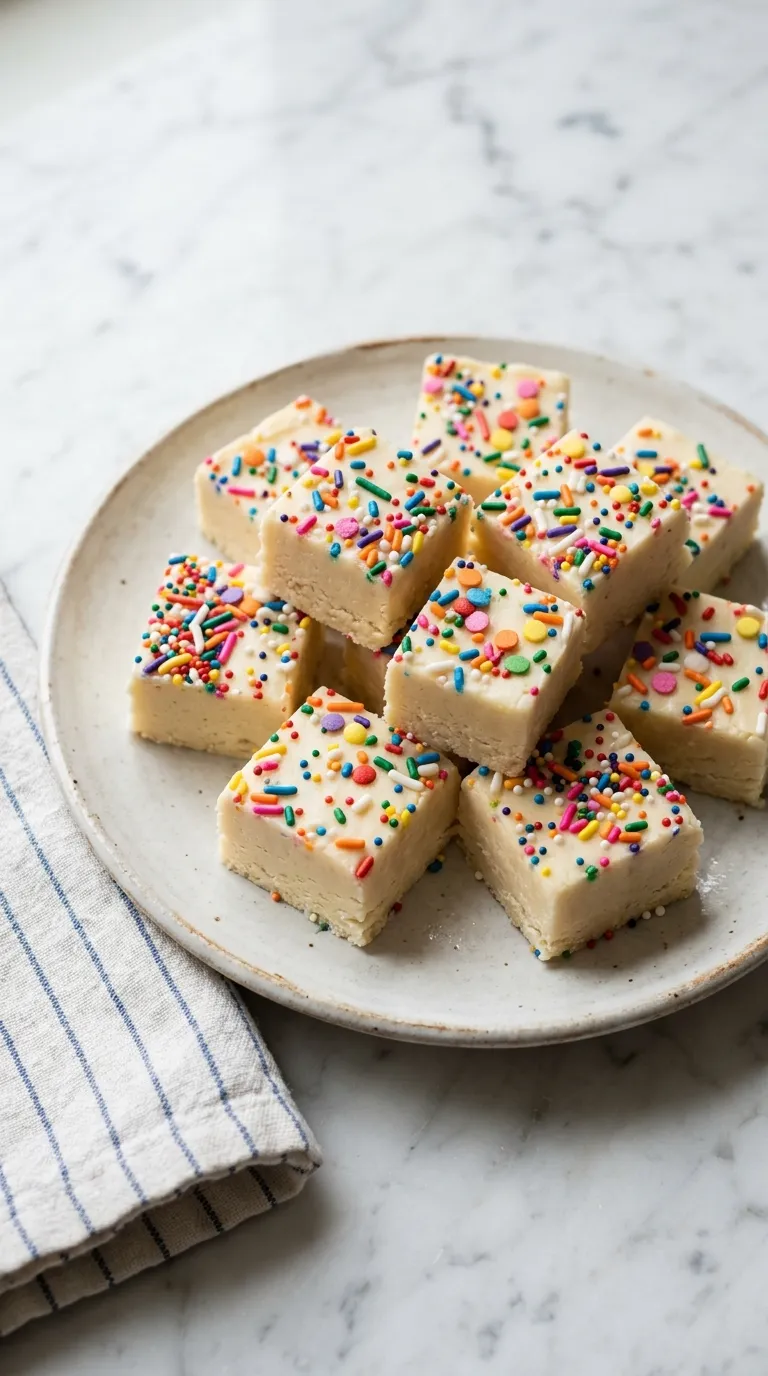
Creamy Sugar Cookie Fudge for Holiday Treats — Creamy Sugar Cookie Fudge is made with just six ingredients. This easy recipe takes about 15 minutes to prepare. It combines the sweetness of sugar cookies with a creamy fudge base for a delicious holiday treat.
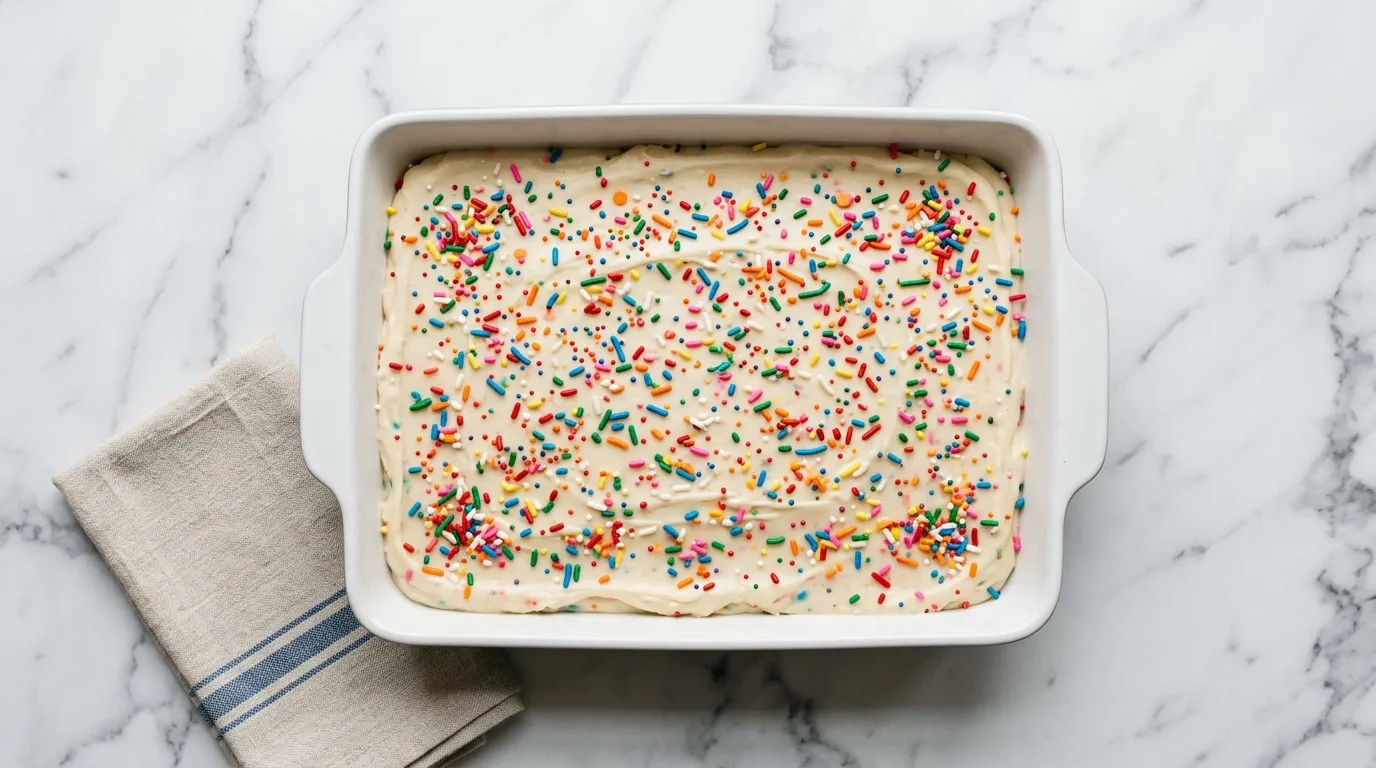
My Latest Video
A delightful fusion of flavors.
- This version of fudge incorporates sugar cookie frosting, adding a unique sweetness that sets it apart from traditional fudge recipes.
- The sprinkles provide a festive touch, making it perfect for holiday gatherings or gift giving.
- Its creamy texture balances the sweetness, creating a treat that melts in your mouth.
The Short Shopping List.
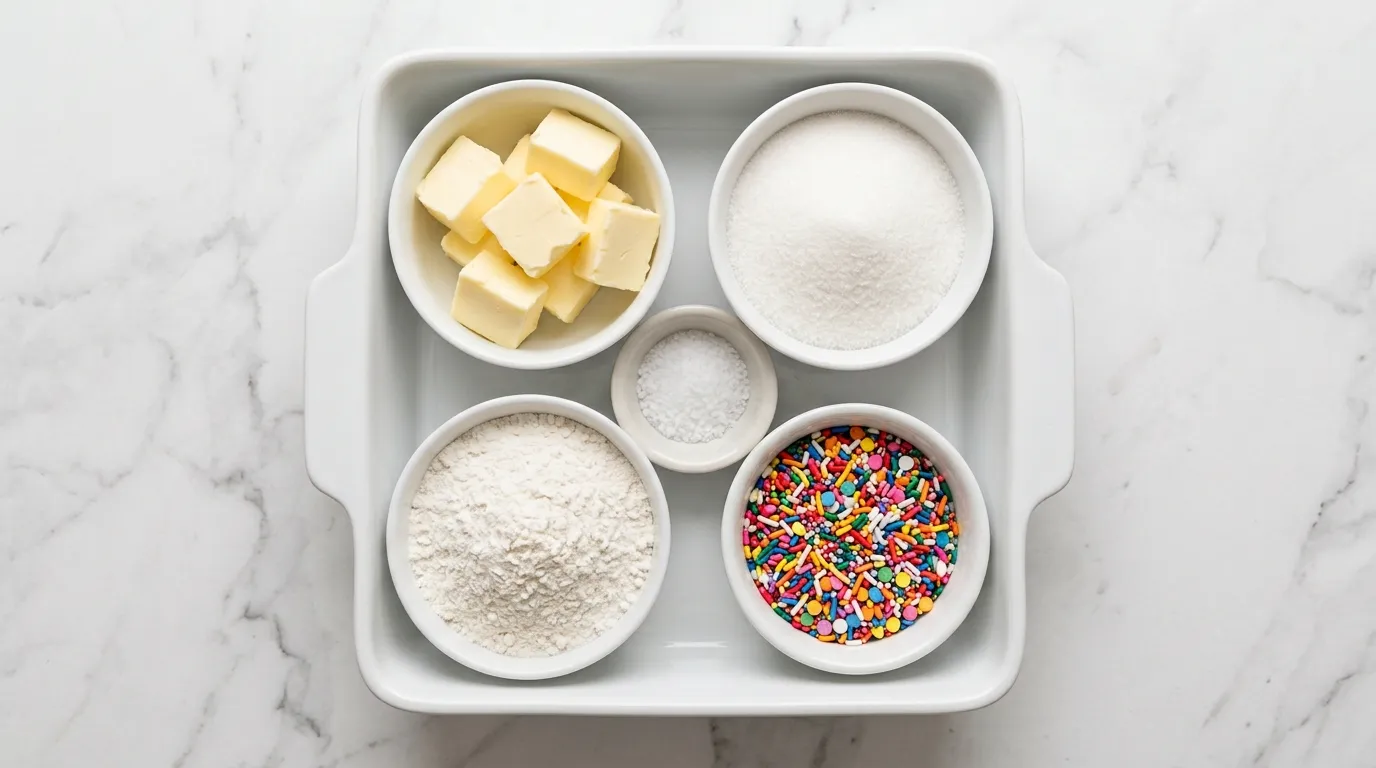
- 1 cup unsalted butter, melted
- 2 cups granulated sugar
- 1 cup all purpose flour
- 1/4 teaspoon salt
- 1 cup sugar cookie frosting
- 1/2 cup sprinkles
The Ingredients That Actually Matter Here.
- Unsalted butter Unsalted butter provides a rich flavor without added salt. This allows you to control the sweetness of the fudge better. If using salted butter, reduce the added salt to 1/8 teaspoon to prevent the fudge from becoming too salty.
- Granulated sugar Granulated sugar is essential for sweetness and achieving the right texture. Brown sugar can be used as a substitute, but it adds moisture and a slight molasses flavor, which may alter the final taste. If substituting, use the same amount, but expect a chewier result.
- All-purpose flour All-purpose flour helps bind the mixture and gives it structure. If you use gluten-free flour, the texture may differ; the fudge might be a bit crumbly. Use a gluten-free blend in the same amount to maintain consistency.
- Sugar cookie frosting Sugar cookie frosting adds creaminess and sweetness, giving the fudge its signature flavor. If unavailable, use a vanilla frosting instead, but be aware it may be sweeter. Maintain the same measurement for a consistent texture.
Start to Finish.
MELT THE BUTTER. I start by melting the butter in a saucepan over low heat. The butter should become a smooth liquid without any bits left. As I stir gently, I listen for the soft bubbling sound, which tells me it's warming up nicely.
Once melted, the butter takes on a shiny, golden appearance. I make sure not to let it brown, as that will alter the flavor. If I rush this step and heat it too quickly, the butter could burn, leading to a bitter taste in my fudge.
Watching for the right consistency is crucial; it should look glossy and liquid, ready for the next ingredient.
WHISK IN SUGAR. Next, I whisk in the sugar until fully combined. The mixture transforms as the sugar dissolves into the melted butter, creating a creamy base.
I know I've done this correctly when the texture becomes thick and slightly grainy but not lumpy. The sound of my whisk against the bowl should be smooth, with no clumps resisting my efforts.
If I skip this step or don't whisk enough, the sugar won't incorporate well, leading to a gritty fudge. The goal is a homogeneous mixture that looks slightly shiny and cohesive.
ADD THE FLOUR. I add the flour to the mixture, folding it in gently. The flour begins to absorb the wet ingredients, and I can see the mixture thickening significantly.
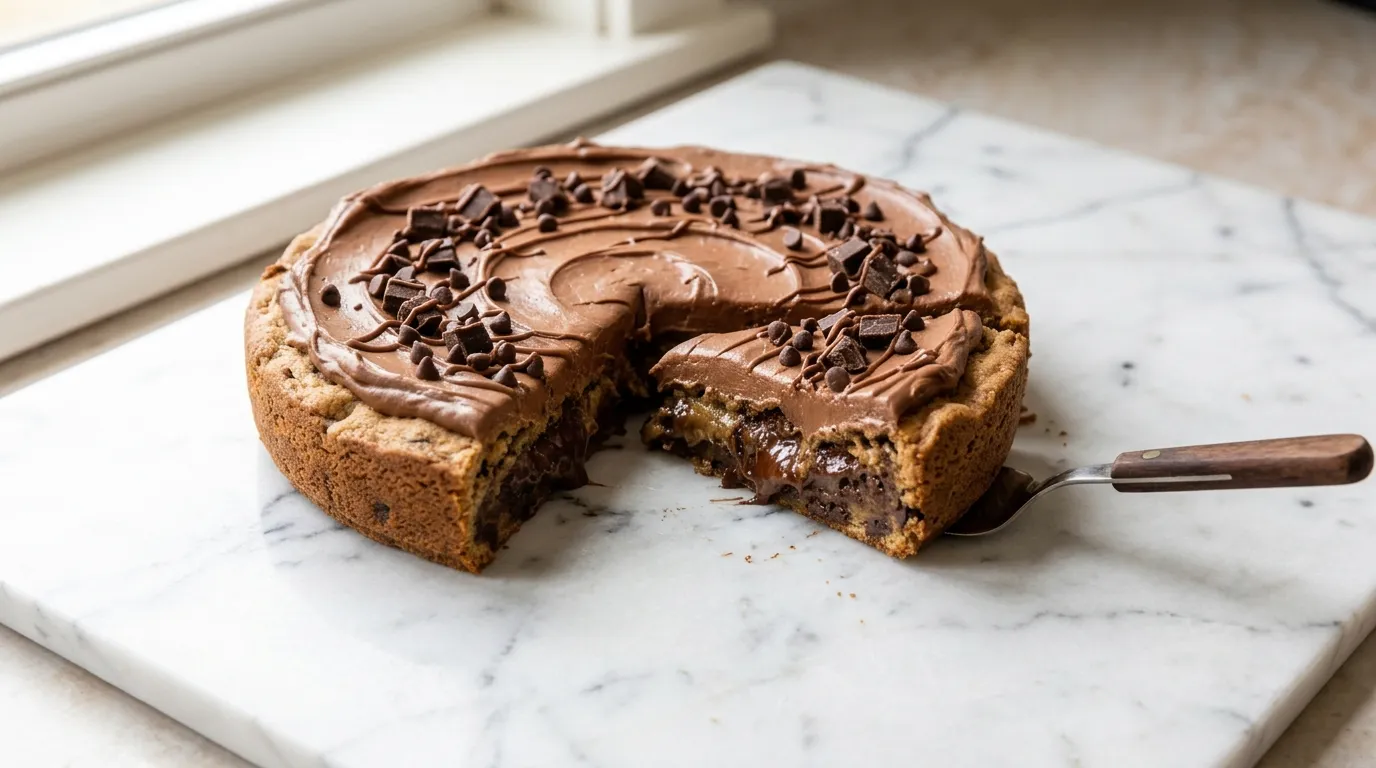
It should start to look more like dough than a batter, with no dry spots remaining. As I mix, the sound changes to a softer, almost doughy sound, indicating that I've reached the right consistency.
If I rush and don't incorporate the flour fully, clumps will remain, which will ruin the smoothness of the fudge. The mixture should look thick and slightly sticky, ready for the next step.
STIR IN THE FROSTING. Stirring in the frosting comes next. I use a spatula to blend it thoroughly, and I can see the mixture turning a lovely pale color.
The texture becomes incredibly creamy and smooth, a clear sign that I've mixed it well. I make sure to scrape the sides of the bowl to incorporate everything.
The frosting should blend in completely, and if I don't mix well, I might end up with pockets of frosting that can make the fudge overly sweet in places. A well-mixed, uniform color is what I aim for here.
MIX UNTIL CREAMY. Once the frosting is mixed in, I continue mixing until the whole batch is creamy. The texture should be thick yet spreadable, and it feels smooth against the spatula.
I can tell it's ready when there are no lumps or visible streaks of frosting left. The sound of my spatula gliding through the mixture should be soft and even.
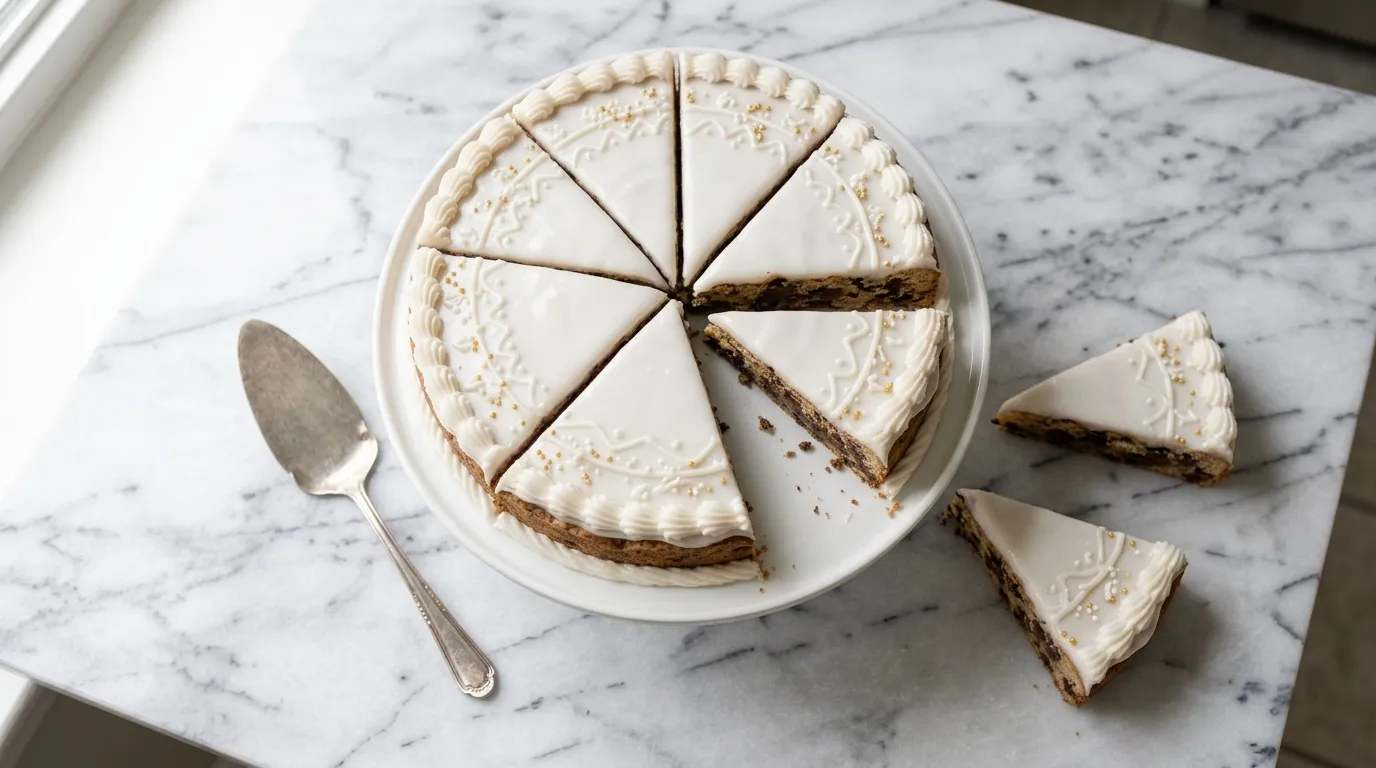
If I stop too soon, the fudge won't have a consistent texture, and that could lead to a less enjoyable bite. The end result should look inviting and unified in color and texture, ready to be spread.
SPREAD IN PAN. Next, I spread the fudge mixture into a prepared pan. I use an offset spatula to ensure it's even and smooth on top.
As I press it down, the mixture holds its shape without any cracks. I can see it filling the corners of the pan, creating a nice flat surface.
If I don't press it firmly enough, the fudge might not set properly, resulting in a crumbly texture when cut. The final look should be a level surface that fills the pan entirely, ready for setting.
ALLOW TO SET. I allow the fudge to set at room temperature for a while. During this time, it firms up nicely, and I can see it becoming more solid as it cools.
The surface will lose its shine and feel slightly tacky to the touch. I make sure not to rush this step; if I cut it too soon, the fudge can fall apart, and I won't get those neat squares.
Patience is key, and I usually wait until it feels firm to the touch and looks matte on top, indicating that it's ready for the next step.
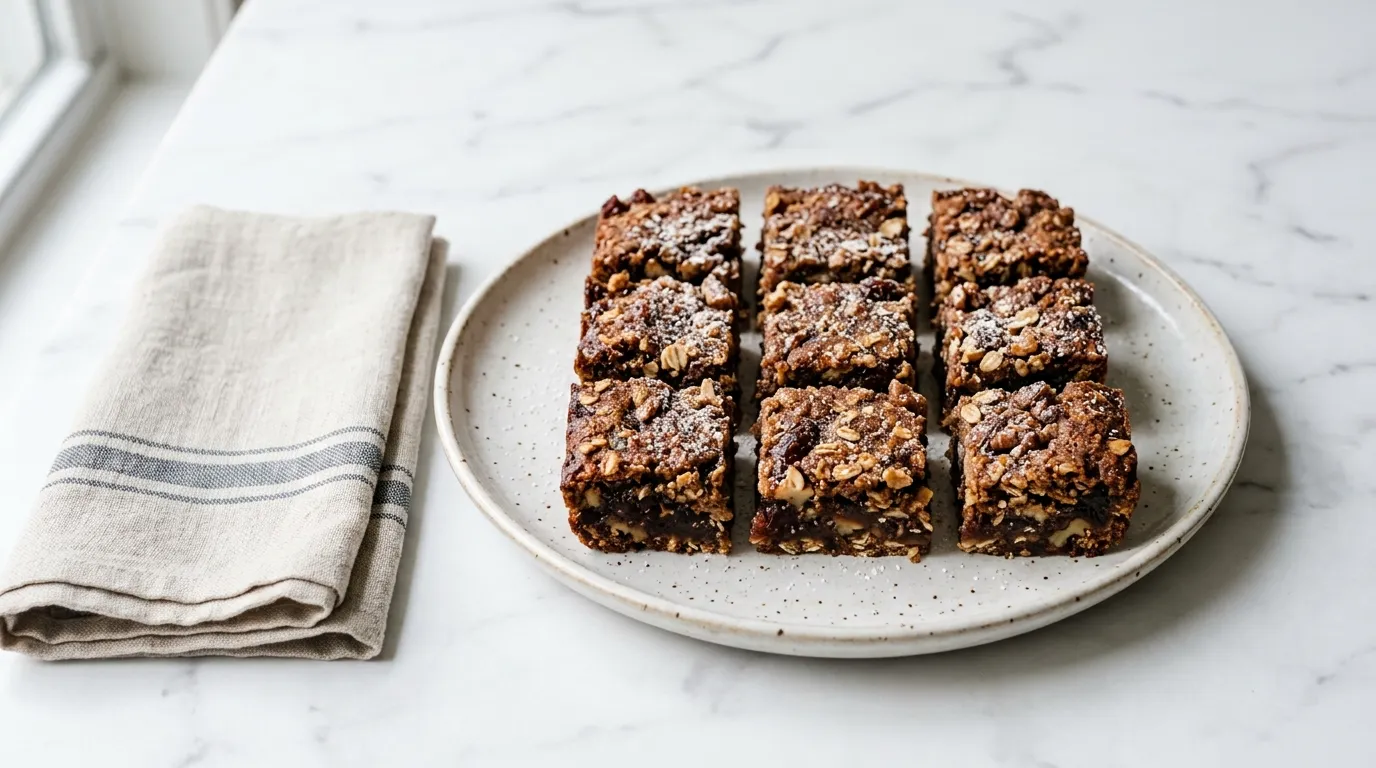
CUT INTO SQUARES. Finally, I cut the fudge into squares. I use a sharp knife to make clean cuts, ensuring each piece is even.
The texture has set perfectly, and as I slice through, I hear a satisfying crunch. Each square should look neat and hold its shape.
If I don't use a sharp knife or try to cut it too soon, I risk ruining the edges and making a mess of the pieces. The goal is to have uniform squares that are ready to be enjoyed, each one looking as good as it tastes.
What the First Few Rounds Taught Me.
- Use room temperature frosting. Cold frosting can cause the mixture to seize up and become lumpy. If you use frosting straight from the fridge, it won't blend smoothly, leading to uneven sweetness and texture in the fudge.
- Be patient when setting. Allow the fudge to set completely before cutting. If you rush this step, the fudge can crumble or fall apart, resulting in messy squares that are hard to serve and eat.
- Check for air bubbles. When spreading the fudge, make sure to eliminate any air bubbles. If you don't do this, the fudge can have uneven texture and might not hold its shape, making it less appealing.
- Store properly. Keep the fudge in an airtight container. Failing to do so can lead to hardening or drying out, which affects the taste and texture, resulting in a less enjoyable treat.
- Don't skip the whisking. Ensure the sugar is fully combined with the butter. If you skip this step or don't whisk enough, the fudge can end up gritty, ruining the smooth texture you want.
Common Places This Falls Apart.
- Using too much flour Adding excess flour can make the fudge dry and crumbly. This happens because the flour absorbs moisture, altering the texture. Measure carefully and ensure you level off the flour when scooping.
- Not melting the butter properly If the butter browns, it can impart a bitter taste to the fudge. This occurs when the heat is too high. Always melt butter over low heat, stirring gently, to achieve a smooth consistency without browning.
- Failing to mix thoroughly Under-mixing can lead to uneven sweetness and texture. Pockets of frosting may remain, making some bites overwhelmingly sweet. Take your time to ensure all ingredients are well incorporated for a uniform consistency.
- Cutting the fudge too soon Cutting before the fudge sets can result in messy, uneven squares. The fudge needs time to firm up for clean cuts. Wait until the surface feels firm and slightly tacky before slicing.
Good Company for This One.
- Hot cocoa Hot cocoa pairs perfectly with the creamy sweetness of the fudge. The warm drink complements the rich flavors and creates a cozy treat.
- Gingerbread cookies Gingerbread cookies offer a spicy contrast to the sweetness of the fudge. The combination creates a delightful holiday-themed dessert platter.
- Peppermint bark Peppermint bark adds a refreshing element that balances the rich, creamy fudge. Together, they create a festive treat that appeals to a variety of tastes.
- Vanilla ice cream Vanilla ice cream provides a cool, creamy base that enhances the flavor of the fudge. The combination makes for a satisfying dessert experience.
Leftovers, Handled.
- STORING Keep in an airtight container for 5 days. The fudge may become slightly softer over time.
- FREEZING Wrap tightly in plastic wrap, then place in a freezer-safe container. It lasts for 2 months, but the texture can change, becoming crumbly when thawed.
- REHEATING Reheat in the microwave at 10-second intervals until just warm. Overheating can cause the fudge to lose its creamy texture.
Answering the Usual Ones.
How long does the fudge need to set?
The fudge typically needs about 1 to 2 hours to set at room temperature. However, if it's particularly warm, it may take a bit longer. You can refrigerate it to speed up the process.
Can I add more sprinkles?
Yes, you can add more sprinkles to customize the look and add extra texture. Just keep in mind that this may slightly affect the overall sweetness of the fudge.
How should I store the fudge?
Store the fudge in an airtight container at room temperature for up to a week. For longer storage, refrigerate it, where it can last for up to 2 weeks.
Can I freeze the fudge?
Yes, you can freeze the fudge. Wrap it tightly in plastic wrap and then in foil. It can last in the freezer for up to 3 months. Thaw it in the refrigerator before serving.
- 1 cup unsalted butter, melted
- 2 cups granulated sugar
- 1 cup all purpose flour
- 1/4 teaspoon salt
- 1 cup sugar cookie frosting
- 1/2 cup sprinkles
- 1Prepare the pan. Prepare a 9x13 inch baking dish by lining it with parchment paper, leaving some overhang for easy removal later.
- 2Melt the butter. Melt one cup of unsalted butter in a saucepan over low heat, stirring occasionally until fully melted.
- 3Whisk in sugar. In a mixing bowl, whisk in two cups of granulated sugar until well combined with the melted butter.
- 4Add flour and salt. Add one cup of all purpose flour and one quarter teaspoon of salt to the bowl, mixing until just combined.
- 5Stir in frosting. Stir in one cup of sugar cookie frosting until the mixture is smooth and evenly mixed.
- 6Spread mixture in pan. Spread the mixture evenly in the prepared 9x13 inch baking dish, smoothing the top with a spatula.
- 7Chill to set. Chill the fudge in the refrigerator for at least two hours or until set.
- 8Cut and serve. Once set, cut the fudge into squares and serve.
- 9SHARE THE LOVE. If you enjoyed this recipe, please take a moment to give us a 5-star rating and review!
Reviews
Community Guidelines
We love hearing how this recipe turned out for you. Please keep reviews about the recipe itself, stay kind and helpful to other cooks, and leave out personal details or links. Every review is checked before it appears.