
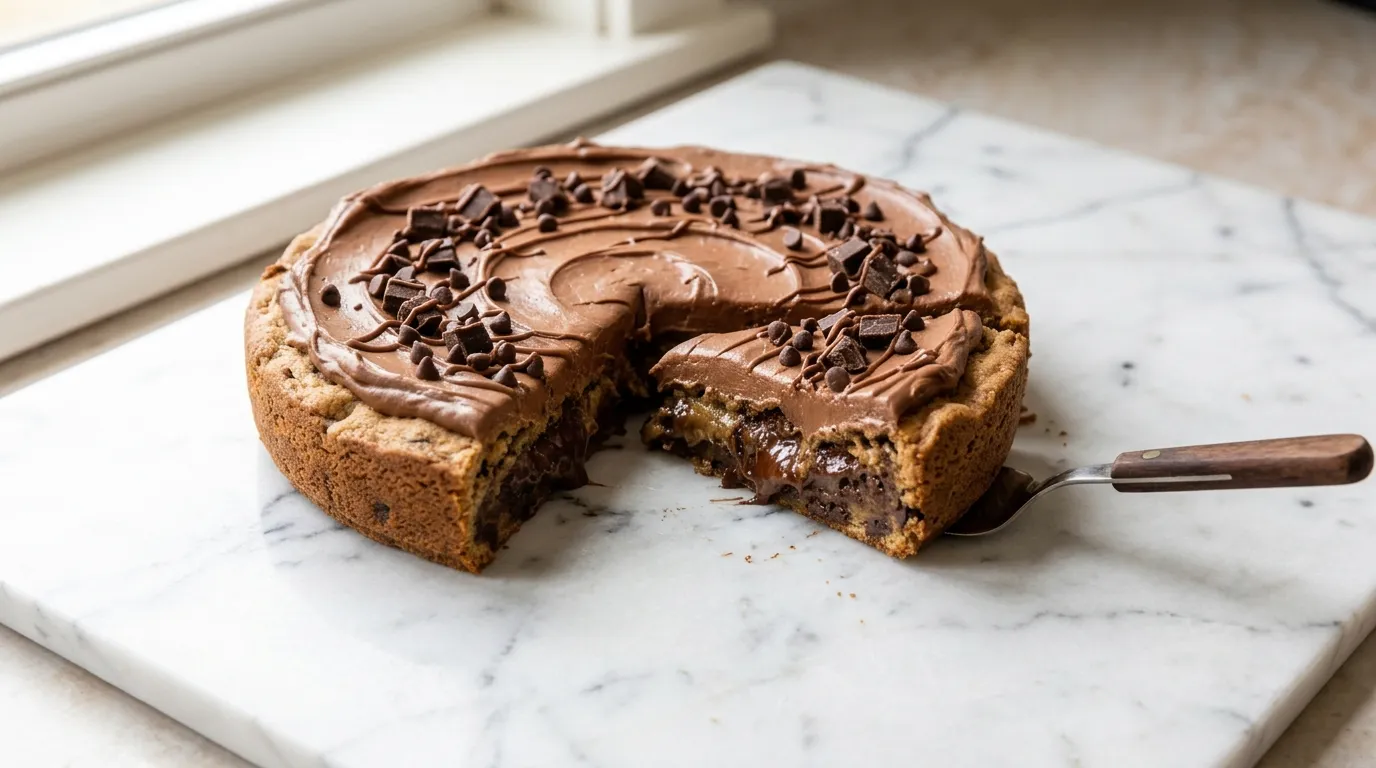
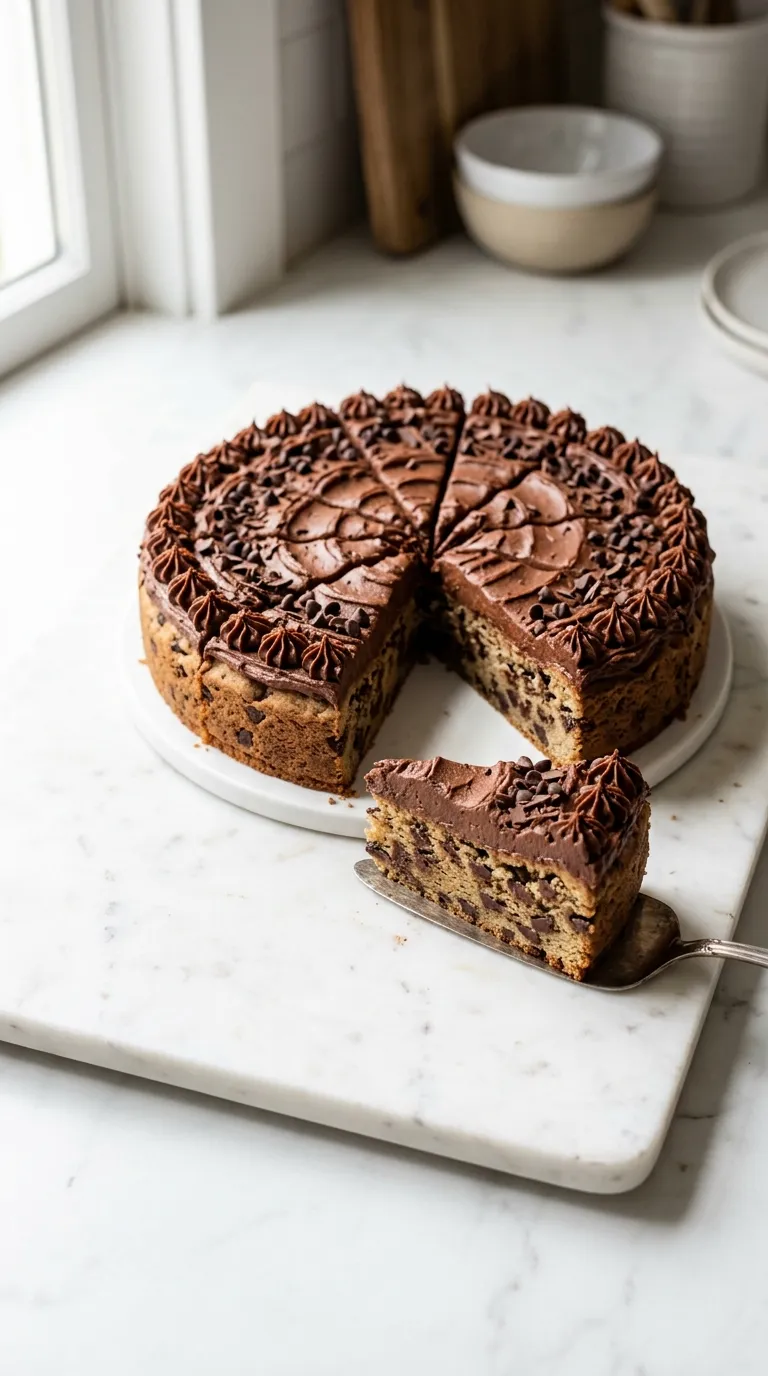
Decadent Chocolate Chip Cookie Cake with Frosting — This decadent chocolate chip cookie cake uses 10 ingredients and takes about 30 minutes to prepare. I melt the butter for a rich flavor and soft texture that's perfect for sharing.
My Latest Video
Rich and comforting dessert experience.
- This chocolate chip cookie cake combines the classic cookie flavor with a cake-like texture, making it a delightful twist on traditional cookies.
- The melted butter enhances the richness of the cake, creating a moist and tender crumb that pairs beautifully with the chocolate chips.
- Frosting on top adds a sweet finish, turning a simple cookie cake into a celebratory treat perfect for birthdays or gatherings.
Here's What You'll Need.
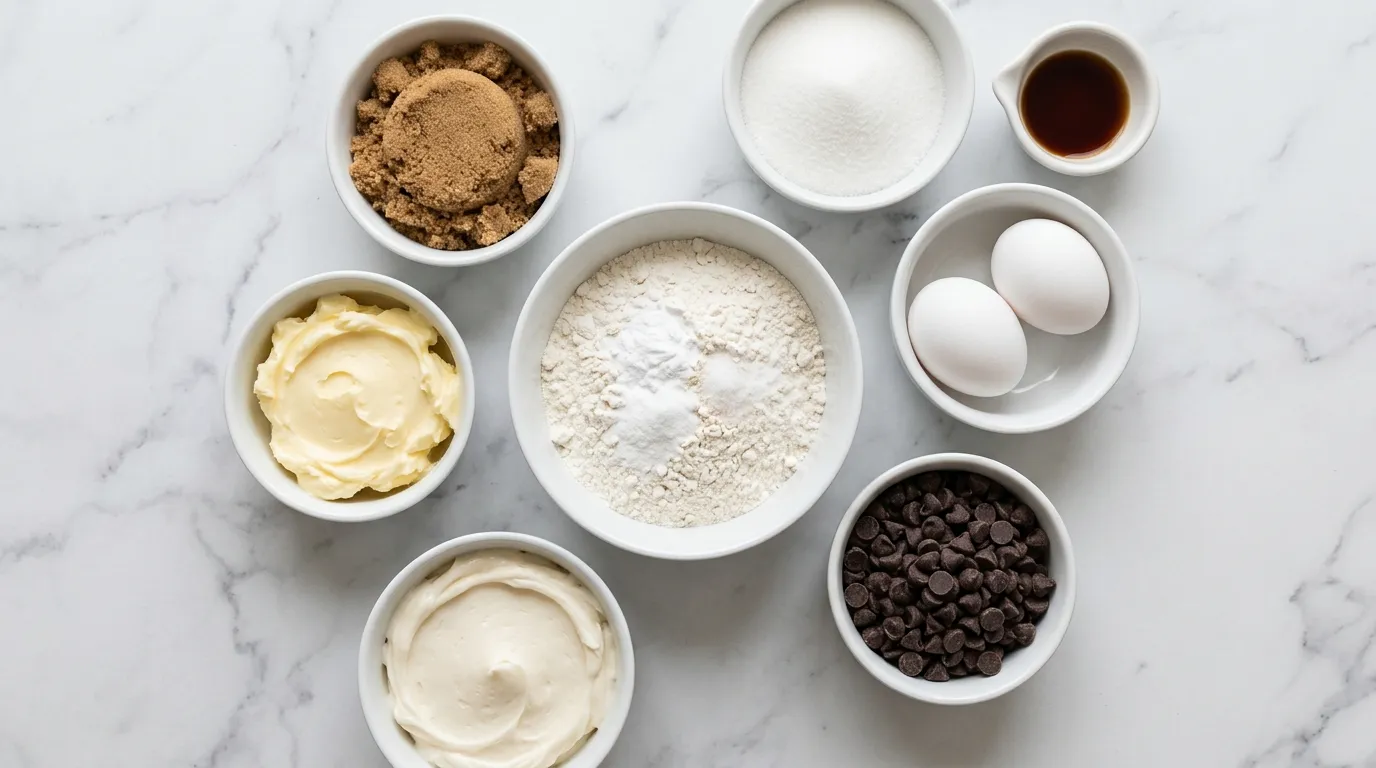
- 1 cup unsalted butter, melted
- 1 cup brown sugar, packed
- 1/2 cup granulated sugar
- 2 large eggs
- 1 teaspoon vanilla extract
- 2 cups all-purpose flour
- 1 teaspoon baking soda
- 1/2 teaspoon salt
- 1 cup chocolate chips
- 1 cup frosting of choice
Where the Choices Matter.
- Unsalted Butter Unsalted butter allows me to control the salt level in the cookie cake. It gives a rich flavor without adding extra saltiness. If I use salted butter, I should reduce the added salt by half to avoid an overly salty taste.
- Brown Sugar Brown sugar adds moisture and a deep, caramel-like flavor to the cookie cake. If I substitute with white sugar, the cake may be less moist and have a lighter flavor. When substituting, I can use an equal amount of granulated sugar but may want to add a tablespoon of molasses for flavor.
- Granulated Sugar Granulated sugar contributes to the cake's structure and sweetness. If I replace it with a sugar alternative like coconut sugar, the cake may have a slightly different texture and flavor. I can use the same amount of coconut sugar, but it may yield a denser cake.
- Chocolate Chips Chocolate chips provide bursts of chocolate flavor throughout the cake. If I use chopped chocolate instead, the cake may have a more varied texture and melt differently. I should use the same measurement, but chopped chocolate can create larger pockets of melted chocolate.
Here's How It All Comes Together.
MELT THE BUTTER. I start by melting the butter in a saucepan over low heat. The butter should be completely liquid, with no solid bits remaining. It should look smooth and shiny.
As it melts, I stir occasionally to ensure even heating. If I let it go too long, it can burn, which would ruin the flavor. Once melted, I take it off the heat and let it cool slightly before moving on.
This ensures that when I mix it with the sugars, it won't cook the eggs later on. The sound of the butter bubbling can be a clue that it's getting too hot. I always watch closely during this step, as burnt butter has a distinct bitter smell and dark color that indicates it's no longer usable for this recipe.
WHISK IN SUGARS. Next, I whisk in the sugars with the melted butter. The mixture starts to blend together smoothly. I keep stirring until I see no granules of sugar left.
The texture will become creamy and slightly thick, which shows that the sugars are fully incorporated. I pay attention here because if I don't whisk enough, the sugars won't dissolve properly, and I'll end up with a gritty cookie cake. The sound of the whisk against the bowl is satisfying, and the color should darken slightly as the sugars mix in.
This step is crucial for a smooth final product.
ADD THE EGG AND VANILLA. I crack in the eggs and add vanilla extract next. I whisk everything together until it's well combined. The mixture should look glossy and homogeneous.
The eggs will add moisture and help bind everything together. If I don't mix well, I could end up with pockets of egg or vanilla that won't distribute evenly, which could affect the flavor. I can tell it's ready when it has a uniform color and texture.
The whisk glides easily through the mixture, and I can see the shine from the melted butter and sugar.
COMBINE DRY INGREDIENTS. Now, I combine the dry ingredients in a separate bowl. I mix the flour, baking soda, and salt thoroughly. It's important to ensure there are no lumps in the flour.
I can tell I've done this right when the mixture appears light and fluffy. If I skip sifting or whisking, I might end up with clumps of flour that won't mix well later. After mixing, the dry ingredients should look uniform, without any streaks of white flour.
This ensures an even texture in the cookie cake.
MIX IN CHOCOLATE CHIPS. I mix the dry ingredients into the wet mixture slowly. I fold them in gently to avoid overmixing. The batter should start to thicken and look cohesive.
I'll know I have done this correctly when I see no dry flour left and the batter looks smooth. If I mix too much, the cookie cake could turn out tough instead of soft. I also make sure to scrape down the sides of the bowl frequently to incorporate everything evenly.
This helps achieve that perfect cookie cake texture.
TRANSFER TO PAN. Next, I fold in the chocolate chips. They should be evenly distributed throughout the batter.
I gently stir until I see chips in every scoop of batter. The texture will become slightly thicker, and I can feel the chips against the spoon as I mix.
If I don't fold them in carefully, I risk breaking the chips or overworking the dough. The batter should look speckled with chocolate, which is a good sign that it's ready for the next step.
BAKE UNTIL GOLDEN. I transfer the batter into a prepared pan. I use a spatula to spread it evenly across the bottom. It should be smooth and level.
I know it's ready for baking when the top looks flat and even, with no holes or gaps. If I don't spread it out properly, it can bake unevenly. I also make sure to grease the pan well to prevent sticking.
The batter should hold its shape slightly as I spread it, indicating the right consistency before baking.
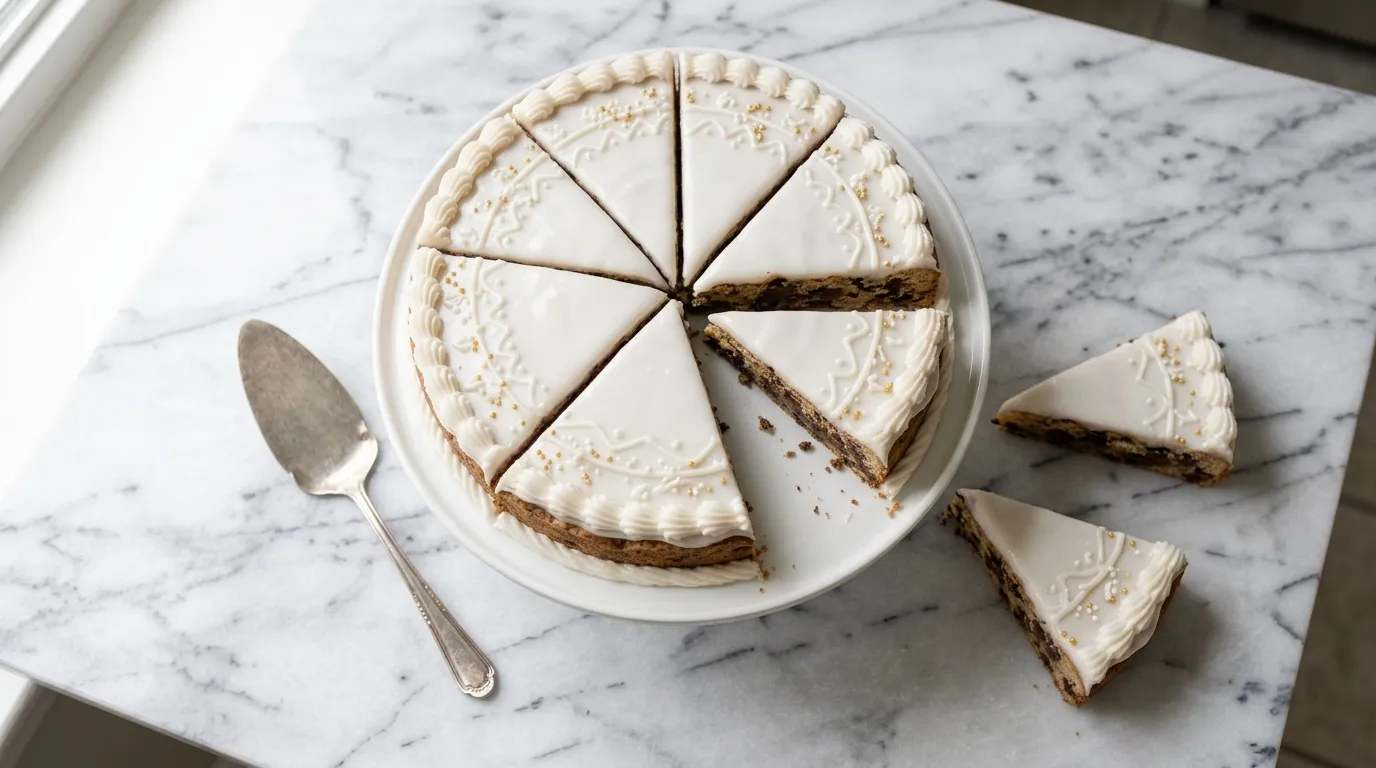
FROST AND ENJOY. Finally, I bake until the top turns golden brown. I keep an eye on it, checking for that perfect color.
The edges should be slightly darker, while the center will look set but still soft. I can also smell the delicious aroma filling the kitchen, which is a great indicator that it's almost done.
If I pull it out too soon, it could be undercooked, and if I leave it too long, it may become dry. The sound of the cake gently bouncing back when I press it lightly shows it's ready for the next step.
Notes from My Own Kitchen.
- Use fresh ingredients. Old baking soda loses its potency and can lead to a flat cookie cake. If it doesn't rise properly, you end up with a dense, heavy texture instead of the light and fluffy cake you want.
- Cool the butter adequately. If the butter is too hot when mixed with the sugars, it can cook the eggs. This results in a weird texture and uneven distribution of flavors, ruining the overall taste of the cake.
- Pay attention to mixing times. Overmixing can make the cookie cake tough and chewy. If you don't stop at the right time, you lose the soft and tender quality that makes it enjoyable.
- Don't skip the greasing step. A well-greased pan prevents sticking. If you skip it, you risk tearing your cake when you try to remove it, creating a messy and unappealing presentation.
- Let the cake cool before frosting. If you frost while it's warm, the frosting will melt and slide off. This results in a messy cake that's hard to slice and serve.
- Check for doneness carefully. If you pull the cake out too early, it can be gooey in the center. An undercooked cake lacks the right texture and flavor, leading to disappointment.
The Steps Worth Slowing Down For.
- Not Melting the Butter Properly When the butter isn't fully melted, it can cause uneven mixing. This leads to a cake that doesn't rise properly. I must ensure the butter is completely liquid before combining it with the sugars.
- Overmixing the Batter Overmixing can make the cookie cake tough. The gluten in the flour develops too much, resulting in a dense texture. I should mix just until combined and no dry flour remains for the best results.
- Skipping the Dry Ingredients Mixing If I don't mix the dry ingredients well, lumps of flour can form. This results in an uneven texture in the final cake. I need to ensure the flour, baking soda, and salt are fully incorporated before mixing with the wet ingredients.
- Not Greasing the Pan If I forget to grease the pan, the cake can stick, making it hard to remove. This might ruin the shape of the cookie cake. I should always grease the pan thoroughly before pouring in the batter.
What Goes Well with This.
- Vanilla Ice Cream Vanilla ice cream complements the rich chocolate flavors in the cookie cake. The cold creaminess balances the sweetness and adds a delightful texture.
- Espresso A shot of espresso pairs well with the chocolate chip cookie cake. The bitter notes of the coffee enhance the sweetness of the cake, creating a nice contrast.
- Fresh Berries Serving fresh berries adds a burst of freshness and acidity. This balances the rich, sweet flavors of the cake, making each bite more enjoyable.
- Whipped Cream A dollop of whipped cream adds lightness and creaminess. It enhances the overall dessert experience by providing a fluffy contrast to the dense cake.
Storing What You Don't Finish.
- STORING Keep in an airtight container at room temperature for 2 days. The edges soften but the center remains moist.
- FREEZING Wrap tightly in plastic wrap and then foil. Freeze for up to 1 month. Texture changes and becomes crumbly when thawed.
- REHEATING Microwave in 10-second intervals until warm, about 20 seconds total. The cake may lose some of its initial softness.
Answering the Usual Ones.
How do I store the cookie cake?
I should store the cookie cake in an airtight container at room temperature. It can last for about 3 to 5 days. If I want to keep it longer, refrigerating it will extend its freshness to about a week.
Can I make this cookie cake ahead of time?
Yes, I can make the cookie cake a day in advance. Just store it properly to maintain freshness. Frosting can be added right before serving for the best texture.
What types of frosting work best?
Cream cheese frosting, chocolate ganache, or vanilla buttercream all pair well. Each offers a unique flavor profile that complements the cookie cake, allowing me to choose based on my preference.
Can I add nuts or other mix-ins?
Absolutely. I can add nuts like walnuts or pecans for a crunchy texture. Just keep the total amount of mix-ins around 1 to 1.5 cups to avoid altering the cake's structure.
- 1 cup unsalted butter, melted
- 1 cup brown sugar, packed
- 1/2 cup granulated sugar
- 2 large eggs
- 1 teaspoon vanilla extract
- 2 cups all-purpose flour
- 1 teaspoon baking soda
- 1/2 teaspoon salt
- 1 cup chocolate chips
- 1 cup frosting of choice
- 1PREHEAT OVEN TO 350°F.
- 2GREASE A 9x13 PAN. With cooking spray or butter.
- 3MIX WET INGREDIENTS. In a bowl, MIX 1 cup unsalted butter (melted), 1 cup brown sugar (packed), 1/2 cup granulated sugar, 2 large eggs, and 1 teaspoon vanilla extract until well combined.
- 4COMBINE WITH DRY INGREDIENTS. In a separate bowl, COMBINE 2 cups all-purpose flour, 1 teaspoon baking soda, and 1/2 teaspoon salt. Gradually mix this into the wet ingredients until just combined.
- 5ADD CHOCOLATE CHIPS. Gently ADD 1 cup chocolate chips to the batter, folding them in with a spatula.
- 6SPREAD INTO PAN. SPREAD the batter evenly into the greased 9x13 inch baking dish.
- 7BAKE FOR 25-30 MINUTES. Or until golden and a toothpick inserted comes out clean. If using a 9x9 inch pan, bake for 20-25 minutes.
- 8LET COOL, THEN FROST. LET COOL in the pan for a few minutes, then transfer to a wire rack to cool completely before frosting with 1 cup frosting of choice.
- 9SHARE THE LOVE. By leaving a 5-star rating and review.
Reviews
Community Guidelines
We love hearing how this recipe turned out for you. Please keep reviews about the recipe itself, stay kind and helpful to other cooks, and leave out personal details or links. Every review is checked before it appears.