
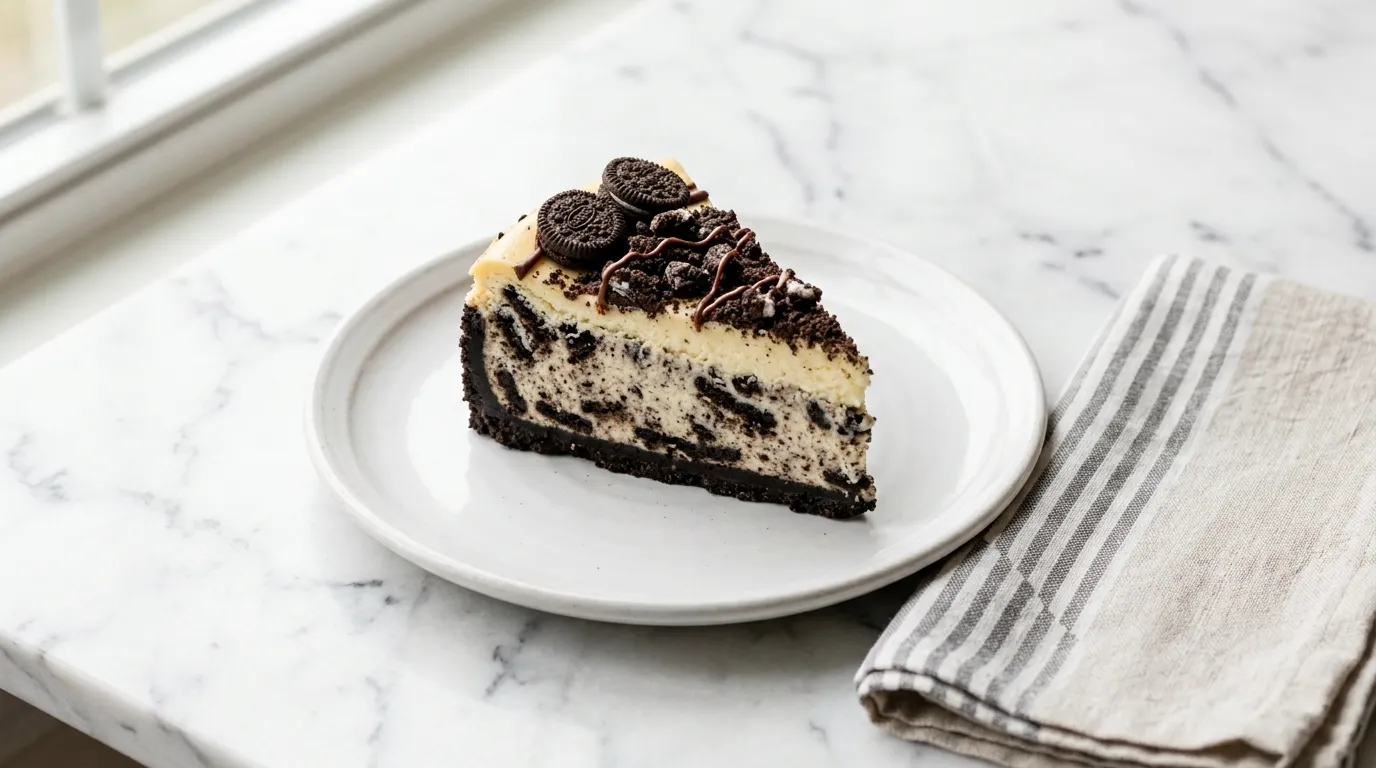
Indulgent No Bake Oreo Cheesecake for Dessert Lovers — This No Bake Oreo Cheesecake uses 24 Oreo cookies to create a rich dessert without an oven. I mix cream cheese, powdered sugar, and heavy cream for a smooth filling. It's easy to make and perfect for small kitchens.
My Latest Video
A rich dessert with simple ingredients.
- This no bake version focuses on the creamy filling, combining cream cheese and heavy cream with crushed Oreos for texture and flavor.
- Using only basic equipment, this recipe is straightforward and quick, making it ideal for small kitchens and busy schedules.
- The absence of baking makes it accessible for those without extensive kitchen tools, while still offering a deliciously indulgent treat.
Everything That Goes In.
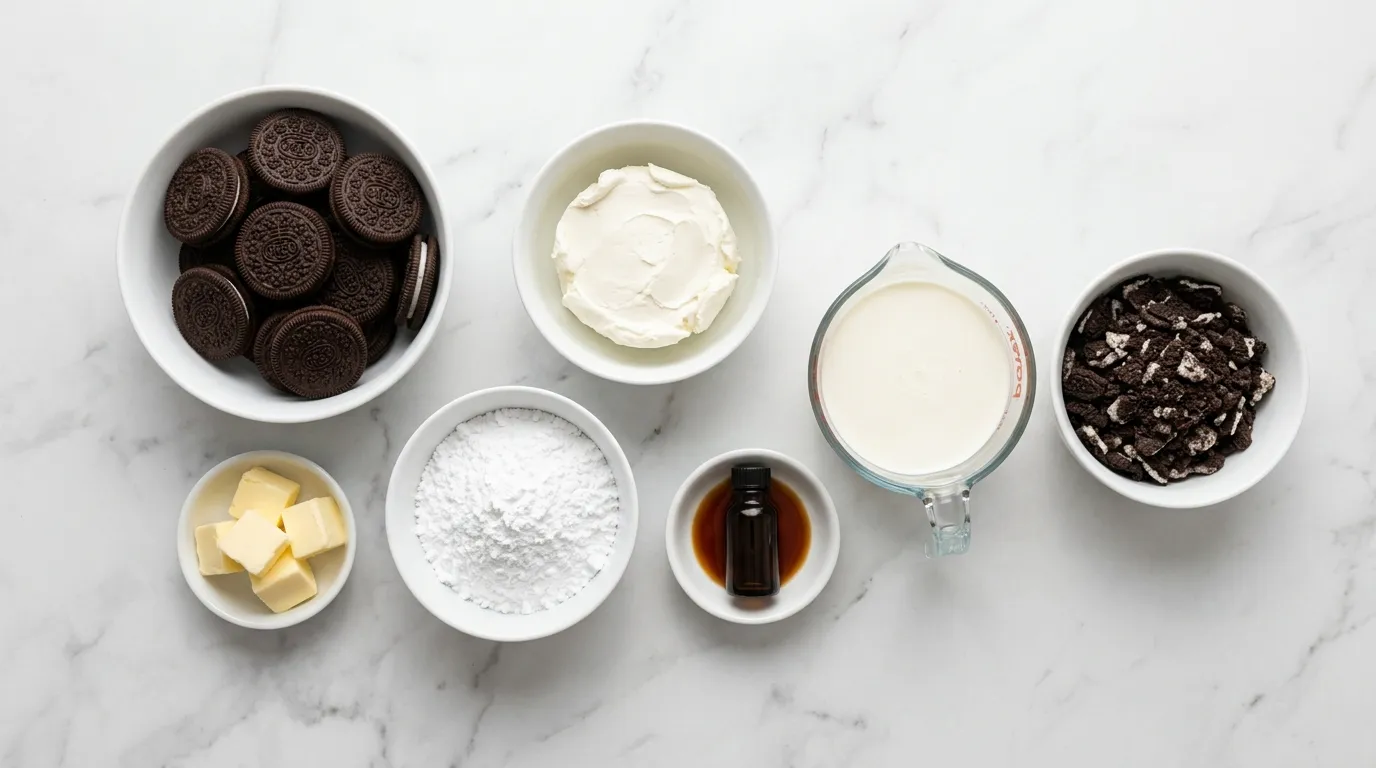
- 24 Oreo cookies
- 4 tablespoons unsalted butter, melted
- 8 ounces cream cheese, softened
- 1/2 cup powdered sugar
- 1 teaspoon vanilla extract
- 1 cup heavy whipping cream
- 1 cup crushed Oreos for filling
The Ones I'm Picky About.
- Oreo cookies These provide the cheesecake's unique flavor and texture. If you substitute with another chocolate cookie, the taste will differ and may require additional sugar. Use an equal amount, 24 cookies, for the crust.
- Unsalted butter This ingredient helps bind the crust and adds richness. If you use salted butter, it will alter the flavor. Use the same amount, 4 tablespoons, but consider reducing any additional salt in the recipe.
- Cream cheese Cream cheese gives the cheesecake its creamy texture and tangy flavor. If you substitute with ricotta, it will be less dense and may require blending for smoothness. Use the same amount, 8 ounces.
- Heavy whipping cream This is essential for achieving a light and fluffy texture. Substituting with lighter cream will result in a denser filling. Use the same amount, 1 cup, but avoid anything with less than 36% fat content.
The Whole Thing, Step By Step.
CRUSH OREOS INTO CRUMBS. I start by crushing the Oreos into fine crumbs. I place them in a sturdy bag and use a rolling pin to smash them. The sound of the rolling pin hitting the cookies is satisfying.
I ensure there are no large chunks left. The texture should feel like sand between my fingers. If the crumbs are uneven, the crust won't hold together.
It's essential to get a consistent texture for a good base. If I ignore this, I might end up with a crumbly crust that falls apart later.
MIX CRUST INGREDIENTS. Next, I mix the crust ingredients. I combine the crushed Oreos with the melted butter in a bowl. I use a fork to blend them until the mixture is well combined and resembles wet sand.
The mixture should hold together when I squeeze it in my hand. If it feels too dry, I can add a little more butter. This step is crucial because a well-mixed crust provides a solid foundation.
If I skip this, the crust won't bind properly and will crumble when I cut into the cheesecake.
PRESS CRUST INTO PAN. Pressing the crust into the pan comes next. I take the mixture and spread it evenly across the bottom of my springform pan. Using my fingers, I press it down firmly.
I want it compact and even. A flat, packed crust will hold everything together. While pressing, I listen for a slight crunch as the crumbs compress.
If I don't press hard enough, I risk a loose crust that won't support the filling. It's important to be firm but gentle to avoid breaking the pan.
BEAT CREAM CHEESE MIXTURE. I begin to beat the cream cheese mixture. In a separate bowl, I add the softened cream cheese, powdered sugar, and vanilla extract. Using a hand mixer, I blend them until smooth and creamy.
I watch for any lumps to disappear. The mixture should be thick yet spreadable. A well-beaten mixture means the cheesecake will be smooth.
If I don't beat it enough, the texture will be lumpy, resulting in an undesirable mouthfeel in the finished dessert.
FOLD IN WHIPPED CREAM. Next, I fold in the whipped cream. I take the whipped cream that has been beaten to soft peaks. Gently, I add it to the cream cheese mixture.
Using a spatula, I carefully combine them. I want to maintain the lightness of the whipped cream. The mixture should become fluffy and light.
If I stir too aggressively, I risk deflating the whipped cream, which affects the overall texture. It's key to be gentle and thorough to achieve the right consistency.
ADD OREO PIECES. I then add the crushed Oreos for filling. I sprinkle them into the cream cheese and whipped cream mixture. Carefully, I fold them in until evenly distributed.
I want little bites of Oreo throughout the filling. The color darkens slightly with the added cookies. If I do this too quickly, I might break the Oreo pieces too much, losing that delightful texture contrast.
The goal is to keep some chunks intact for added crunch.
SPREAD FILLING EVENLY. Spreading the filling evenly comes next. I pour the mixture into the crust and use a spatula to smooth the top. I ensure it is level and looks inviting.
The filling should sit nicely on the crust without any gaps. I want it to appear thick and luscious. If I don't spread it out evenly, the cheesecake won't set properly, and I could end up with uneven slices.
A smooth top also enhances presentation.
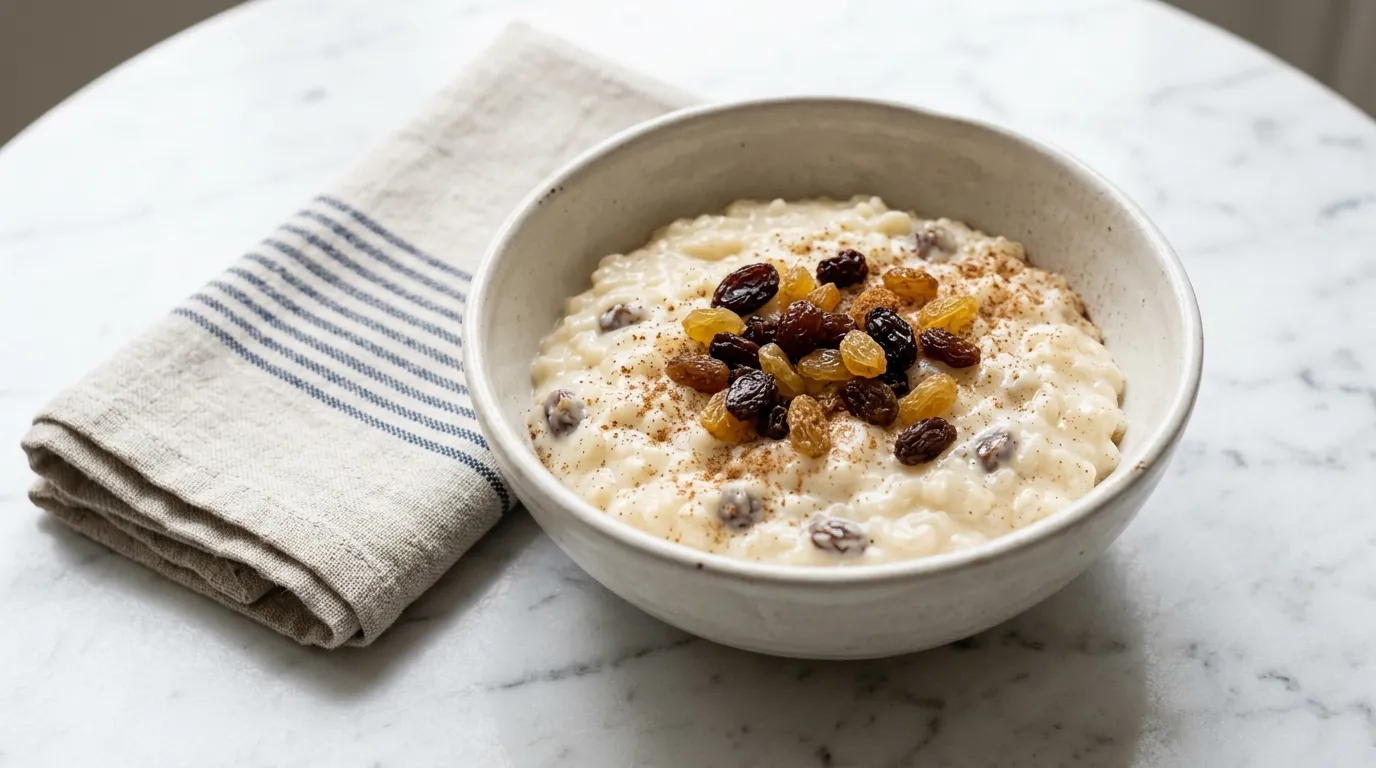
CHILL UNTIL SET. Finally, I chill the cheesecake until it sets. I cover the pan with plastic wrap and place it in the refrigerator. I let it rest for several hours, allowing the filling to firm up.
I can tell it's ready when the surface feels firm to the touch. Proper chilling is crucial for the cheesecake to hold its shape. If I rush this step, the slices will collapse when served, ruining all my hard work.
Patience here pays off.
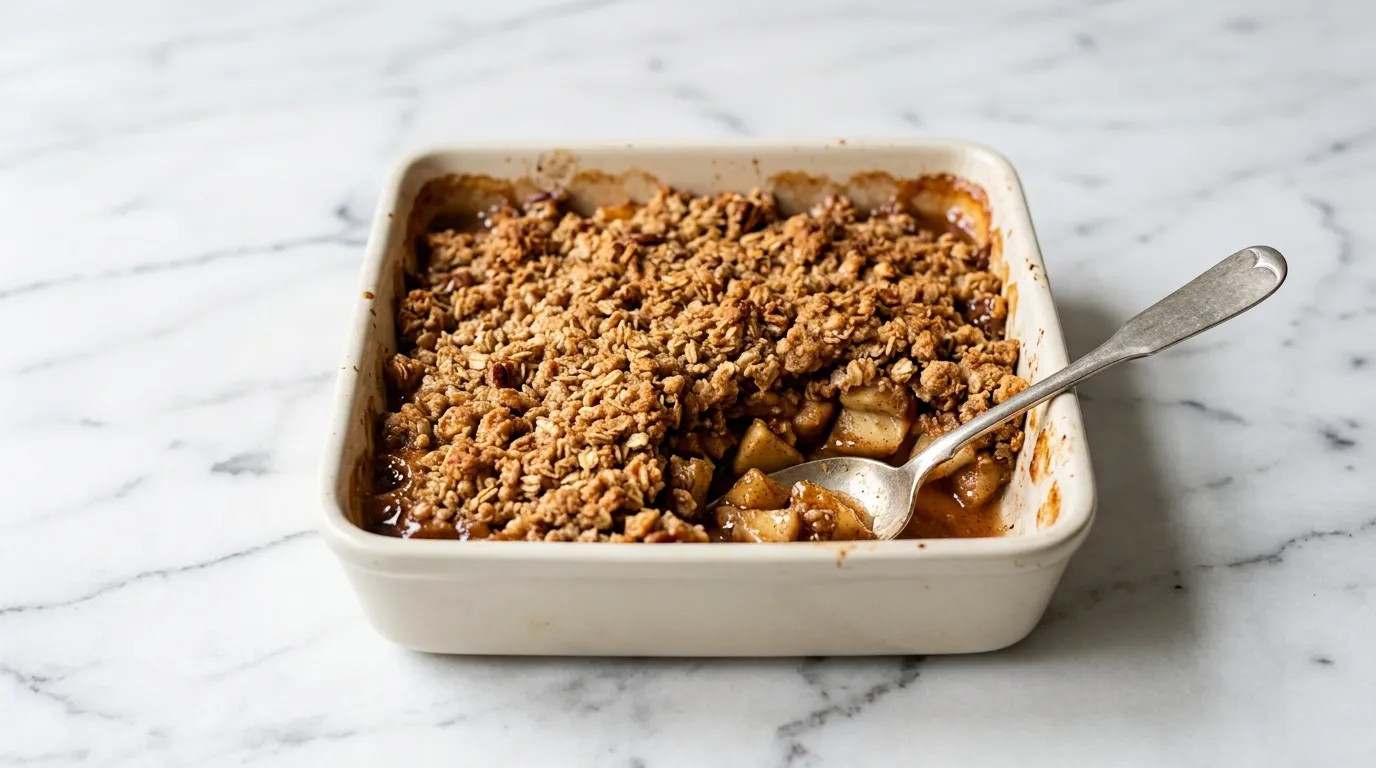
Lessons from Doing This More Than Once.
- Use room temperature cream cheese. Cold cream cheese makes it hard to beat smoothly. If you skip this, you'll end up with lumps in your cheesecake, ruining the creamy texture that makes it enjoyable.
- Keep the crust thickness consistent. A crust that is too thick can overpower the filling. If you ignore this, your cheesecake will taste unbalanced, and the flavors won't meld well together.
- Chill the cheesecake overnight if possible. Allowing more time to set improves firmness. If you rush this step, the cheesecake may not hold its shape when you slice it, leading to messy servings.
- Use a good quality whipped cream. Not all whipped creams are the same. If you choose a low-quality product, it may not whip well, affecting the lightness of the cheesecake filling.
- Don't skip the folding technique. Folding in the whipped cream gently is key. If you whisk too hard, you risk deflating it, which results in a denser cheesecake instead of a light and airy one.
The Steps Worth Slowing Down For.
- Uneven crust texture If the Oreo crumbs are not finely crushed, the crust won't hold together. Large chunks create gaps that weaken the structure. Make sure to crush the cookies until they resemble fine sand.
- Overmixing cream cheese If I beat the cream cheese too much, it can become too airy or soft. This affects the cheesecake's texture. I should mix just until smooth, avoiding excessive beating.
- Not chilling long enough If the cheesecake isn't chilled properly, it won't set and will collapse when sliced. It needs several hours to firm up. Patience is key, so I should leave it in the fridge for at least four hours.
- Filling not spread evenly If I don't spread the filling evenly, the cheesecake won't set uniformly. This leads to uneven slices that are hard to serve. I must take care to smooth it out before chilling.
What Makes It a Whole Meal.
- Fresh berries Their tartness complements the sweetness of the cheesecake, providing a refreshing contrast.
- Chocolate sauce A drizzle of chocolate sauce adds an extra layer of richness and enhances the dessert's appeal.
- Vanilla ice cream The creamy texture of vanilla ice cream pairs well with the cheesecake, creating a delightful combination.
- Coffee A cup of coffee balances the sweetness of the cheesecake, making it a perfect end to a meal.
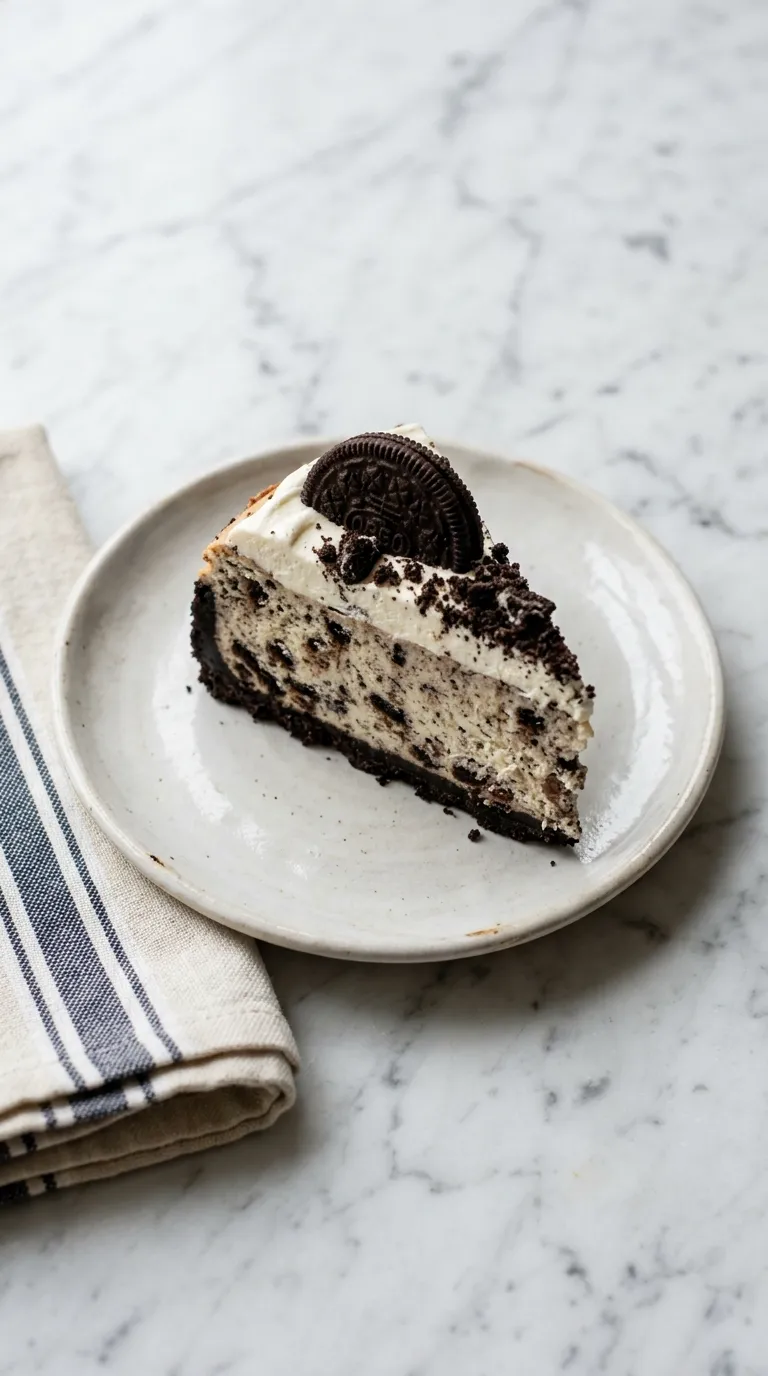
Just in Case You Have Leftovers.
- STORING Keep in an airtight container in the fridge for up to 5 days. The crust may soften over time.
- FREEZING Do not freeze. The cream cheese filling will change texture and become grainy.
- REHEATING This dessert is best served cold. Do not reheat.
What Readers Write in About.
How long can I store the cheesecake?
You can store the cheesecake in the refrigerator for up to five days. Make sure to cover it well to prevent it from absorbing odors.
Can I use low-fat cream cheese?
Yes, you can use low-fat cream cheese, but the texture may be less creamy. The amount remains the same, at 8 ounces.
Is it necessary to use a springform pan?
While a springform pan is ideal for easy removal, you can use a regular pie dish. Just be cautious when serving to keep the cheesecake intact.
Can I freeze the cheesecake?
Yes, you can freeze the cheesecake for up to three months. Wrap it tightly in plastic wrap and then foil to prevent freezer burn.
- 24 Oreo cookies
- 4 tablespoons unsalted butter, melted
- 8 ounces cream cheese, softened
- 1/2 cup powdered sugar
- 1 teaspoon vanilla extract
- 1 cup heavy whipping cream
- 1 cup crushed Oreos for filling
- 1Prepare the 9x13 pan. 1. Prepare a 9x13 inch baking dish by greasing it lightly with cooking spray or butter.
- 2Make the Oreo crust. 2. In a bowl, crush 24 Oreo cookies into fine crumbs. Mix in 4 tablespoons melted unsalted butter until well combined. Press the mixture firmly into the bottom of the prepared 9x13 inch baking dish to form the crust.
- 3Combine filling ingredients. 3. In a separate bowl, combine 8 ounces softened cream cheese, 1/2 cup powdered sugar, and 1 teaspoon vanilla extract. Whisk until smooth and fully combined.
- 4Fold in whipped cream. 4. In another bowl, whip 1 cup heavy whipping cream until stiff peaks form. Gently fold the whipped cream into the cream cheese mixture until no streaks remain.
- 5Add crushed Oreos. 5. Fold in 1 cup crushed Oreos into the filling mixture until evenly distributed.
- 6Pour filling into crust. 6. Pour the filling into the prepared crust in the 9x13 inch baking dish, spreading it evenly with a spatula.
- 7Chill to set. 7. Chill the cheesecake in the refrigerator for at least 4 hours or until set. For a smaller 9x9 inch baking dish, chill for about 3 hours.
- 8SHARE THE LOVE. 8. If you enjoyed this recipe, please take a moment to give it a 5-star rating and share your thoughts!
Reviews
Community Guidelines
We love hearing how this recipe turned out for you. Please keep reviews about the recipe itself, stay kind and helpful to other cooks, and leave out personal details or links. Every review is checked before it appears.